ncdu (NCurses Disk Usage) is a command line version of the most popular “du command“. It is based on ncurses and provides a fastest way to analyse and track what files and directories are using your disk space in Linux. It provides an excellent ncurses based interface to display the information in more intuitive way like columns for how much disk space used in megabytes, gigabytes and graphical bar usage, file/directory names, file deletion, refresh, etc. ncdu aims to be simple, fast and easy to use program and runs on any minimal Linux/Unix based system with ncurses installed.

This article explains you through the process of installing and using NCDU program on a Linux system.
Installing ncdu (NCurses Disk Usage)
The “ncdu” package is not available under RHEL, CentOS, Fedora, Scientific Linux distributions, you must have epel repository enabled on your system to install it using yum command.
# yum install ncdu
The “ncdu” utility is available on Ubuntu, Linux Mint and Debian from the package manager system, use the following apt-get command to install it.
$ sudo apt-get install ncdu
How Do I Use ncdu
Simply, run the “ncdu” command from the terminal. Once you run, it will start scanning for number of files and directories and disk usage of current working directory.
# ncdu
Scanning
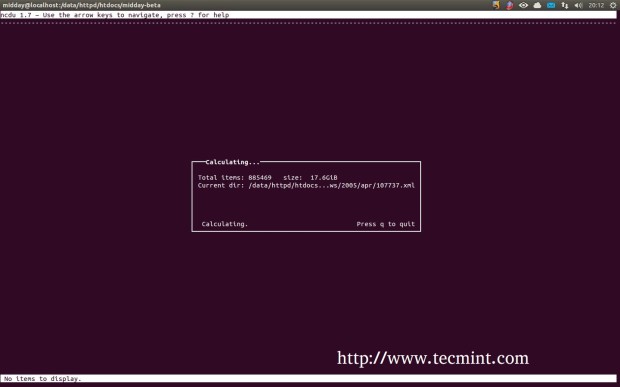
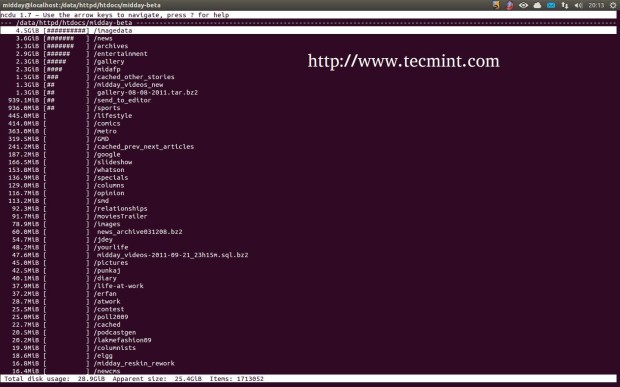
Tree View With Sizes
Once, scanning completes, it will present the tree structure of files and folders along with their disk usage in human readable format with graphical bar presentation.
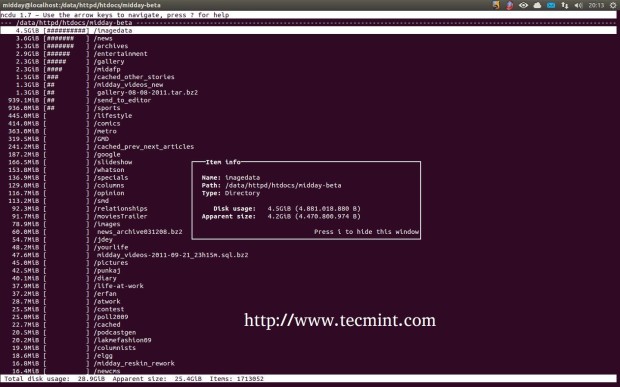
Directory Information
Press “i” to see the selected directory information like full path, disk usage, apparent size. Again, hit “i” to hide the window.
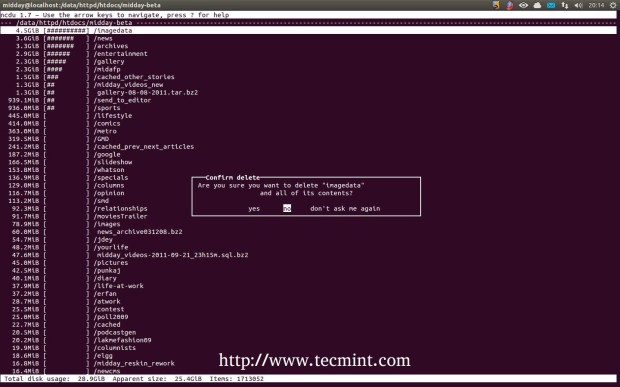
Delete Confirmation
Press “-d” to delete selected file or directory, before deleting it will prompt you for confirmation. Press “Yes” or “No“.
ncdup Help Window
Press “Shift+?” to see help window with ncdu available options. You can use arrow keys to move up and down for more options.
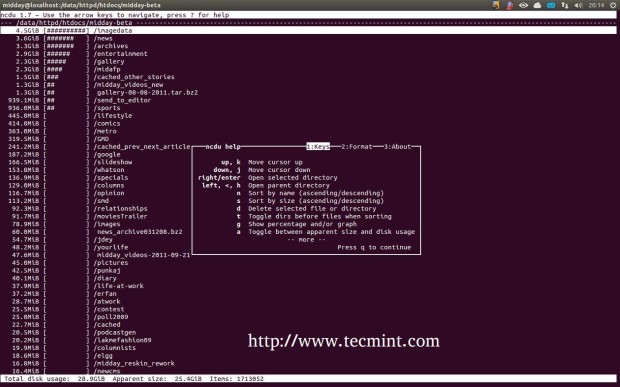
Use “q” to quit interface. Here are list of available options for ncdu, you can check them.
 ┌───ncdu help─────────────────1:Keys───2:Format───3:About─────┐
 │         						       │
 │   up, 	k  Move cursor up                              │
 │   down, 	j  Move cursor down                            │
 │   right/enter   Open selected directory                     │
 │   left, <, 	h  Open parent directory                       │
 │   	      	n  Sort by name (ascending/descending)         │
 │   		s  Sort by size (ascending/descending)         │
 │ 		d  Delete selected file or directory           │
 │  		t  Toggle dirs before files when sorting       │
 │  		g  Show percentage and/or graph                │
 │ 		a  Toggle between apparent size and disk usage │
 │		e  Show/hide hidden or excluded files          │
 │           	i  Show information about selected item        │
 │           	r  Recalculate the current directory           │
 │           	q  Quit ncdu                                   │
 │          	                                               │
 │                                     Press q to continue     │
 └─────────────────────────────────────────────────────────────┘




Hi.. i moved a large file nearly 130Gb from one directory to another directory but i wondering the space is still the same.. Can you please let mw know why its been same
@Wasim,
Moving large size files from one directory to another will not reduce size, it still remains same size as you moving the data in the same server…
Is there any option u are aware of where we can disable the delete option. Coz my team mate accidently deleted some important data while browsing through ncdu output.
Your blog is having loads of practical information especially for linux administrator……Thank you
Nice pack. Thanks :)