This tutorial will guide you on to install the latest version of Zentyal on a bare-metal server or on a VPS in order to subsequently configure Zentyal system as an Active Directory Domain Controller.
Requirements
Installing Zentyal Server 5.0.1
1. On the first step, download the ISO image and burn it to a DVD or create a bootable ISO image. Place the ISO media into your machine appropriate drive, reboot the machine and instruct the BIOS to boot from Zentyal ISO.
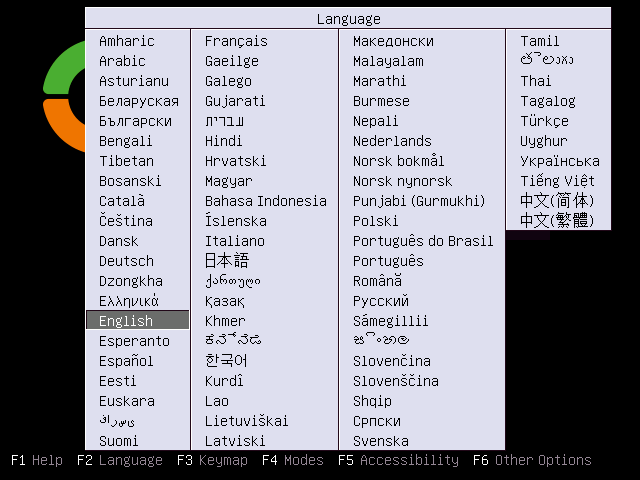
On the first Zentyal installation screen choose the language for installation process and press [enter] key to continue.
2. On the next screen select Install Zentyal 5.0.1-development (expert mode) and press [enter] to move forward with the installation process.

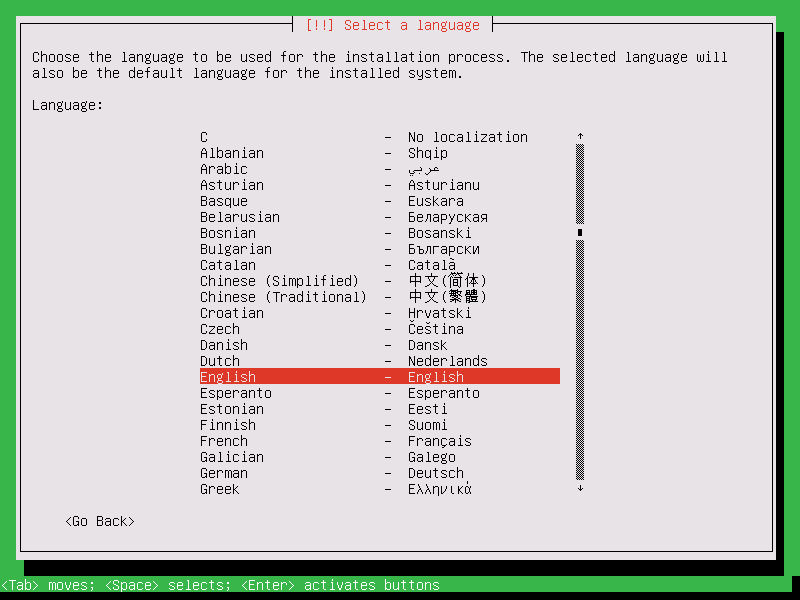
3. Next, choose the language that will be used during the installation process and as default language of the installed system and press [enter] key to continue.
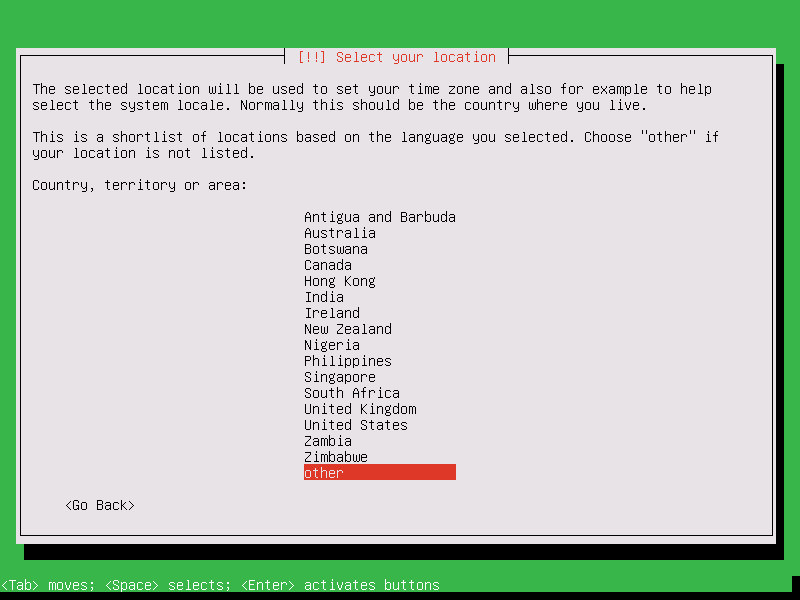
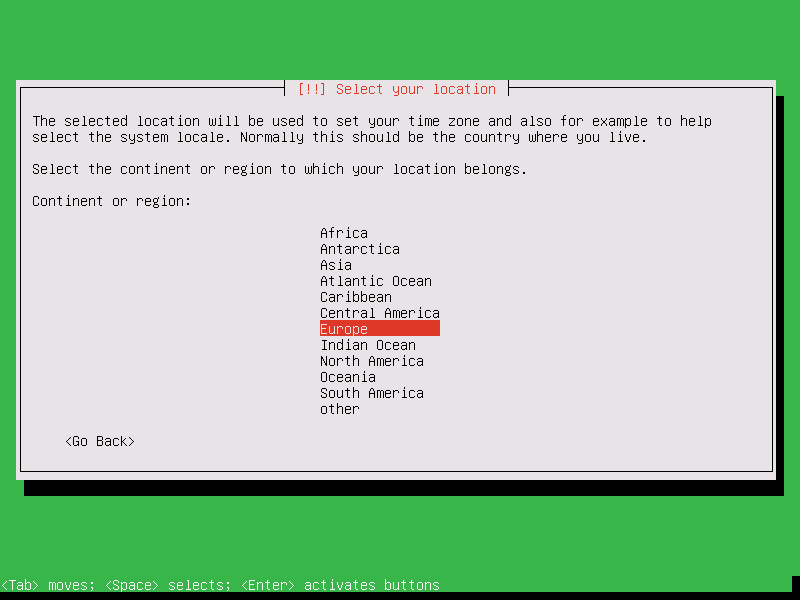
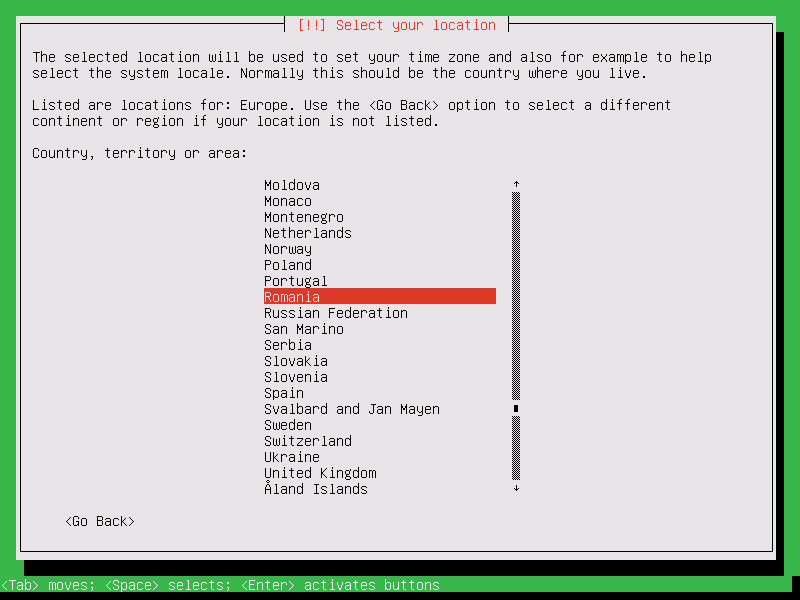
4. On the next series of screens, select your system location for the provided list, as well as your Continent and Country as illustrated in the below screenshots and press [enter] to continue.
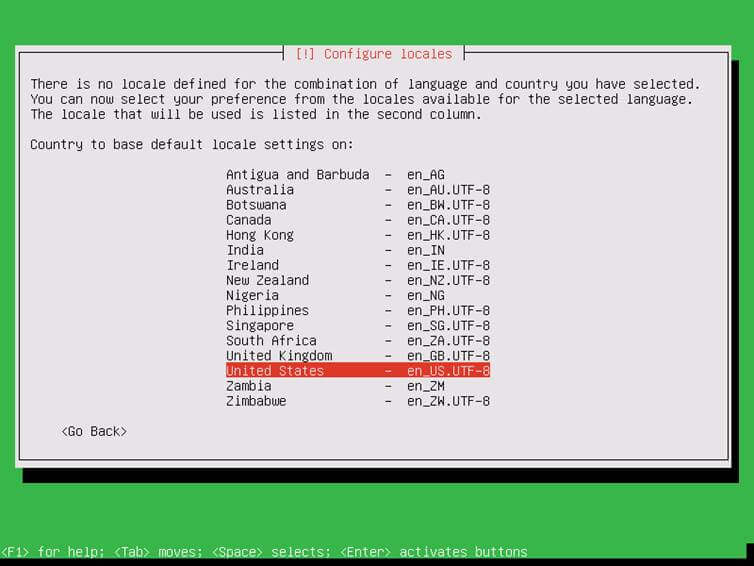
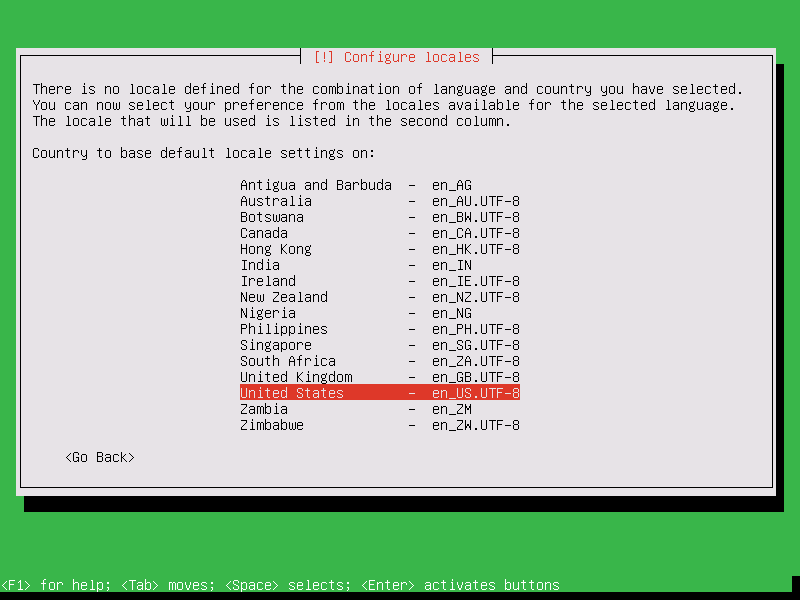
5. On the next screen choose your system locales from the locales list and press [enter] to continue.
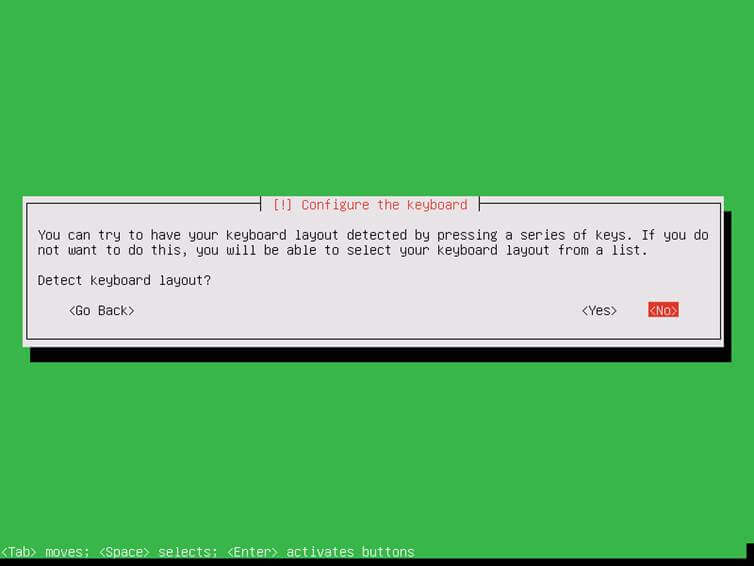
6. Next, manually configure your system keyboard by choosing No option from Detect keyboard layout and press [enter] to move to the keyboard screen.
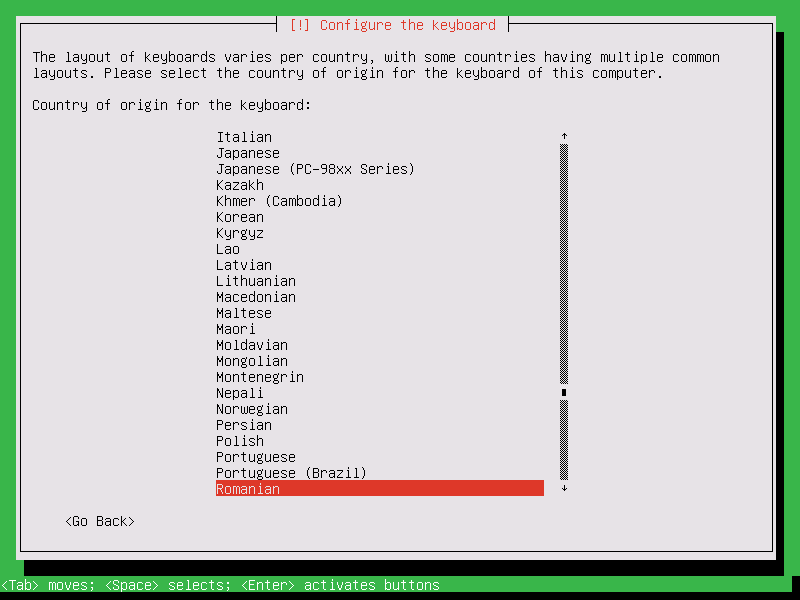
7. On the keyboard screen select the origin country of the keyboard and the keyboard layout as illustrated in the below screenshots and press enter to continue.
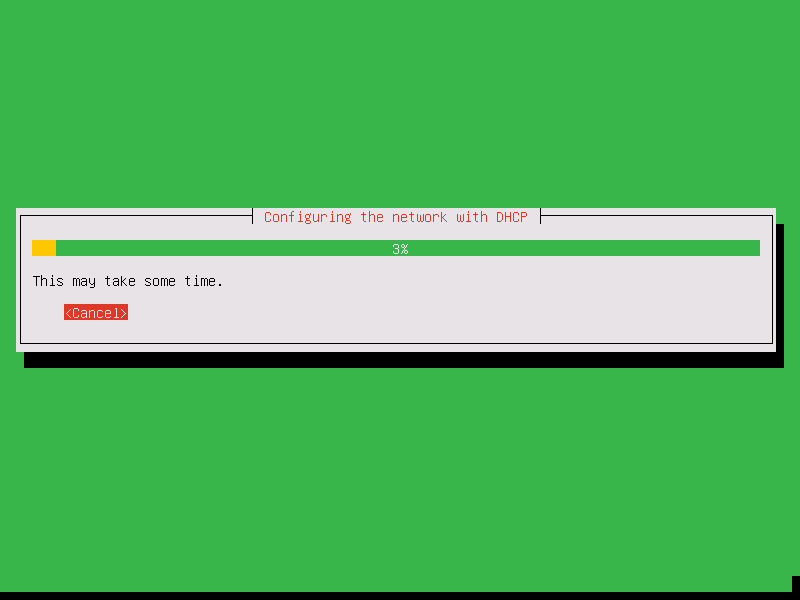
8. After the installer detects your machine hardware and loads the required kernel modules into RAM, it will start to configure your network interface via DHCP protocol.
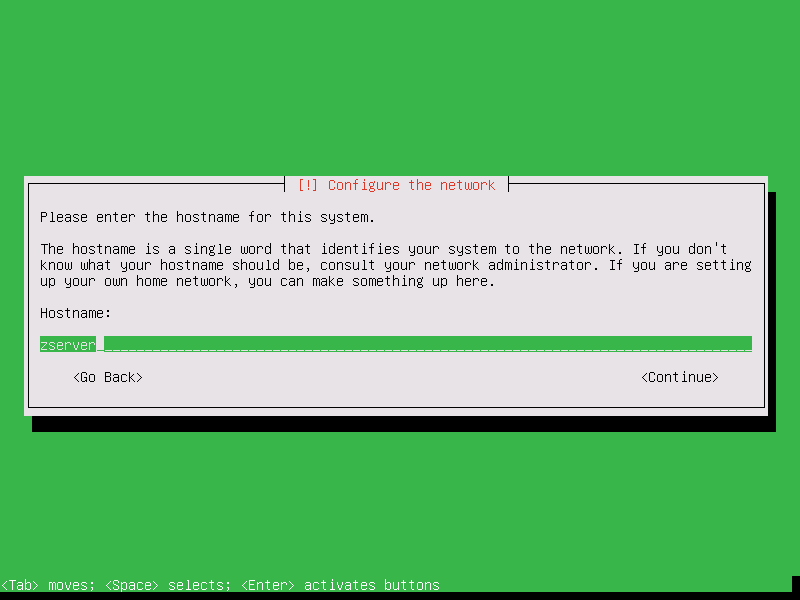
After assigning the proper network settings you will be asked to enter your system hostname. Choose a descriptive hostname for this server and press enter to continue with the installation process.
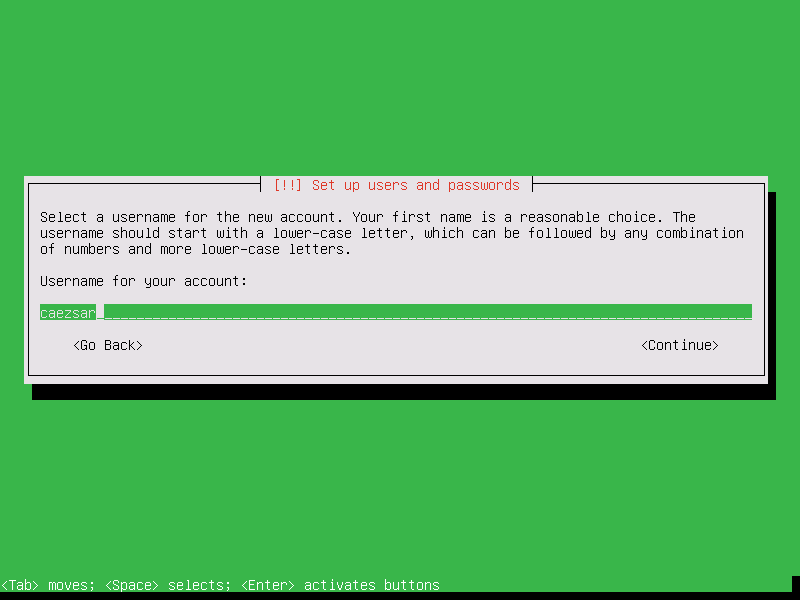
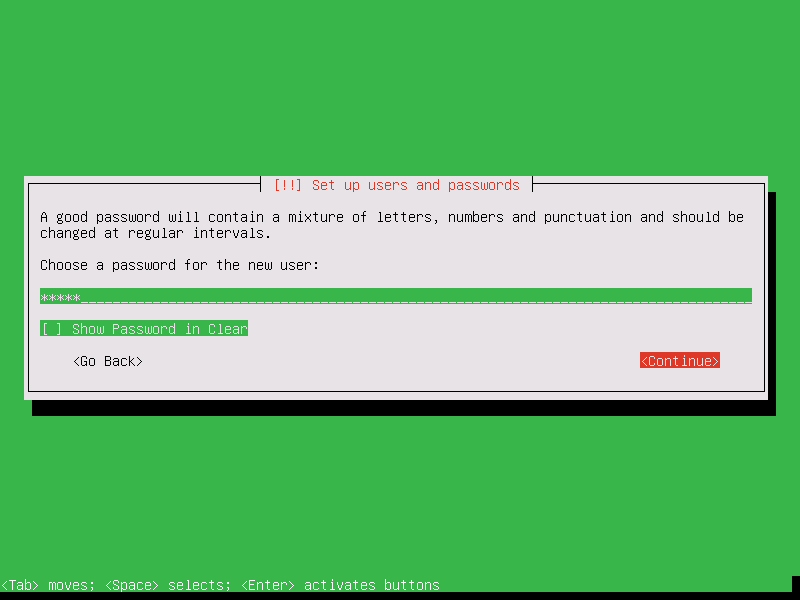
9. On the next series of installation screens select a username and a strong password for your administrative account with root privileges as shown in the below screenshots.
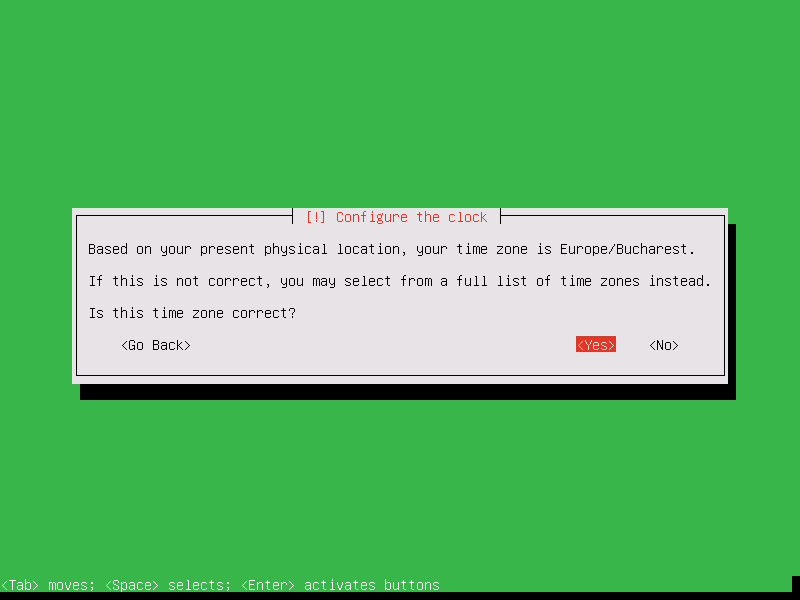
10. Next, if the system is connected to internet, the installer will detect your system time zone based on the physical location. If the time zone is correctly detected and configured, choose Yes and press enter to continue. Otherwise choose No and select the system tine zone from the provided list.
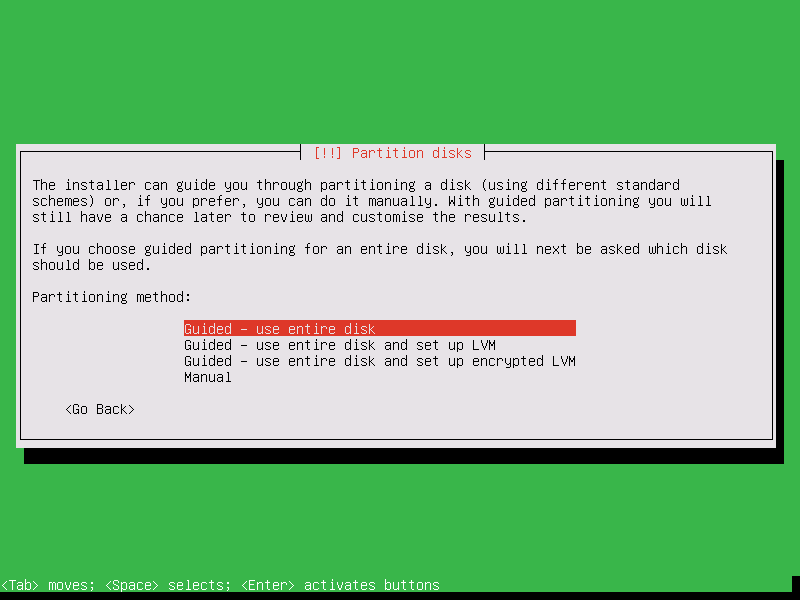
11. On the next step, partition your machine hard disk by choosing the Guided – use the entire disk method, as illustrated in the below image.
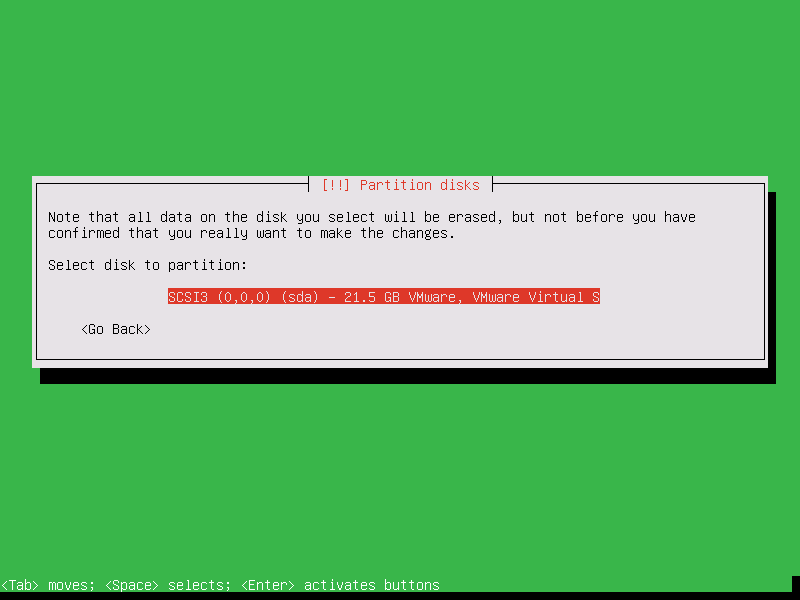
12. Next, select the disk you want to partition and press enter to continue.
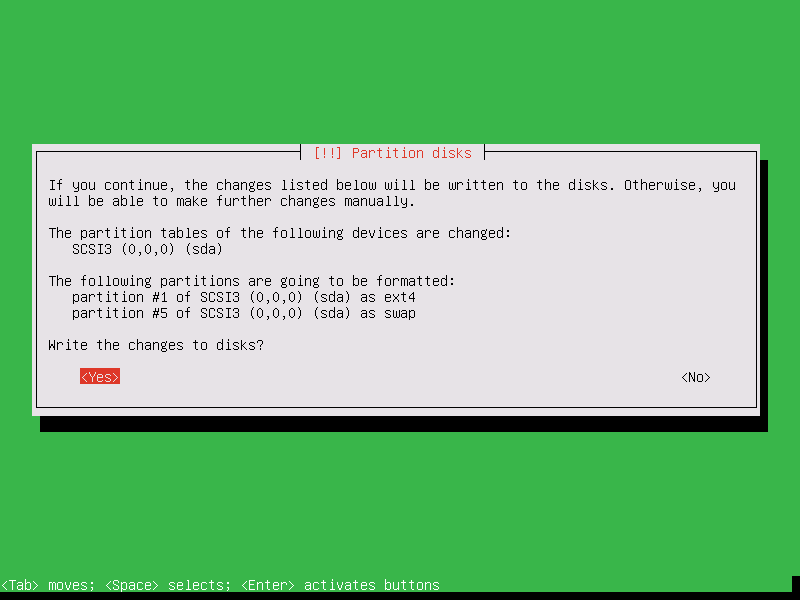
13. On the next screen, the installer will present a summary of the disk partition table and will ask you whether you want to write partition table to disk. Select Yes and press enter to apply disk changes.
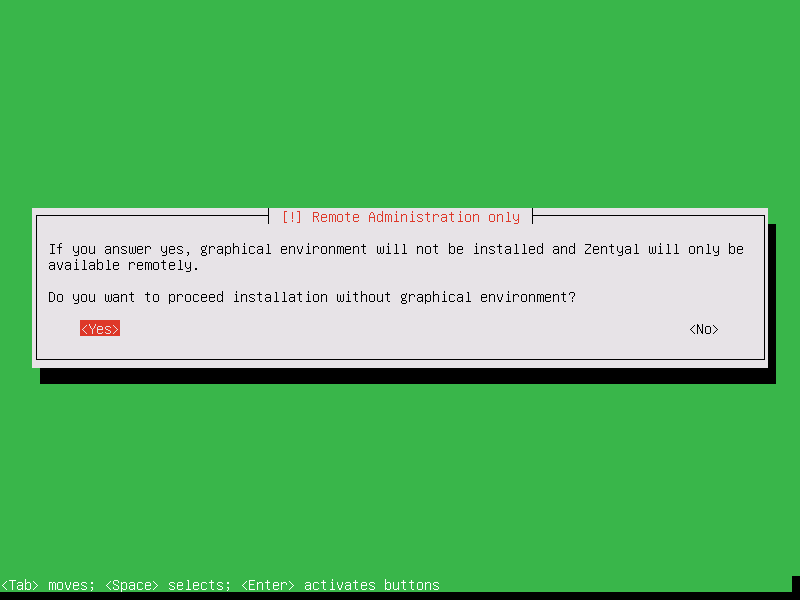
14. Next, select Yes option from Remote Administration only screen in order to continue the installation process and install no graphical environment for the server. The Zentyal server will be remotely administered via the web panel and SSH.
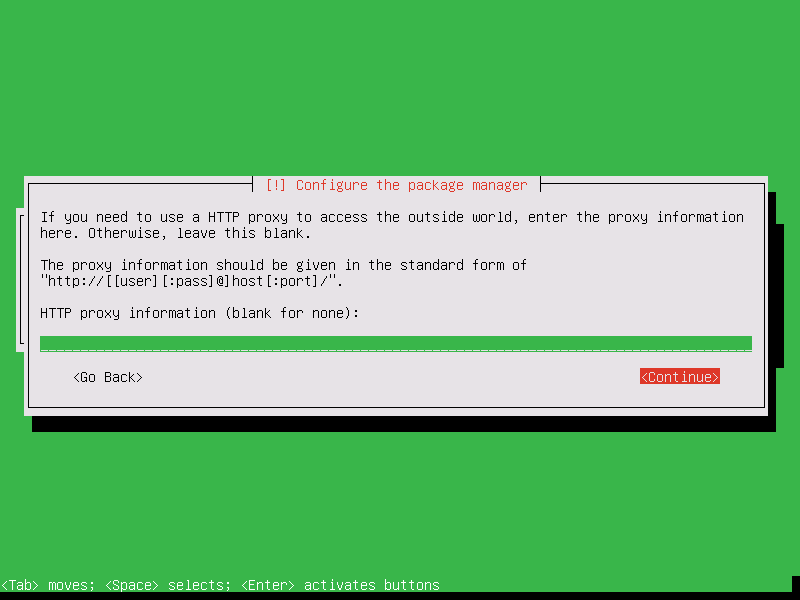
15. After this step, the installer will automatically start the installation process. During the installation, a new screen will appear, which will ask you to add a proxy address in order to configure the package manager and install the software.
In case you’re not using a proxy service to access the internet, leave the HTTP proxy filed blank and press enter to continue.
16. Next, the installer will configure apt package manager, download and install all required Zentyal software and the GRUB boot loader.
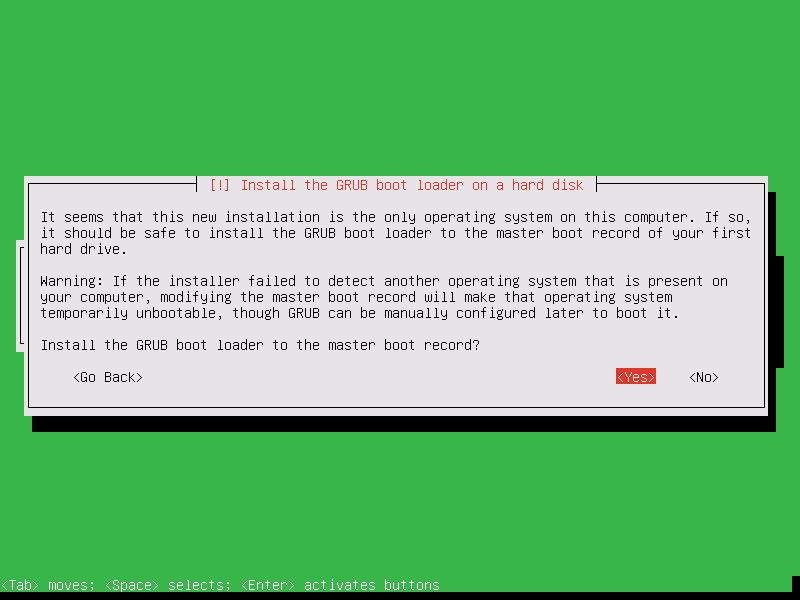
While installing the GRUB boot loader you will be asked to install the GRUB boot loader to your hard disk MBR sector. Select Yes to install the GRUB boot loader and press enter to continue.
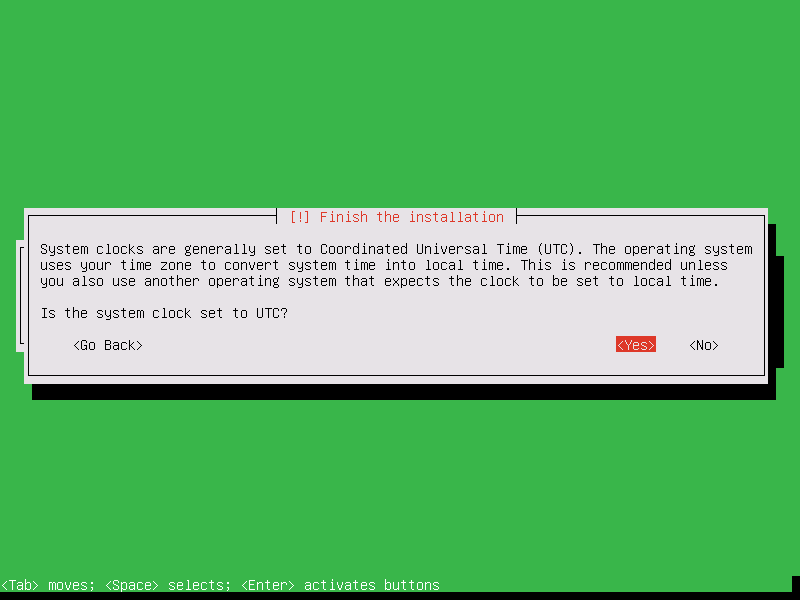
17. When the installation process reaches the final phase, choose to set the system clock to UTC and press enter to finish the installation, as illustrated in the below screenshot.
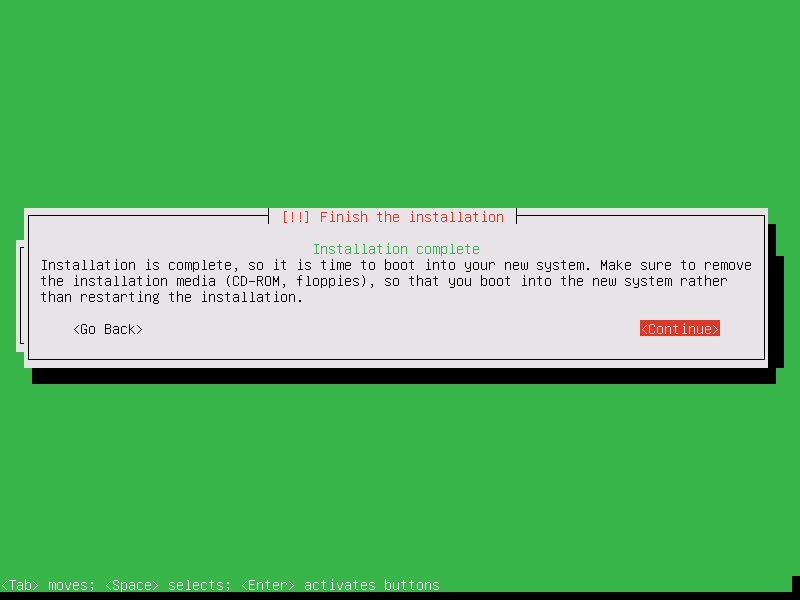
18. Finally, after the installation completes, remove the installation media image from the appropriate drive and hit on Continue option to reboot the machine.
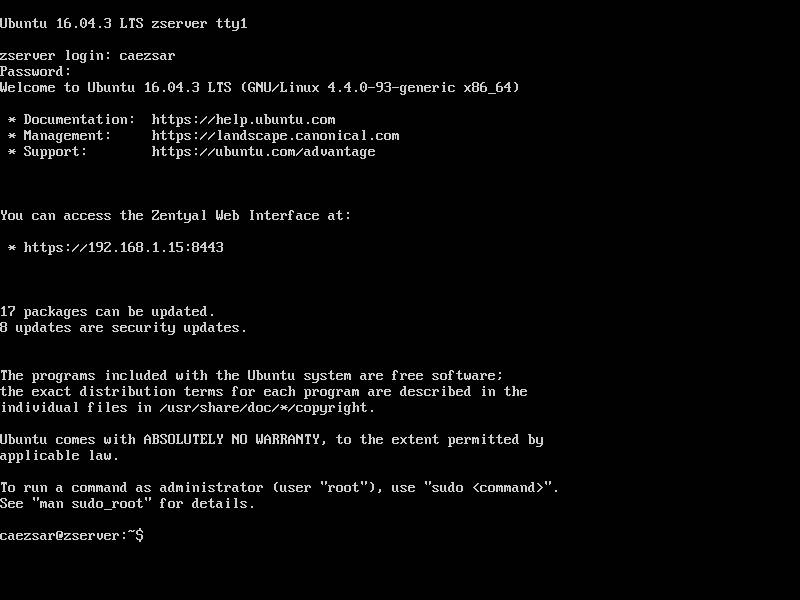
19. After the first reboot, the system will start installing some Zentyal core packages needed for the server to operate properly. Wait for the packages to finish installing and, then, log in to Zentyal server in console with the credentials configured during the installation process as presented in the below screenshot.
That’s all! You have successfully install the latest version of Zentyal server on your machine. On the next series of topics we’ll discuss more advanced Zentyal topics, such as how to remotely manage a Zentyal system and how to setup a Zentyal server as an Active Directory Domain Controller.

Good post! Looking forward to more articles about setting up Zentyal, particularly as a domain controller.