CentOS 7 reaches the end of life on June 30th, 2024 marking the end of the CentOS Project after CentOS 8 was prematurely discontinued back on December 31st in favor of CentOS Stream.
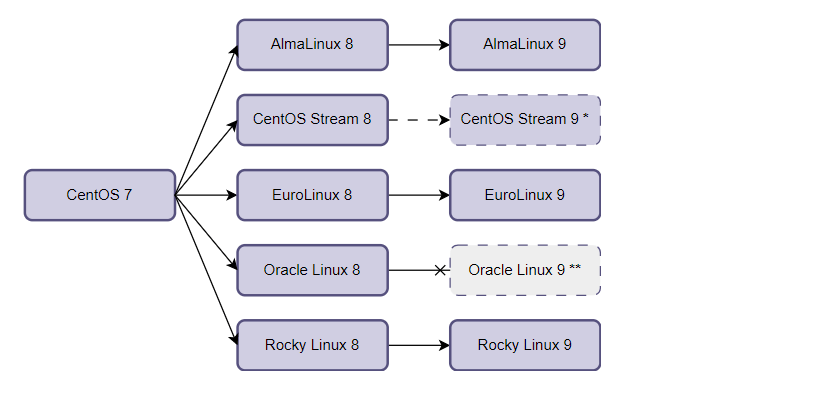
Thankfully, you can migrate from CentOS 7 to AlmaLinux 8 or any major Enterprise 8.x RHEL distributions such as Oracle Linux 8, Rocky Linux 8, or CentOS Stream 8 using the Elevate Project.
Table of Contents
What is Elevate?
Elevate is a utility developed by AlmaLinux designed to facilitate the migration from CentOS 7 or any major versions of RHEL-based distros from 7.x to 8.x and from 8.x to 9.x. It provides the Leapp tool which initiates the actual upgrade process from one version to another.
The upgrade from CentOS 7 to any major RHEL-based distribution takes the following directions as illustrated in the diagram below.
If you are looking to switch from CentOS 7 to AlmaLinux 8, then you have come to the right place. In this guide, we will guide you on how to migrate from CentOS 7 to AlmaLinux 8 using the Elevate Project.
Preliminary Step
As is always recommended before migrating to any major release, it’s prudent to have a backup of your files in case something goes wrong during the upgrade. Therefore, take some time and take a backup copy of all the important files.
Step 1: Update CentOS 7 System
To get off the ground, log into your instance of CentOS 7 and upgrade the system to the latest version by running the following yum command.
$ sudo yum update
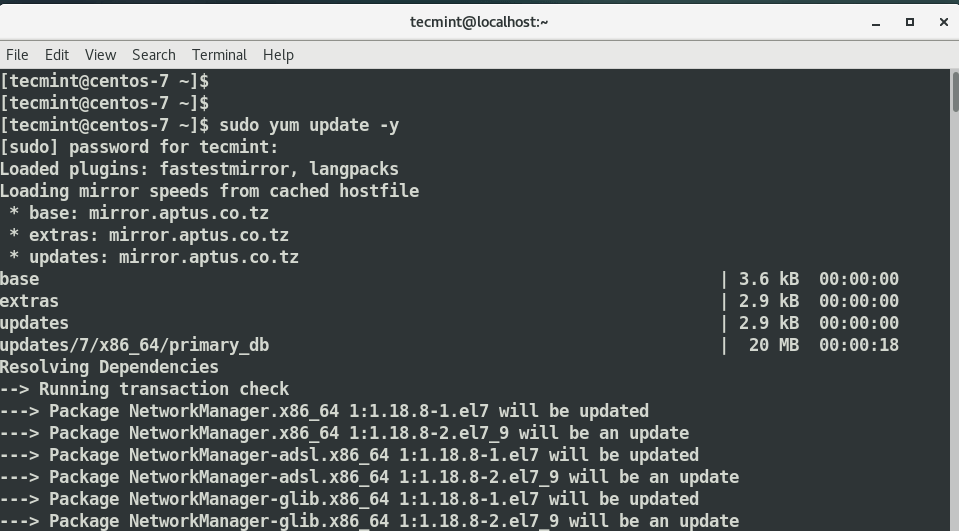
Once the update is complete, verify that CentOS 7 has been updated to the latest release as follows.
$ cat /etc/redhat-release
OR
$ cat /etc/os-release
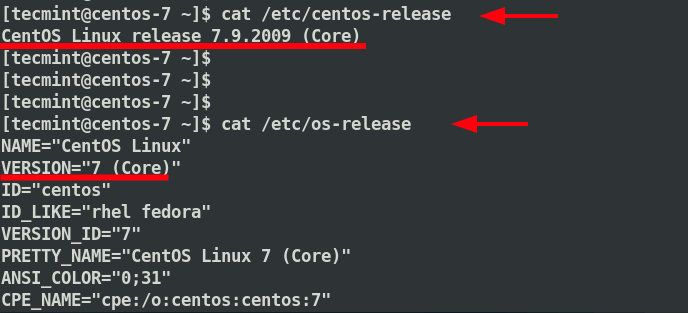
You should get the following as the output confirming that CentOS 7 has been updated to the latest release.
CentOS Linux release 7.9.2009 (Core)
Step 2: Install Elevate Repository in CentOS 7
The next step is to enable the Elevate repository on your CentOS 7 system by running the following command:
$ sudo yum install -y http://repo.almalinux.org/elevate/elevate-release-latest-el7.noarch.rpm
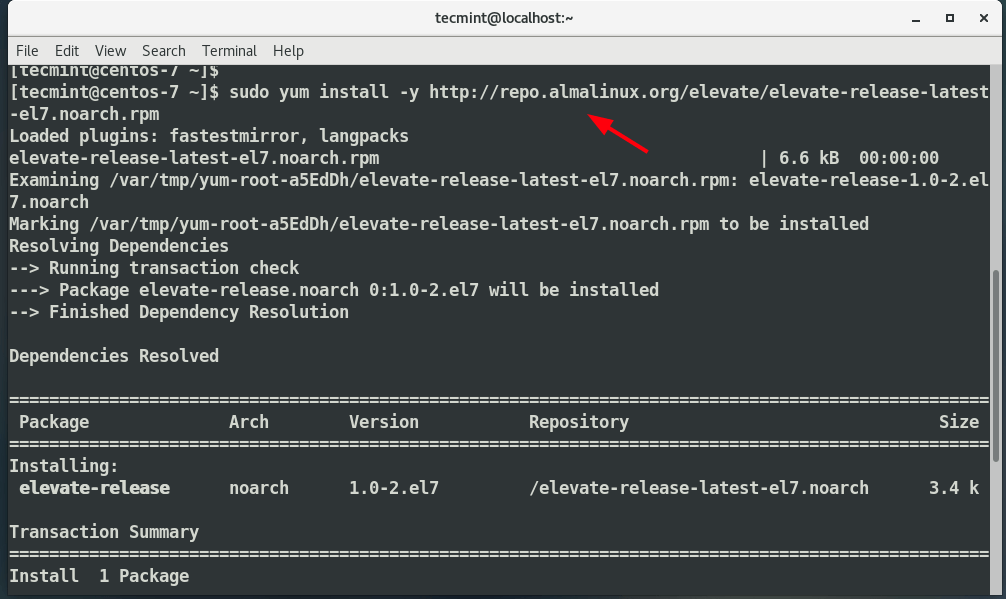
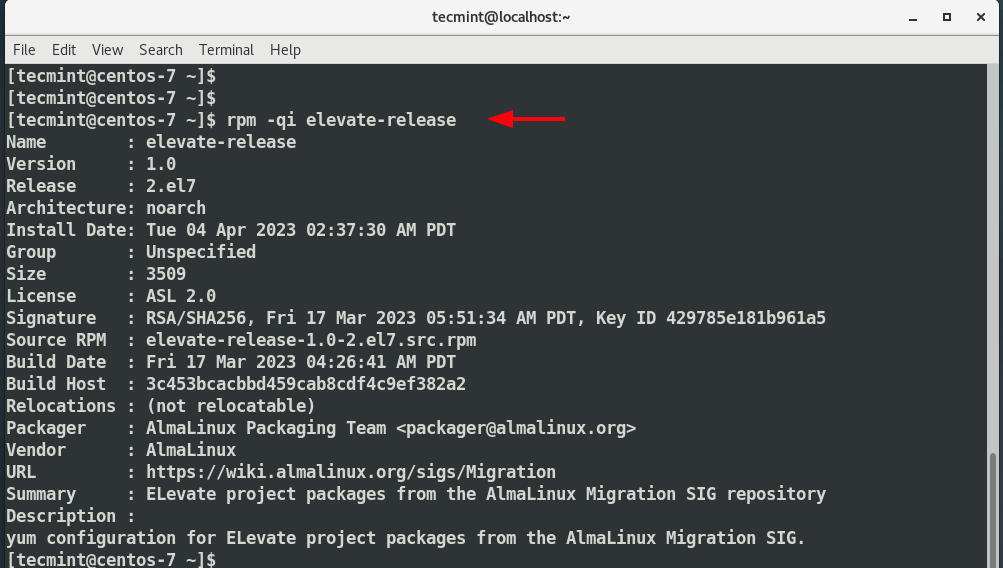
To confirm that Elevate has successfully been installed, run the following rpm command.
$ rpm -qi elevate-release
You should get the following output providing intricate details about the elevate-release package including the version, release, architecture, install date and so much more.
Step 3: Install Leapp Utility in CentOS 7
The Elevate repository provides the Leapp utility which facilitates the actual migration of Red Hat Enterprise Linux 7.x distributions to any Enterprise Linux 8.x releases.
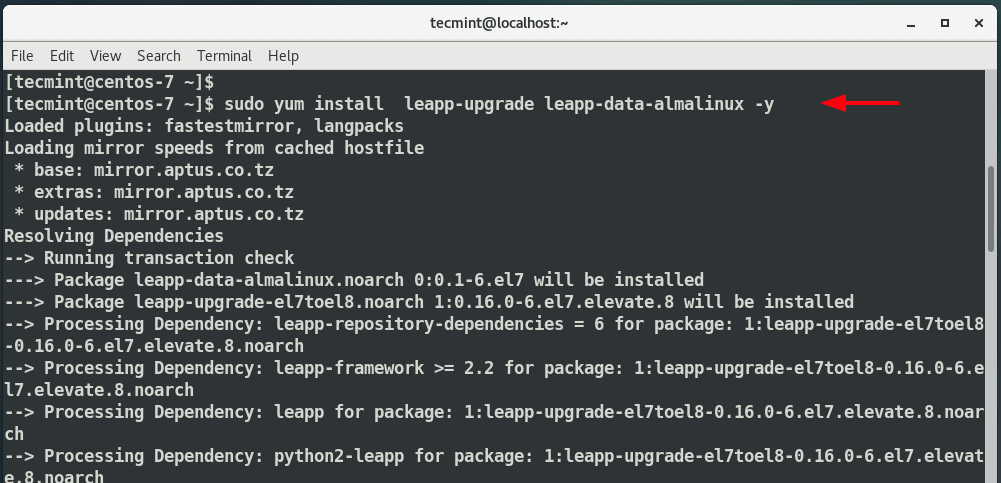
For example to migrate from CentOS 7 to AlmaLinux 8, install the following software packages.
$ sudo yum install -y leapp-upgrade leapp-data-almalinux
Step 4: Migrate CentOS 7 to AlmaLinux 8
Once the migration packages have successfully been installed, run the pre-flight upgrade checklist using the following command:
$ sudo leapp upgrade
The utility performs a series of checks to confirm if the system is ready for the switch to AlmaLinux 8. The CentOS 7 has some inherent issues that prevent the migration from taking as seen in the error report as shown below.
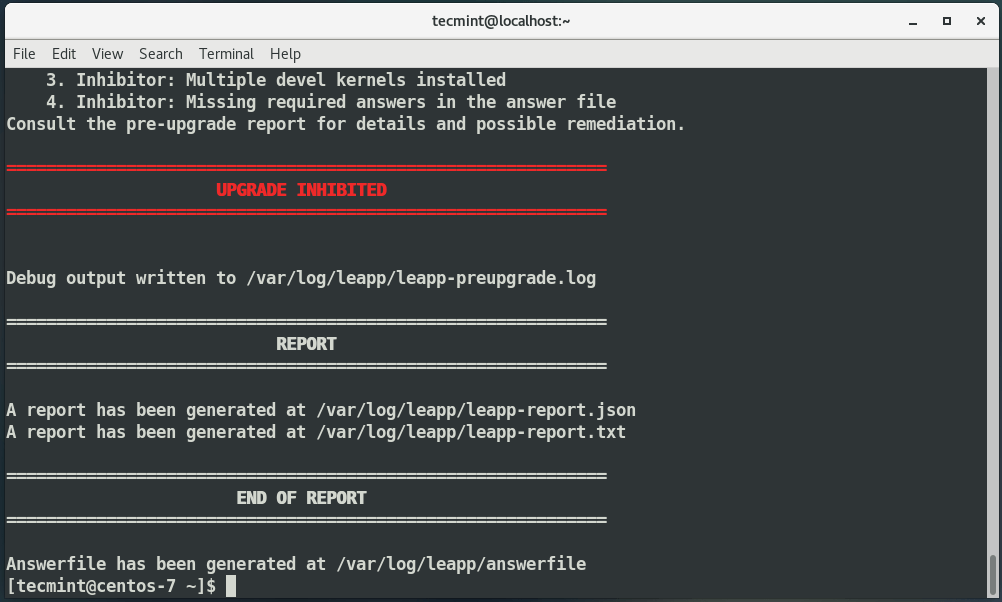
The pre-upgrade report is generated and saved in the /var/log/leapp/leapp-report.txt file. From here, you can view all the issues that prevent the migration to AlmaLinux.
In our case, we ran into a couple of issues. Firstly, our system had two kernels; something which hampers the migration to AlmaLinux 8. Your system must have only one kernel.
To check the number of installed kernels, run the command:
$ rpm -q kernel

If your system has multiple kernels, as is our case, delete all and remain with only one using the following command.
$ sudo package-cleanup --oldkernels --count=1
Once again, verify the number of kernels present in your system as follows.
$ rpm -q kernel

To fix the remaining issues, run the following commands, which allow remote root login using the SSH protocol.
$ sudo echo PermitRootLogin yes | sudo tee -a /etc/ssh/sshd_config
Next, run the following command to remove the pam_pkcs11 module in the PAM configuration
$ sudo leapp answer --section remove_pam_pkcs11_module_check.confirm=True
Finally, disable the pata_acpi module.
$ sudo rmmod pata_acpi
This time around, we only have one kernel remaining, which is great!
After fixing all the issues, proceed and perform the migration from CentOS 7 to AlmaLinux 8 by running the following command:
$ sudo leapp upgrade
This is a lengthy process and takes quite some time. Upon successful execution of the command, a report will be generated, and this time around, all indication is that everything went according to plan.
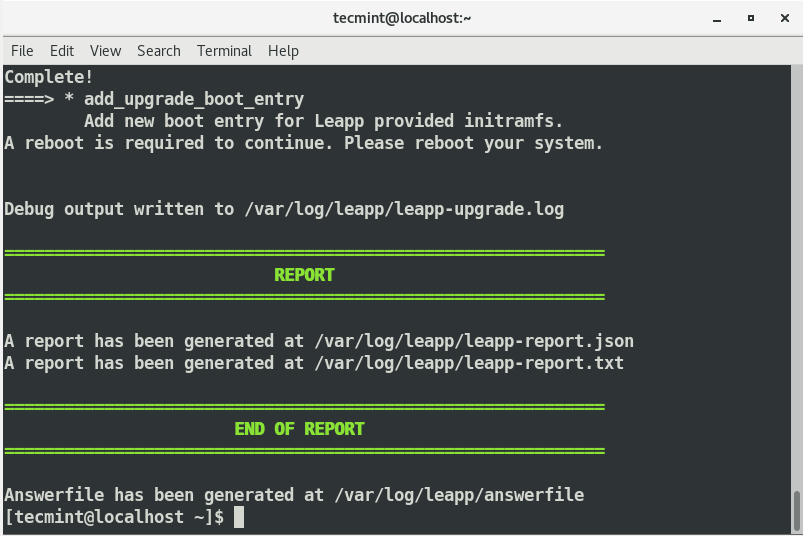
Next, reboot your system.
$ reboot
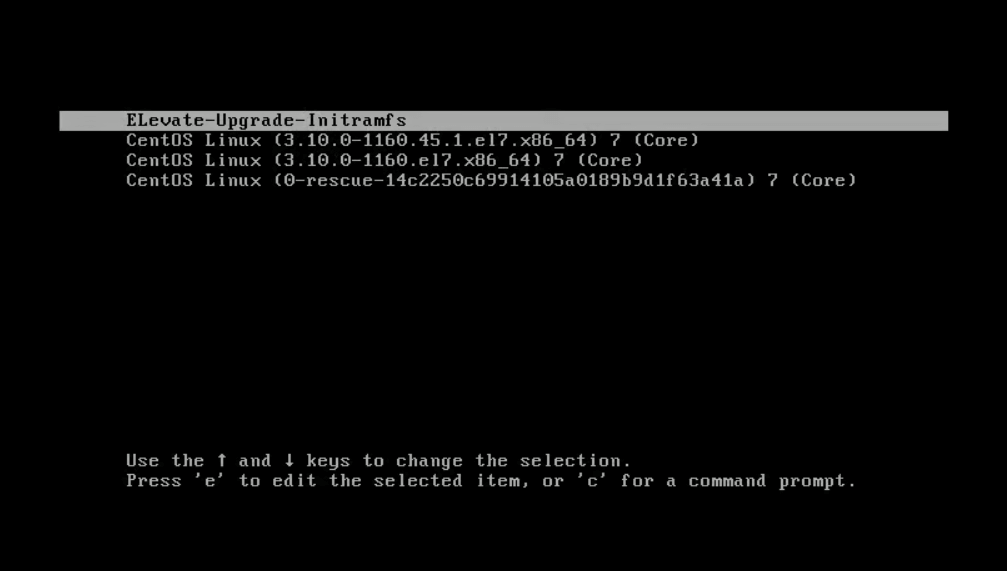
On the GRUB menu, you will find the ‘Elevate-Upgrade‘ entry. Press ENTER.
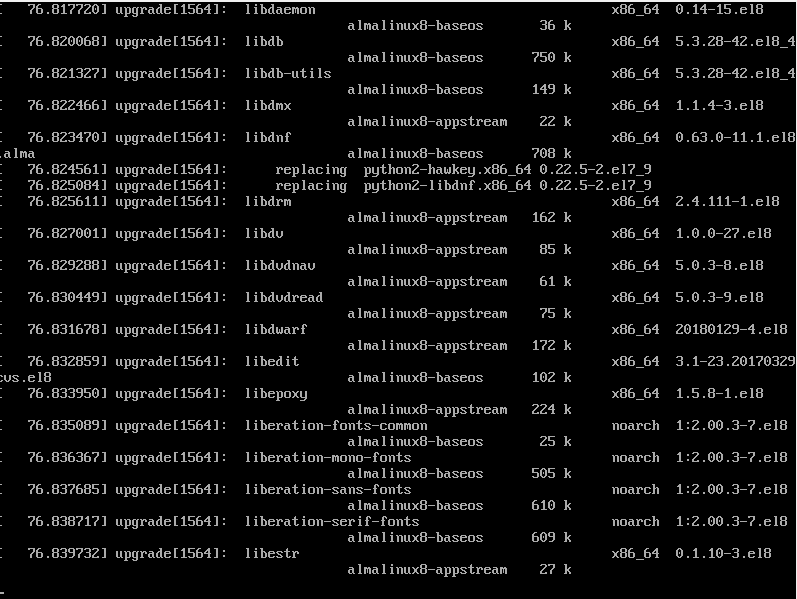
The upgrade to AlmaLinux 8 will continue and the system will reboot a couple of times.
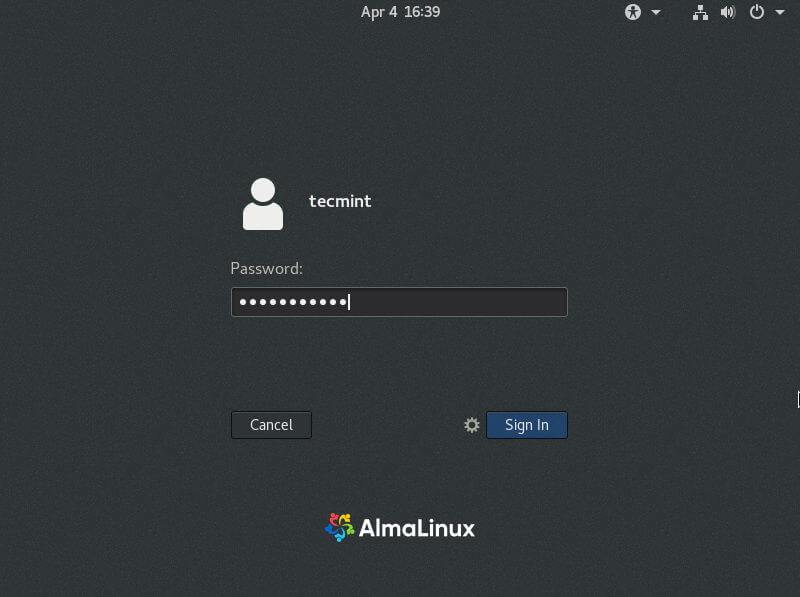
Finally, the login screen will come into view. Provide your password and click ‘Sign In’ or hit ENTER to log in.
On the terminal, verify the version of AlmaLinux using the command below.
$ cat /etc/redhat-release

Alternatively, run the command.
$ cat /etc/os-release
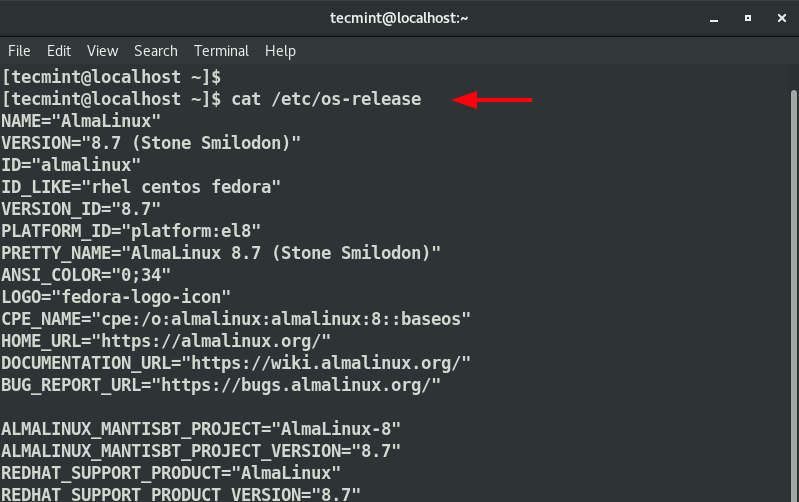
The output confirms that we have successfully switched or migrated from CentOS 7 to Almalinux 8.7.
Conclusion
In this guide, we have demonstrated how to migrate from CentOS 7 to AlmaLinux 8 using the Elevate project which is an application that helps simplify the switch from Enterprise 7.x systems to Enterprise 8.x.

