dbWatch is a powerful, multi-platform, fully-featured, and enterprise-grade SQL database monitoring and management tool that gives you full control over your database instances and system resources. It is highly scalable, secure, and designed for managing large database farms.
dbWatch Features
Here are some of its key features:
- Supports several database systems including PostgreSQL, MySQL, Oracle, MS SQL, Sybase, and more.
- It has small footprints and low hardware resource requirements.
- Supports monitoring many instances in a single unified view.
- Allows you to sort, group, filter, and specify names to servers and groups to adjust what you view.
- Supports monitoring performance, uptime, load, connections, disk space used, growth rates, tables scans, logical reads, cache hit ratios, and much more.
- Allows for automation of all monitoring and routine maintenance tasks.
- Allows for creating custom dashboards and reports for performance monitoring.
- Enables you to perform SQL queries on any database server.
- Enables you to easily switch from monitoring mode to database administration mode.
- Also supports server consolidation through detailed reports and views.
- Supports database server license reporting to help you prepare for and avoid audit surprises, for example, full Oracle database license reporting.
- In terms of security, it supports encrypted connections and certificates, role-based access profiles, and supports Active Directory and Kerberos authentication systems, and lots of other features.
License Requirements
To use dbWatch, you need one of the following license types:
- Test or Development license – no maintenance jobs or cluster support.
- A regular license for a single node – intended for a production environment.
- Regular license with cluster support – intended for production environment.
For large enterprise deployments, you can go for dbWatch Enterprise which is intended for high-level requirements. Besides, dbWatch Essentials and dbWatch Professional are also available for smaller environments, both ship with the same easy-to-use solution, but with fewer advanced features and at a lower price point.
Hardware Requirements
dbWatch minimum system requirements:
- 8 GB RAM
- 1 GB disk space
- 2 cores minimum, recommend 4 cores
In this guide, we will show how to install the dbWatch package and deploy the dbWatch framework to monitor MySQL databases. For this guide, we will use the test or development license for the trial version of dbWatch.
Installing dbWatch – Database Monitoring in Linux
First, start by creating the directory in which the dbWatch files will be stored on the system, the default is /usr/local/dbWatch.
Then grab the latest version of the dbWatch package file with the wget command, extract it, make the script executable, and run it (remember to enter your password when prompted), as follows:
$ sudo mkdir -p /usr/local/dbWatch
$ wget -c https://download.dbWatch.com/download/LATEST/dbWatch_unix_12_8_8.sh.bz2 --no-check-certificate
$ bzip2 -d dbWatch_unix_12_8_8.sh.bz2
$ sudo chmod +x dbWatch_unix_12_8_8.sh
$ sudo ./dbWatch_unix_12_8_8.sh
Once the dbWatch installer application shows up, click Next to proceed.
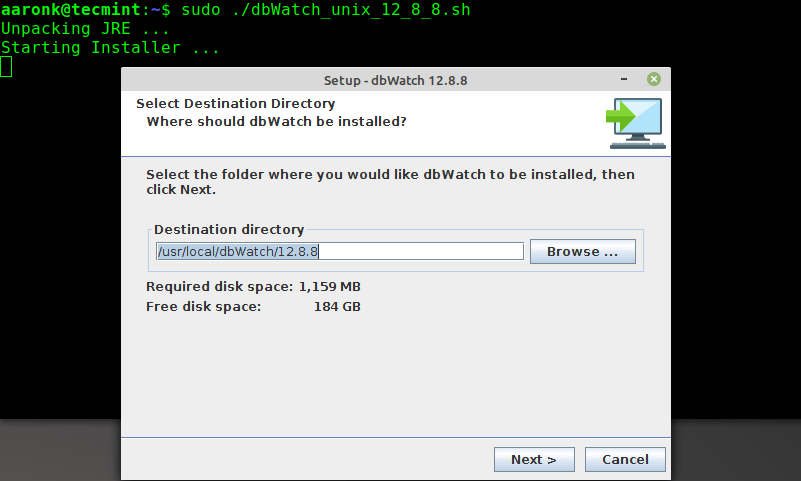
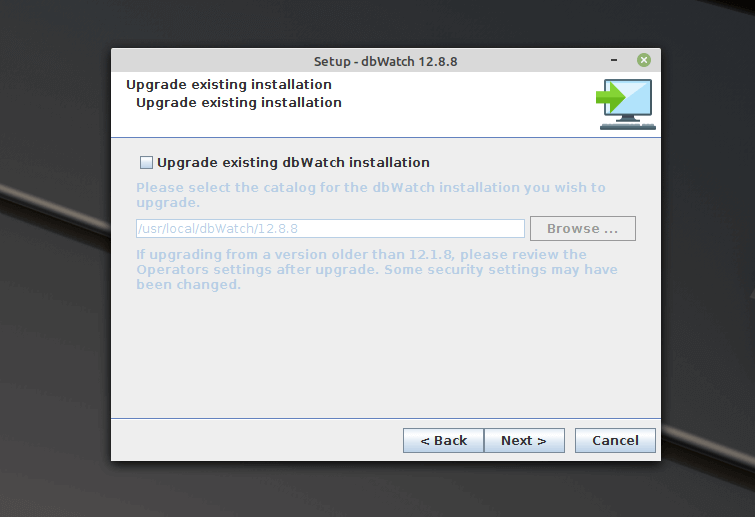
Click Next to move to the next step. Note that if you wish to upgrade an existing installation of dbWatch, check the option Upgrade existing installation.
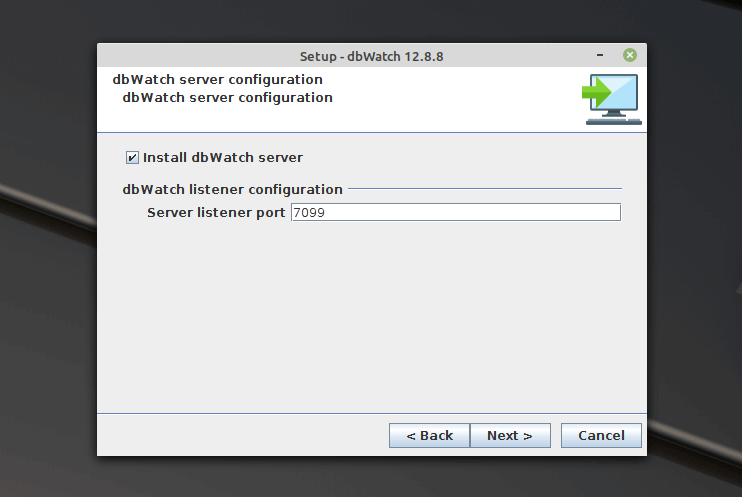
Then set the port the dbWatch server will listen on or leave the default port which is 7099 and click Next.
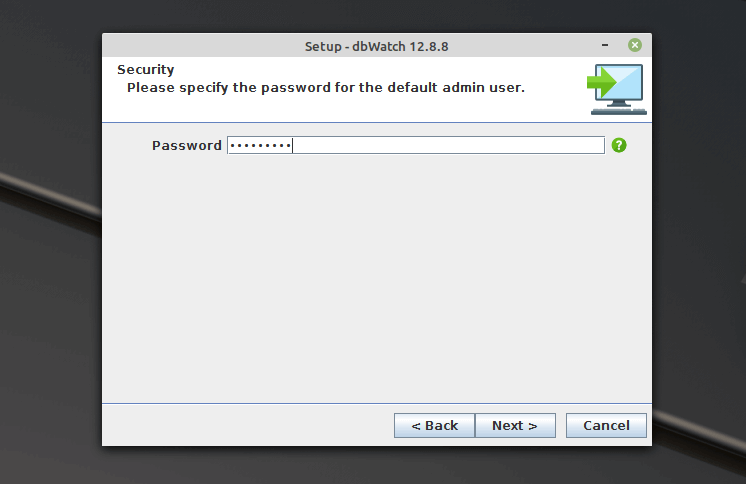
Next, set the dbWatch server’s default admin user password.
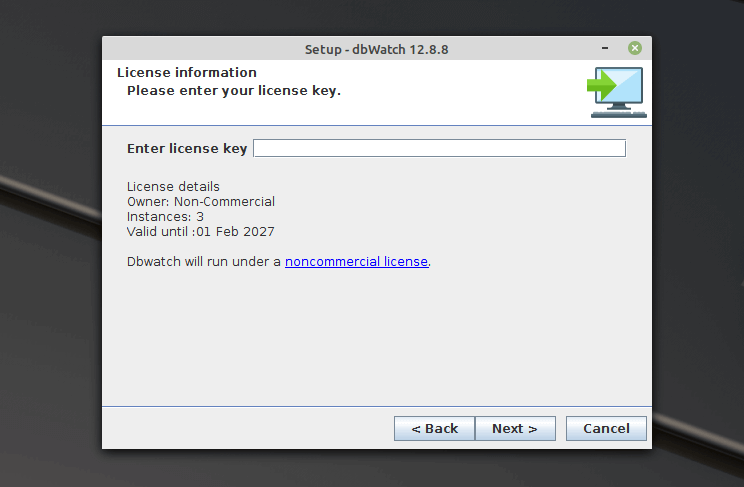
Now enter the license key. If you wish to continue trying dbWatch (in this case it will run under a non-commercial license), click Next.
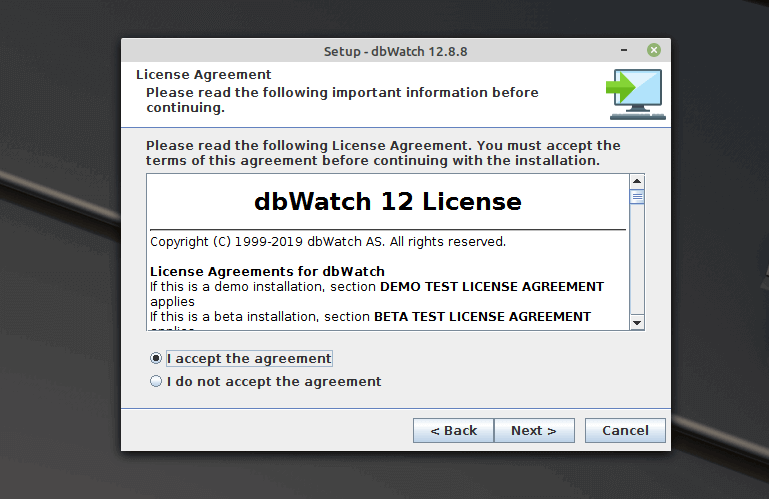
Next, read and accept the dbWatch license agreement as shown in the screenshot. And click Next to continue. In the step that follows, you can proceed with the actual installation of dbWatch package files on the system, by clicking Next.
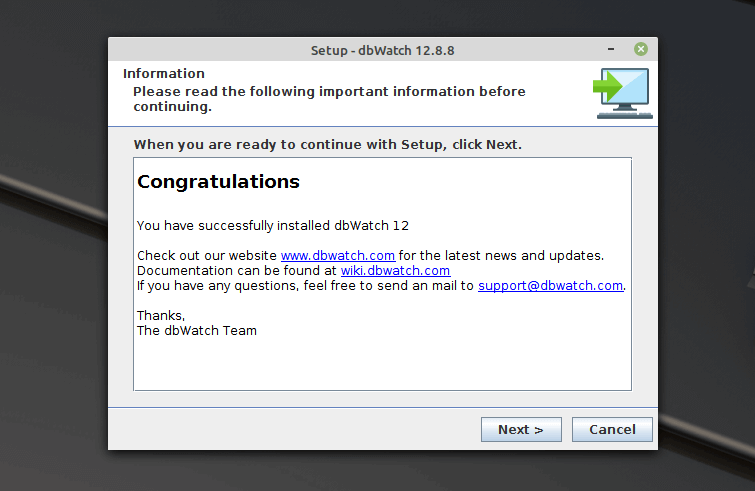
Wait for the installation process to complete. Once it has, you will see the Congratulatory message as shown in the next screenshot. Click Next to proceed.
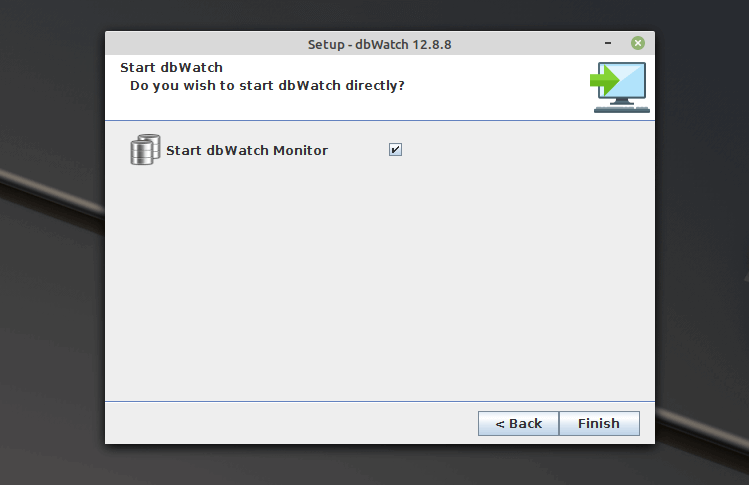
Start the dbWatch server by leaving the “Start dbWatch Monitor” option checked.
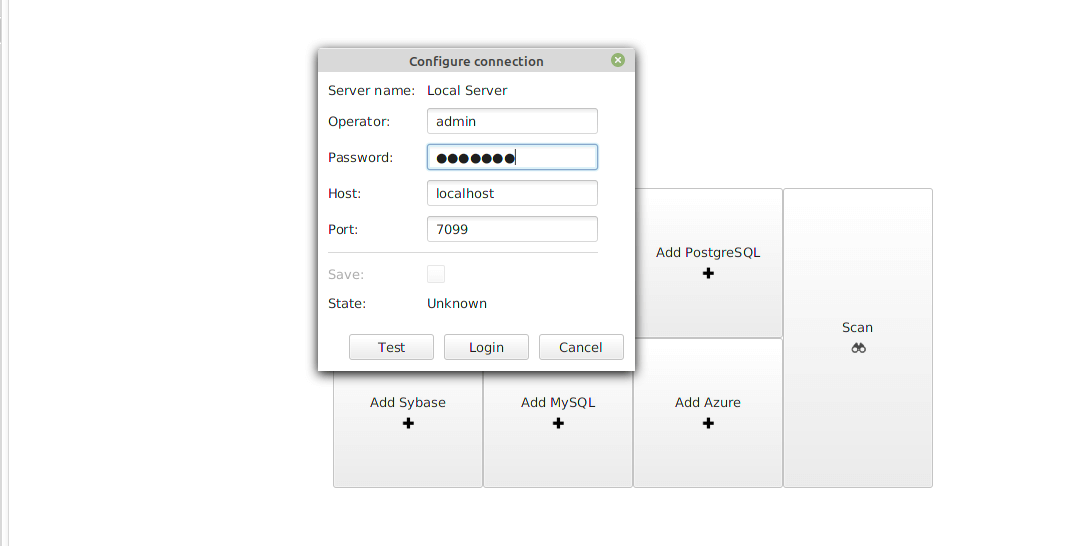
Next, configure a connection to the dbWatch database control center by logging in as the admin user. Enter the admin user password created previously and click Login.
Setup dbWatch to Monitor MySQL Database
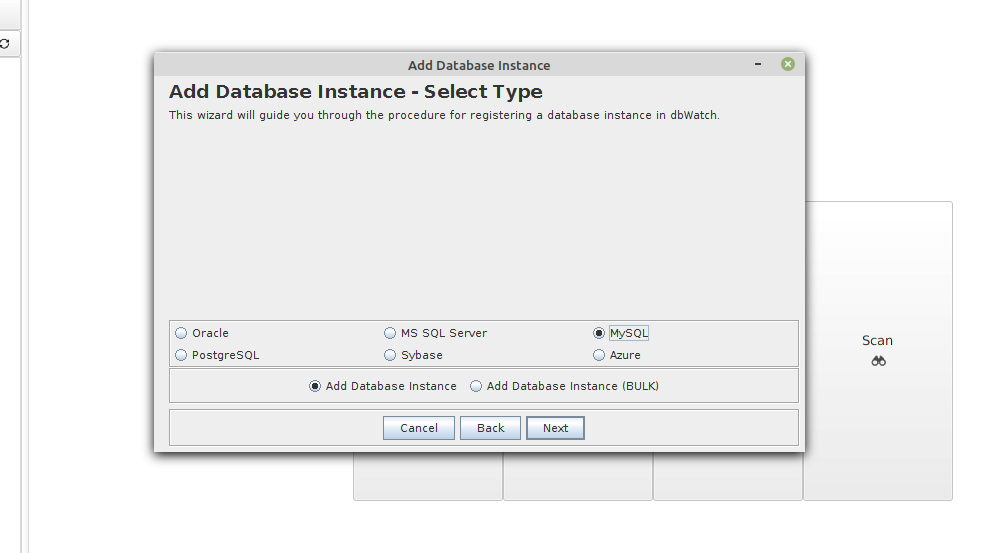
After a successful login, a window will pop up for you to add a database instance. Select MySQL from the available database options, tick Add Database Instance and click Next.
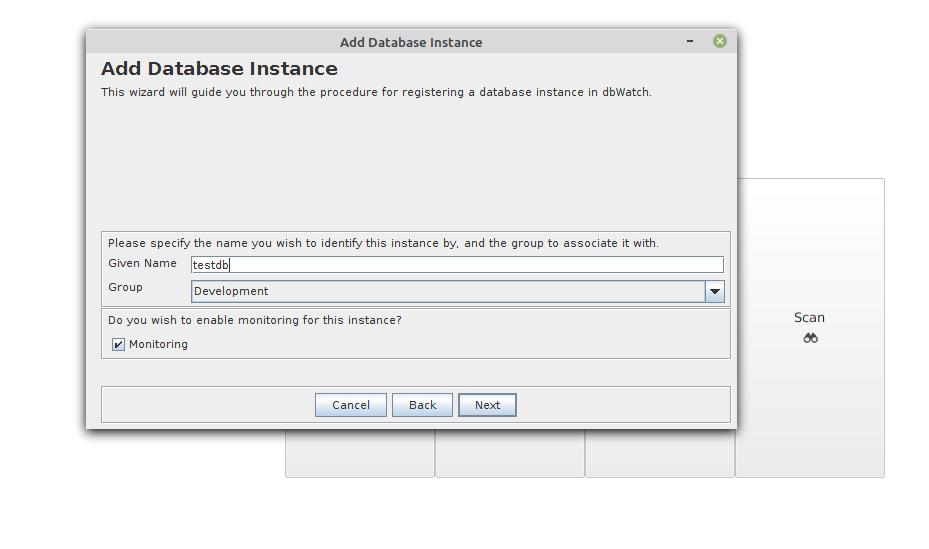
Specify a name for the MySQL instance. Also, pick a grouping to which the instance belongs (available options are Production, Test, and Development). Then check the Monitoring option and click Next.
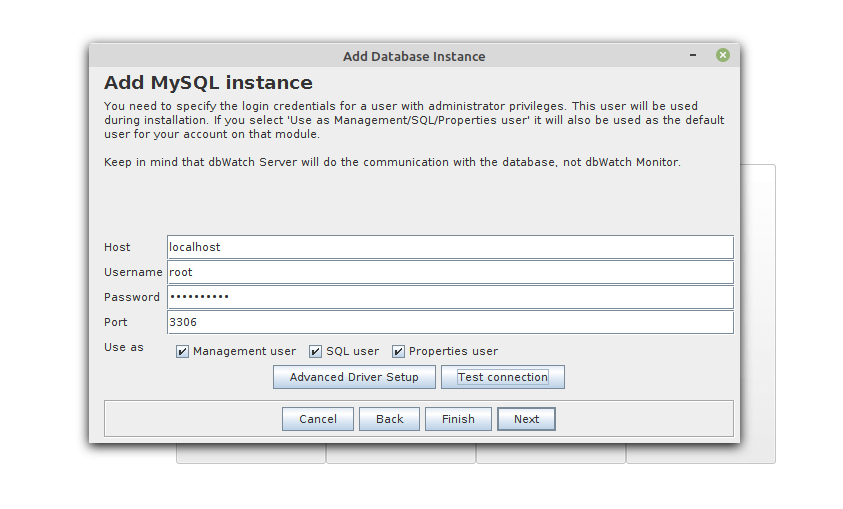
Next, connect to the MySQL database as an administrative user such as the default root user. Enter the database host, username, user’s password, and port. Then click Next to continue.
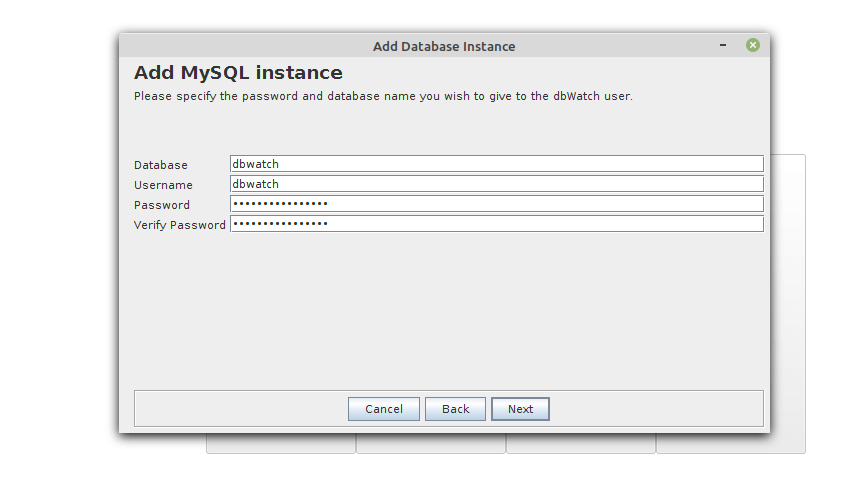
dbWatch requires a database to store its data (such as tasks and alerts about the database state and other related data). Enter the database to be used by dbWatch and set a username and password. You can leave the default values. Then click Next to enable the installer to create the specified database and user.
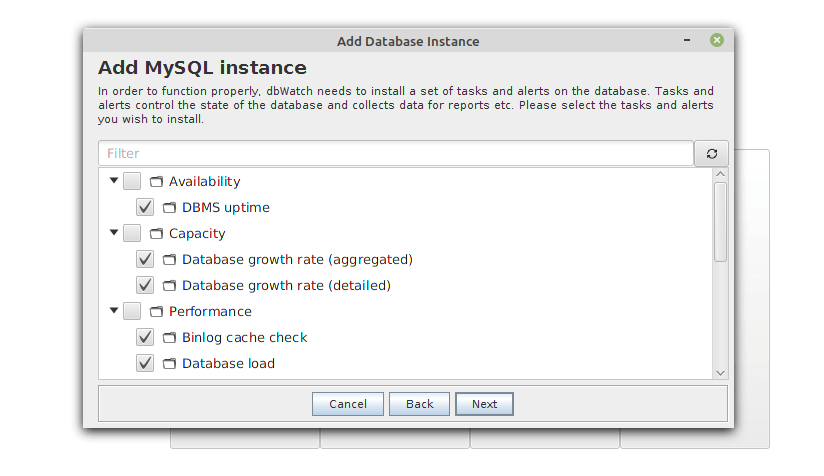
Next, select the tasks and alerts you wish to install and click Next.
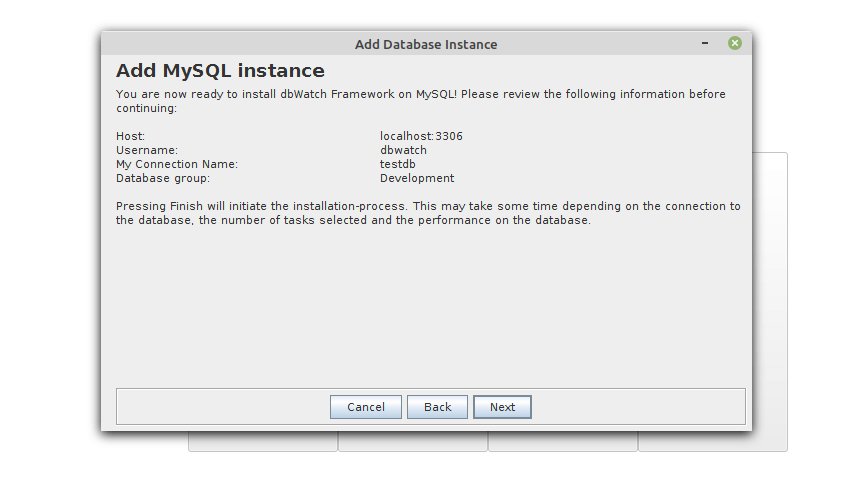
At this point, you can now install the dbWatch engine on your MySQL database server by clicking Next.
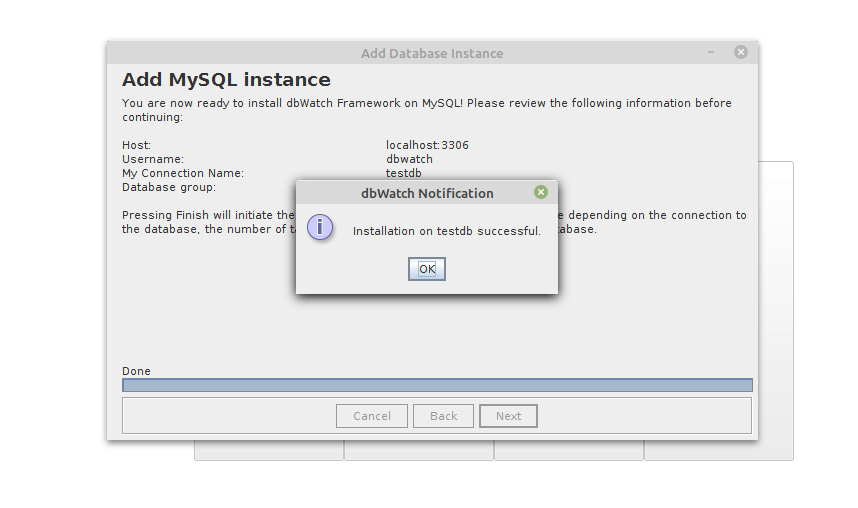
Once the installation is complete. Click OK to start monitoring and managing your MySQL databases using dbWatch.
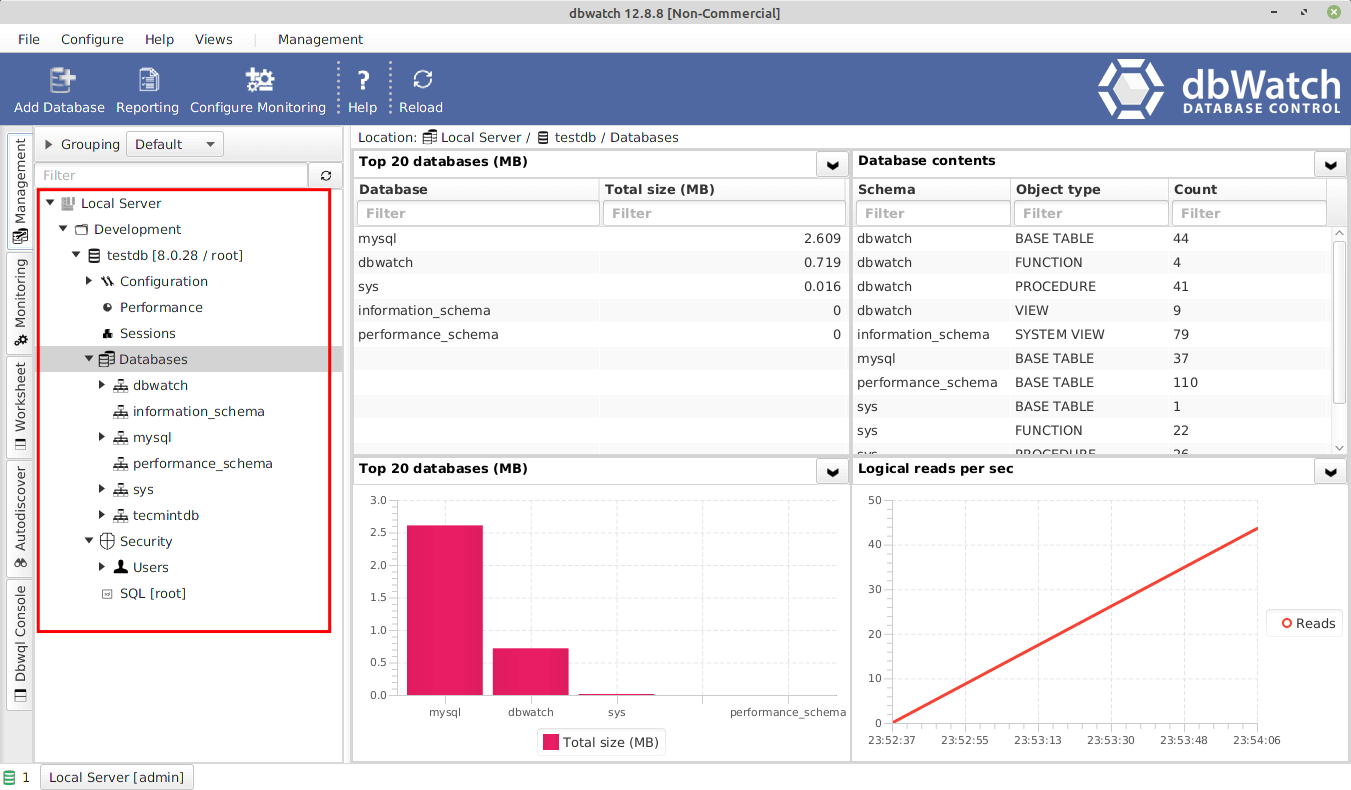
Congratulations! You have just successfully installed and set up the dbWatch database monitoring and management framework. For more information, check the dbWatch website.

