Cockpit is an easy-to-use, lightweight, and simple yet powerful remote manager for GNU/Linux servers, it’s an interactive server administration user interface that offers a live Linux session via a web browser.
It can run on several RHEL-based Linux distributions and Debian derivatives including Ubuntu, Linux Mint, Fedora, CentOS, Rocky Linux, AlmaLinux, Arch Linux among others.
Cockpit makes Linux discoverable thereby enabling system administrators to easily and reliably carry out tasks such as starting containers, managing storage, network configurations, log inspections coupled with several others.
[ You might also like: 20 Command Line Tools to Monitor Linux Performance ]
While using it, users can easily switch between the Linux terminal and web browser without any hustles. Importantly, when a user starts a service via Cockpit, it can be stopped via the terminal, and just in case of an error that occurs in the terminal, it is shown in the Cockpit journal interface.
Features of Cockpit:
- Enables managing of multiple servers in one Cockpit session.
- Offers a web-based shell in a terminal window.
- Containers can be managed via Docker.
- Supports efficient management of system user accounts.
- Collects system performance information using the Performance Co-Pilot framework and displays it in a graph.
- Supports gathering of system configuration and diagnostic information using sos-report.
- Also supports a Kubernetes cluster or an Openshift v3 cluster.
- Allows modification of network settings and many more.
How to Install Cockpit in Linux Systems
You can install Cockpit in all Linux distributions from their default official repositories as shown:
Install Cockpit on Fedora and CentOS
To install and enable Cockpit on Fedora distributions, use the following commands.
# yum install cockpit
# systemctl enable --now cockpit.socket
# firewall-cmd --add-service=cockpit
# firewall-cmd --add-service=cockpit --permanent
# firewall-cmd --reload
Install Cockpit on Rocky Linux and AlmaLinux
To install and enable Cockpit on Rocky/AlmaLinux distributions, use the following commands.
# yum install cockpit
# systemctl enable --now cockpit.socket
# firewall-cmd --add-service=cockpit
# firewall-cmd --add-service=cockpit --permanent
# firewall-cmd --reload
Install Cockpit on RHEL
Cockpit is added to the Red Hat Enterprise Linux Extras repository from versions 7.1 and later:
# yum install cockpit
# systemctl enable --now cockpit.socket
# firewall-cmd --add-service=cockpit --permanent
# firewall-cmd --reload
Install Cockpit on Debian
The cockpit is included in Debian’s official repositories, and you can install it using the following commands.
# apt-get update
# apt-get install cockpit
# mkdir -p /usr/lib/x86_64-linux-gnu/udisks2/modules
# ufw allow 9090
# ufw allow 80
Install Cockpit on Ubuntu and Linux Mint
In Ubuntu and Linux Mint distributions, Cockpit is not included, but you can install it from the official Cockpit PPA by executing the following commands:
$ sudo add-apt-repository ppa:cockpit-project/cockpit
$ sudo apt-get update
$ sudo apt-get install cockpit
$ sudo systemctl enable --now cockpit.socket
Install Cockpit on Arch Linux
Arch Linux users can install Cockpit from the Arch User Repository using the following command.
# yaourt cockpit
# systemctl start cockpit
# systemctl enable cockpit.socket
How to Use Cockpit in Linux
After Cockpit is installed successfully, you can access it using a web browser at the following locations.
https://ip-address:9090
OR
https://server.domain.com:9090
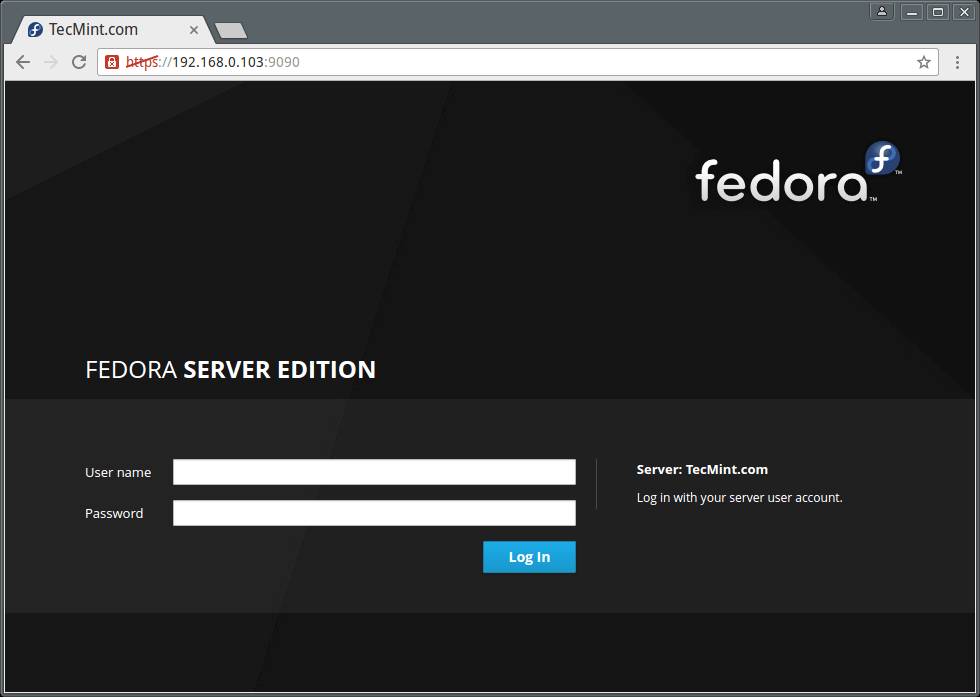
Enter system username and password to login in the interface below:
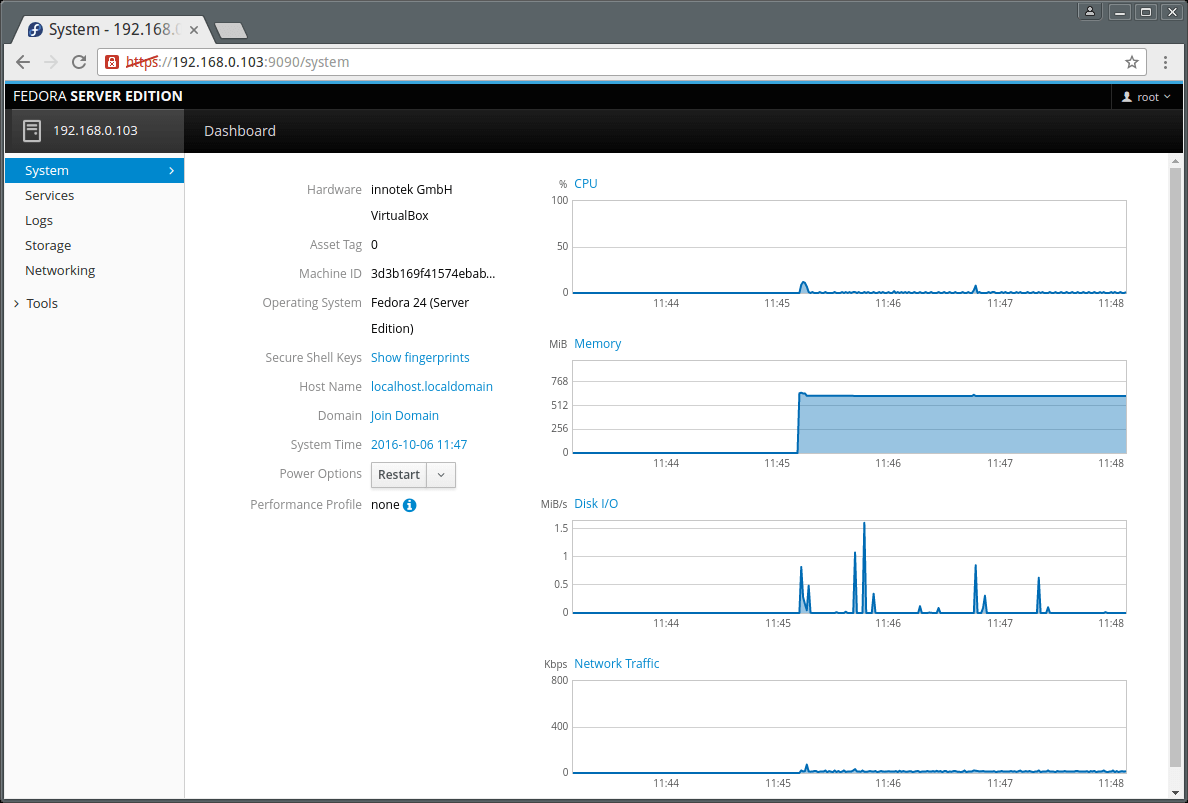
After logging in, you will be presented with a summary of your system information and performance graphs for CPU, Memory, Disk I/O, and Network traffic as seen in the next image:
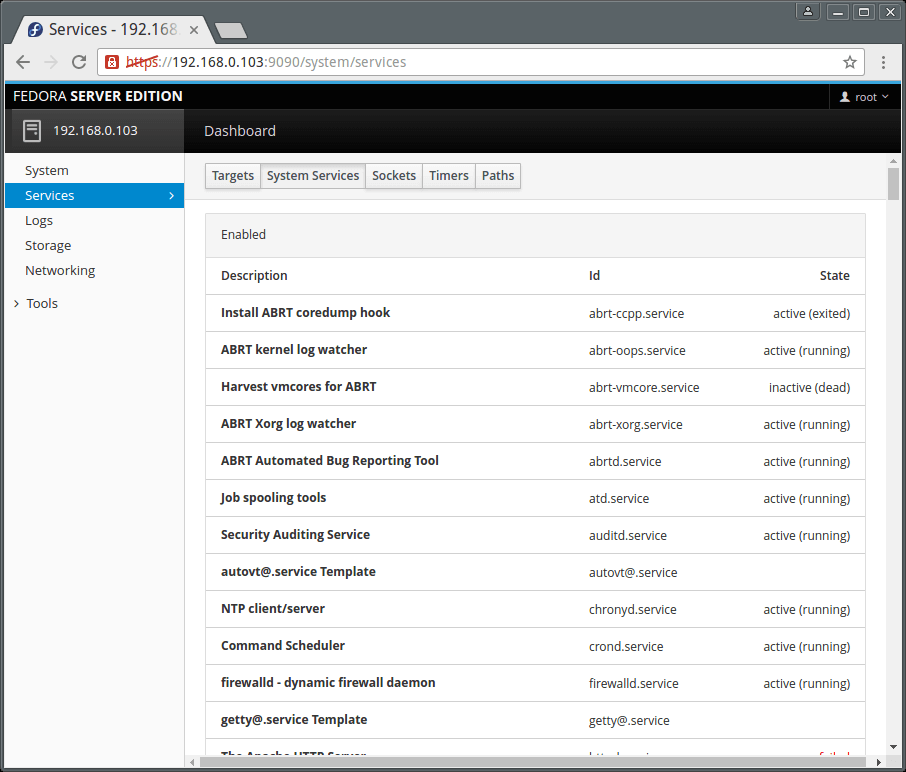
Next on the dashboard menu, is Services. Here you can view Targets, System Services, Sockets, Timers, and Paths pages.
The interface below shows running services on your system.
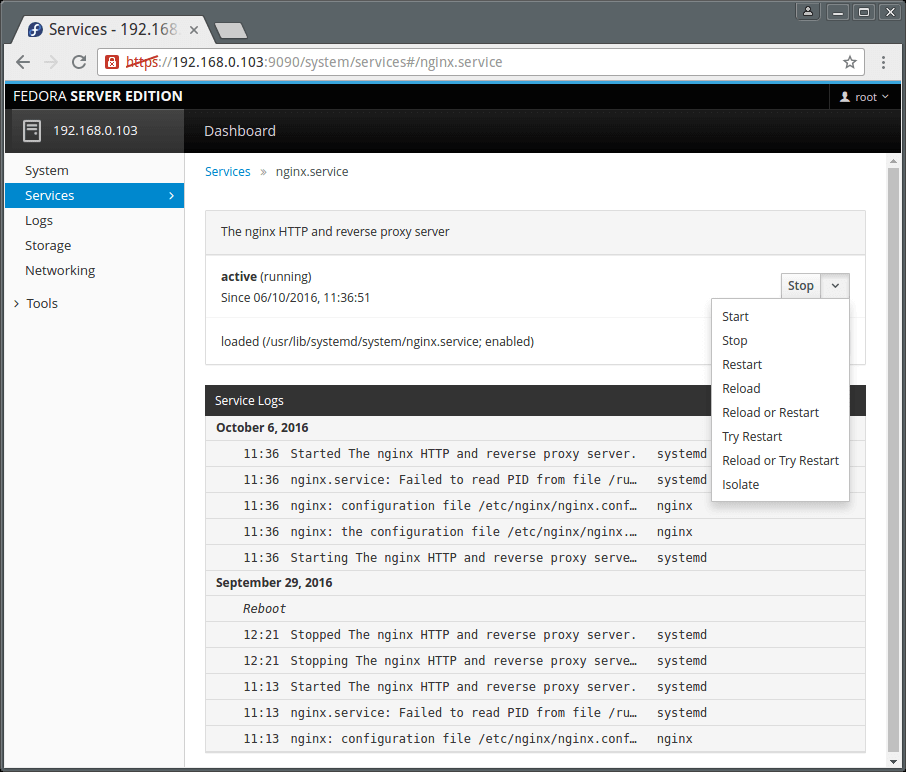
You can click on a single service to manage it. Simply click on the drop-down menus to get the functionality you want.
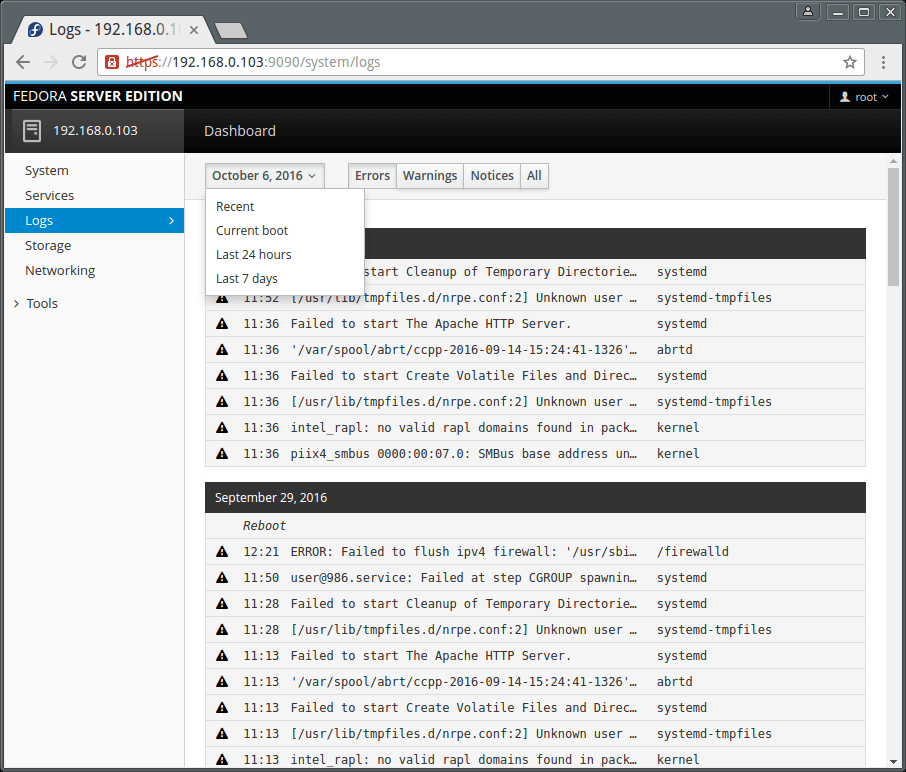
The Logs menu item displays the logs page which allows for logs inspection. The logs are categorized into Errors, Warnings, Notices, and All as in the image below.
Additionally, you can as well view logs based on time such as logs for the last 24HRs or 7 days.
Suggested Read: 4 Best Log Monitoring and Management Tools for Linux
To inspect a single log entry, simply click on it.
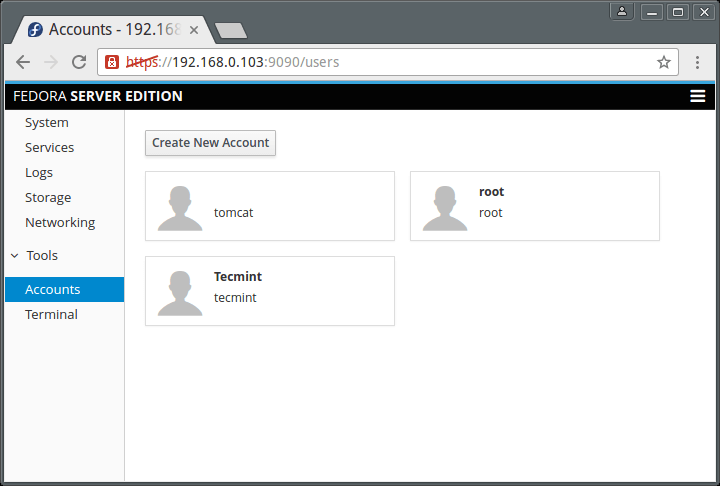
Cockpit also enables you to manage user accounts on the system, go to Tools and click on Accounts. Clicking on a user account allows you to view the user’s account details.
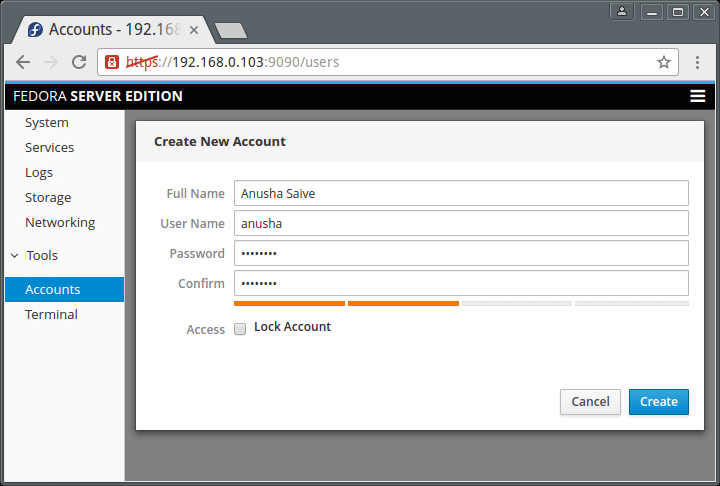
To add a system user, click on the “Create New Account” button and enter the necessary user information in the interface below.
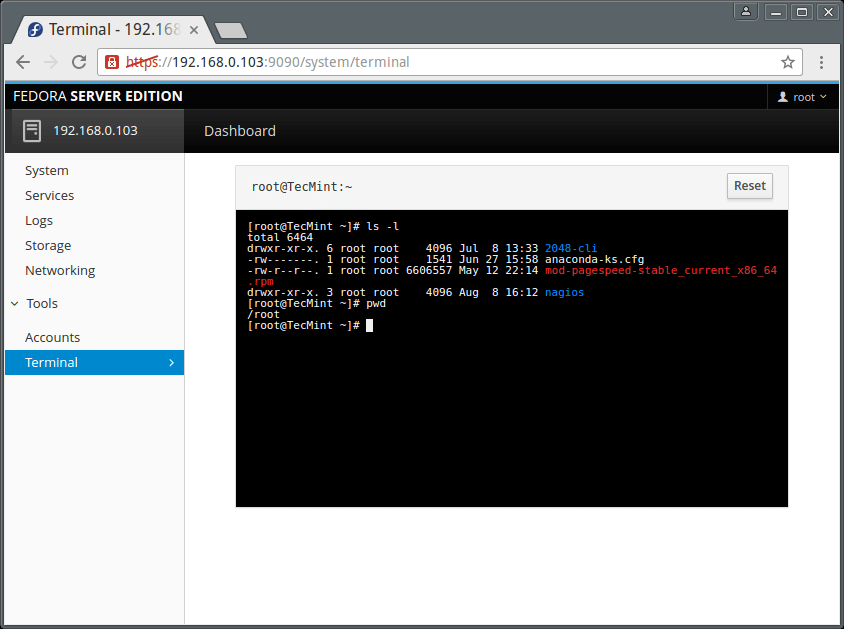
To get a terminal window, go to Tools → Terminal.
How to Add Linux Server to Cockpit
Important: Be aware that you must install Cockpit on all remote Linux servers in order to monitor them on the Cockpit dashboard. So, please install it before adding any new server to Cockpit.
To add another server, click on dashboard, you will see the screen below. Click on the (+) sign and enter the server IP address. Remember that information for each server you add is displayed in Cockpit using a distinct color.
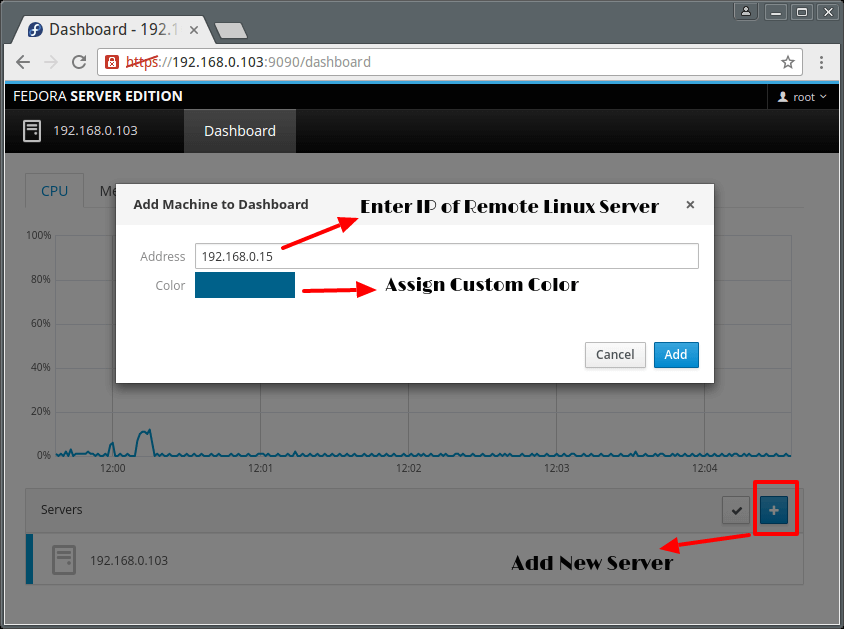
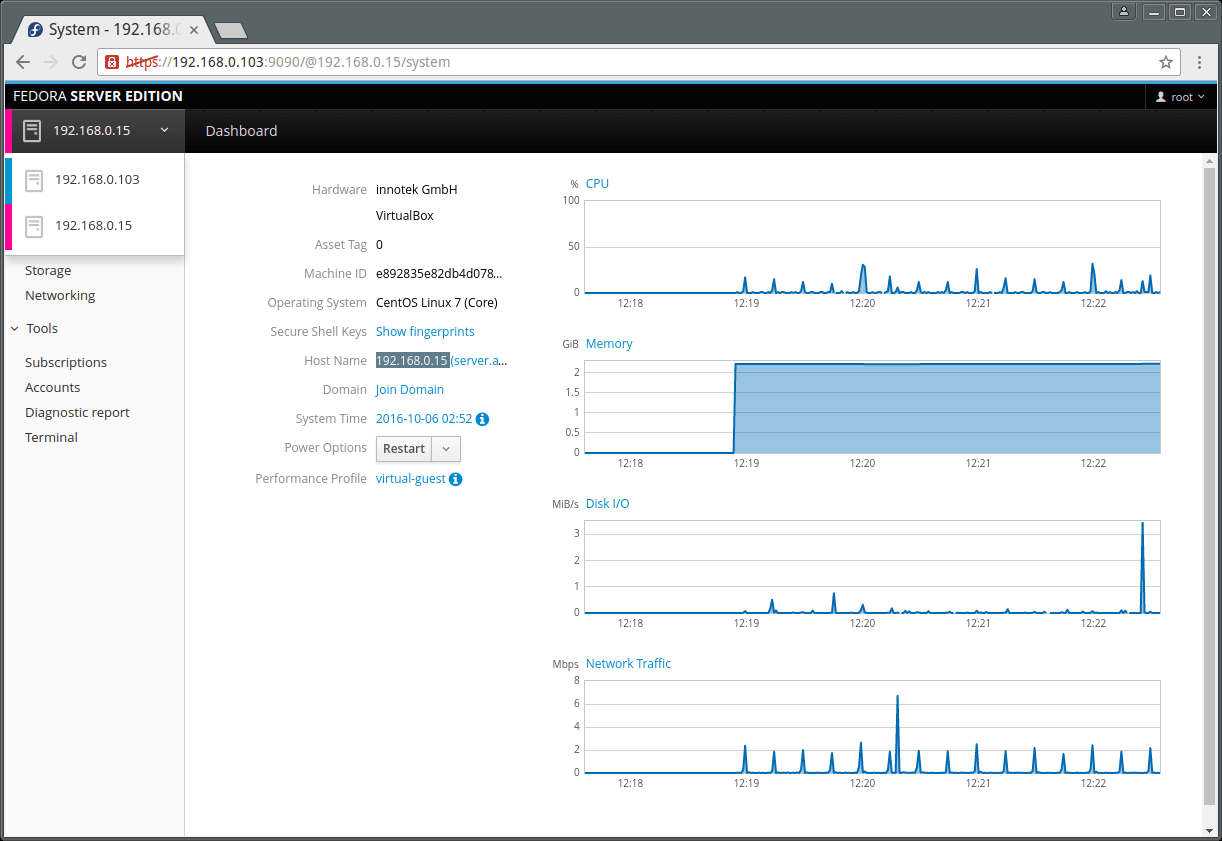
Same way, you can add many Linux servers under Cockpit and manage them efficiently without any trouble.
That is it for now, however, you can explore more in case you have installed this simple and wonderful server, remote manager.
Cockpit Official Documentation: http://cockpit-project.org/guide/latest/
For any questions or suggestions as well as feedback on the topic, do not hesitate to use the comment section below to get back to us.


Hi,
Thanks a lot
Very nice and useful article.
I am getting errors while installing the cockpit in CentOS Linux release 7.7.1908 (Core). is it due to a repo issue? kindly advise
Error downloading packages:
cockpit-195.6-1.el7.centos.x86_64: [Errno 256] No more mirrors to try.
cockpit-system-195.6-1.el7.centos.noarch: [Errno 256] No more mirrors to try.
cockpit-ws-195.6-1.el7.centos.x86_64: [Errno 256] No more mirrors to try.
cockpit-bridge-195.6-1.el7.centos.x86_64: [Errno 256] No more mirrors to try.
Hello ^^)
just a (dumb ?) question: Why the HTTPS: is slashed red in all the administration views?
could it be that the links aren’t secure at all between the servers and cockpit on the main admin computer?
Hey,
This is great and we have started to use it. One of our main goals is to use it for patch management. However, we have to click into each server to see there patch level and update. Is there any way or any thoughts on enhancing the dashboard so that an updates tab will be available. And even a way to select servers and update rather than individually.
Thanks
@Neil
You can contact the developers of Cockpit-project: https://cockpit-project.org/ to add this features. It is a good feature that many users would like to see added.
In order to do that you need Red Hat Satellite. In fact… you can even install the cockpit in all your Linux servers from Satellite.
I have installed on centos successfully it shows the details as Project website.
Version 195.1.
Licensed under: GNU LGPL version 2.1,
But unfortunately, I am not able to see storage selection on my webpage. Can anybody give the solution?
@Anil
Have you checked the side menu items? And which CentOS version are you using?
@Aaron Thanks, Yes I checked. I am able to see the options are (System, Logs, Networking, Accounts, Services, Diagnostic reports, Kernel dump, SELinux, terminal. I am using CentOS 7.
And I am not able to see the dashboard too to add other servers…
@Anil
Let me try to install Cockpit on a fresh CentOS 7 installation and give you feedback later on. Thanks.
This is interesting I will try it as we have 3 servers, seems good management all in one kit.
@zack
Give it a try and share your thoughts about it. Thanks.
I have installed on my Fedora 31, looks good but a few minor problems. I could not change the idle timeout (could not find the /etc/cockpit/cockpit.conf). Also, there are no graphs showing on pages
http://localhost:9090/system/graphs#/cpu.Hi,
I have installed on Cent OS 7, but did not showing the Dashboard. Please share the info
@nehru
Ensure that you have opened the port Cockpit listens(9090) on, in your firewall.
I have disabled my firewall but still no option of dashboard.
cockpit Version 165.
I had the same problem, but I found a simple fix: add /dashboard to your url and add the second server. From now on you should have the dashboard button in the menu.
@Paul
Many thanks for sharing this useful solution.
Can you please more brief about how to add Dashboard..
Looks interesting, but it wants to install GUI on my server. That’s unacceptable.
@MGi
Yes, it’s a GUI so if you want to use it, then you have to install a GUI on your server.
It’s a WebUI, it has the same security implications as SSH or console.
I’m guessing GUI is bad from your standpoint in respect to resource overhead (read: X-Window System, Desktop).
That’s not the case with the WebUI.
I just installed it on a head server and looking at the resources being logged in and managing a dozen other servers, it’s nominal.
Just putting it out there so you have a second point of reference.
Cheers, and good luck with your endeavour!!
Nick
@guvnayyc
Many thanks for sharing your thoughts with us.
Did not work for me.
I had to use :