Fedora Project has proudly announced the general availability of Fedora 22. Fedora 22 which don’t have a name has succeeded Fedora 21. Fedora comes in three editions namely Workstation for desktop and Laptops, Server for powering the Server Machine and Cloud for Cloud and Docker related application hosting and Deployment.
We have covered a detailed description of what’s new in Fedora 22 Workstation, Server and Cloud, to know what you can expect in various editions and in general in the latest release of Fedora, go through this article.
If you are running a previous version of Fedora and want to Update to Fedora 22, you may like to go through this article:
If you are trying Fedora for the first time or want to install fedora 22 on one of your system, this guide will help you in Installing Fedora 22 and also we would be reviewing features/applications briefly, after installation.
The very first thing is to download the ISO image of Fedora 22 from the official Fedora website, as per your machine architecture.
To download Fedora 22 Workstation, use the link below. You may wget the image file as well.
Download Fedora 22 Workstation Live Image
- Fedora-Live-Workstation-i686-22-3.iso – Size 1.3GB
- Fedora-Live-Workstation-x86_64-22-3.iso – Size 1.3GB
Download Fedora 22 Workstation Netinstall Image
- Fedora-Workstation-netinst-i386-22.iso – Size 510MB
- Fedora-Workstation-netinst-x86_64-22.iso – Size 447MB
Installation of Fedora 22 Workstation
1. Now you have downloaded the image file, check the integrity of the ISO file by checking its hash value and match it with the one provided by Fedora Project on their official site.
You can get the Fedora Image Hash from the link https://getfedora.org/verify
First calculate the hash of your ISO image.
$ sha256sum Fedora-Live-Workstation-x86_64-22-3.iso

Sample output
615abfc89709a46a078dd1d39638019aa66f62b0ff8325334f1af100551bb6cf  Fedora-Live-Workstation-x86_64-22-3.iso
If you are using 32-bit workstation ISO image, you can go here Fedora-Workstation-22-i386-CHECKSUM and match the hash value provided by fedora Project.
If you are using 64-bit workstation ISO image, you can go here Fedora-Workstation-22-x86_64-CHECKSUM and match the hash value provided by fedora Project.
Once confirmed! Your Downloaded image is complete and error free, its time to burn this to a DVD-ROM or write it to a USB Flash Drive.
2. You may use tools like ‘Brasero‘ to burn the Image to DVD-ROM or use Unetbootin to make USB Flash Drive Bootable. You may also use Linux ‘dd‘ command to write the image to USB flash Drive and make it bootable.
If you want to know more about making USB bootable with Unetbootin and ‘dd‘ command in Linux, here is the link you would like to go through https://www.tecmint.com/install-linux-from-usb-device/.
3. Now Insert your Bootable Media in the Drive/slot, and select to boot from that specific device in BIOS. As soon as your system boots into Fedora 22, you will get a Boot Menu, either wait for automatic booting into Live Mode or Press Return Key to start fedora Live Instantly.
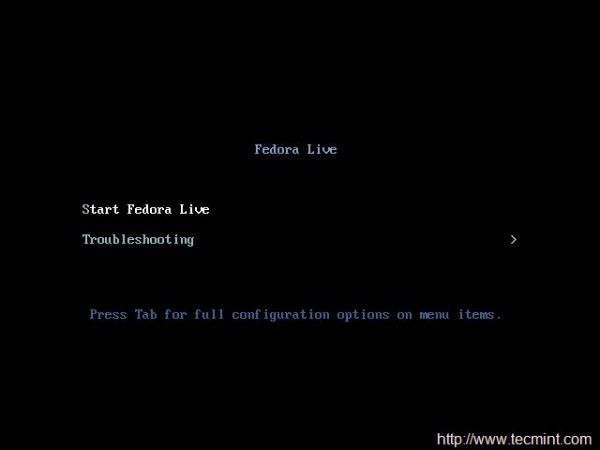
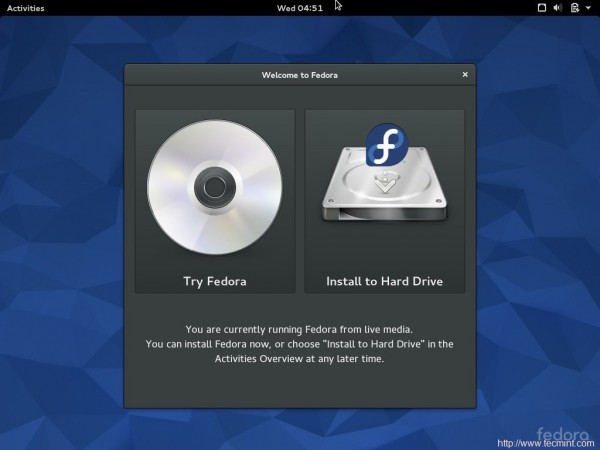
4. On the Next Screen, you get option to try it before installing. I have already tested it and hence will go for “Install to Hard Drive”.
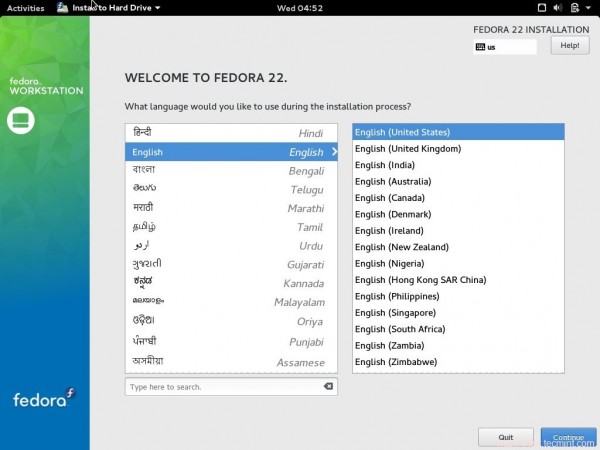
5. Time to select your Keyboard language for installation.
6. You get a screen where you can configure 4 things – Keyboard, Time & Date, Installation Destination and Network. You may select Time and Date and set it as per your Geographical Location.
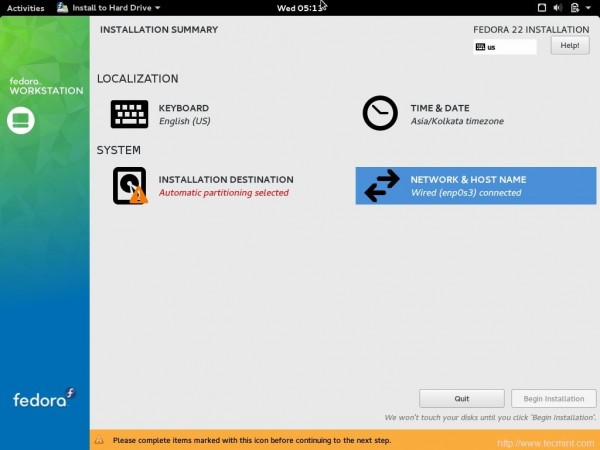
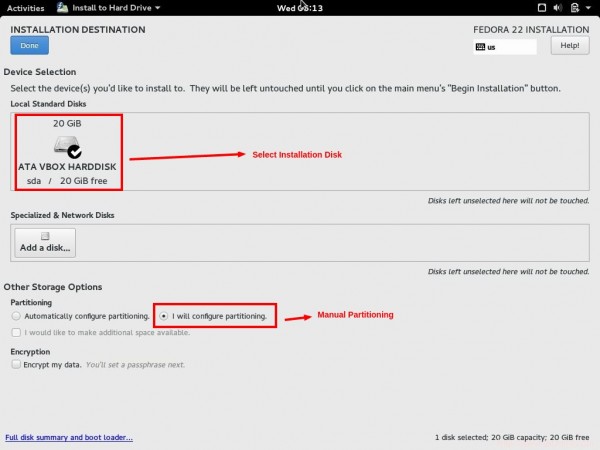
7. Click on Installation Destination and select “I will Configure Partitioning”. You may select “Automatically configure Partitioning”, if you want automatic partitioning, however the fact is Manual Partitioning gives you better control over System Disk/LVM space. Click on Done.
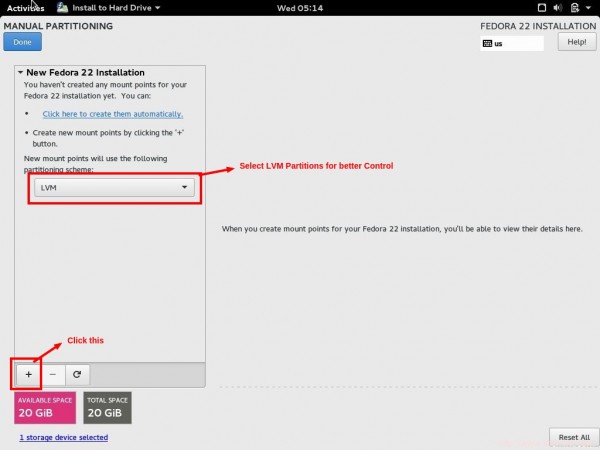
8. The next is Manual Partitioning Windows, here click on + icon and create /boot partition and Enter Desired Capacity size as per your requirements. Finally Click “Add Mount Point”.
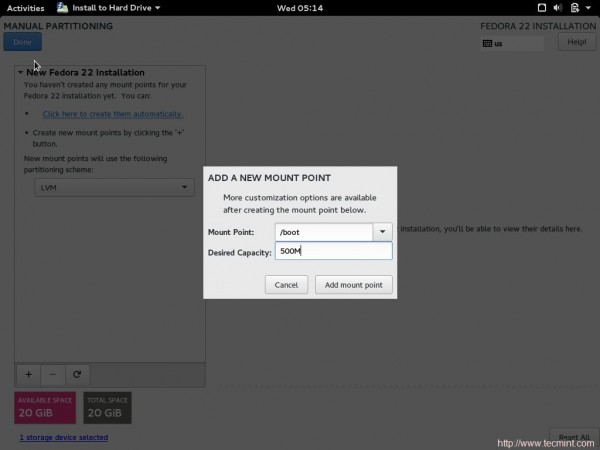
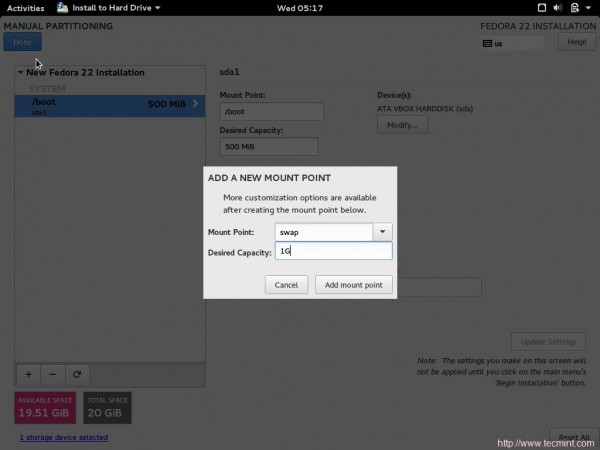
9. Similarly create Swap partition and enter Desired Capacity, finally click “Add Mount Point“.
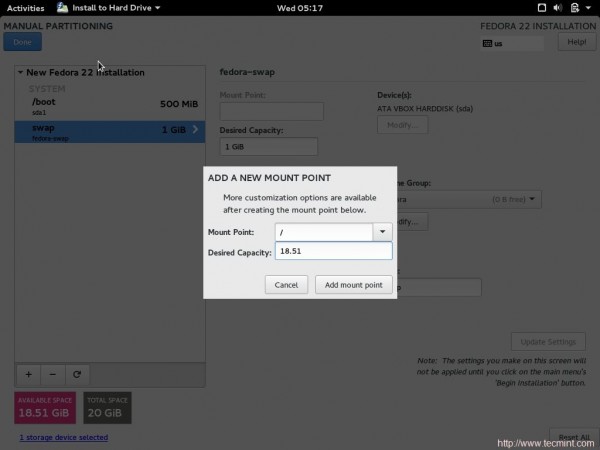
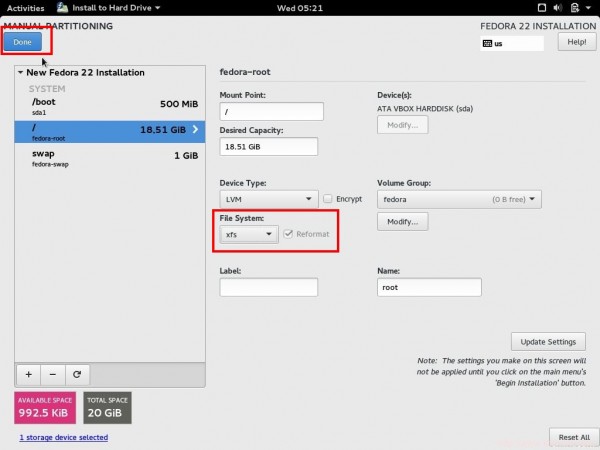
10. Finally create root (/) partition and in desired capacity, enter all the disk space that is available, if you don’t want to create any extended partition.
Notice the root (/) partition filesystem type is XFS. here disk partitioning process is over click ‘Done‘ to continue…
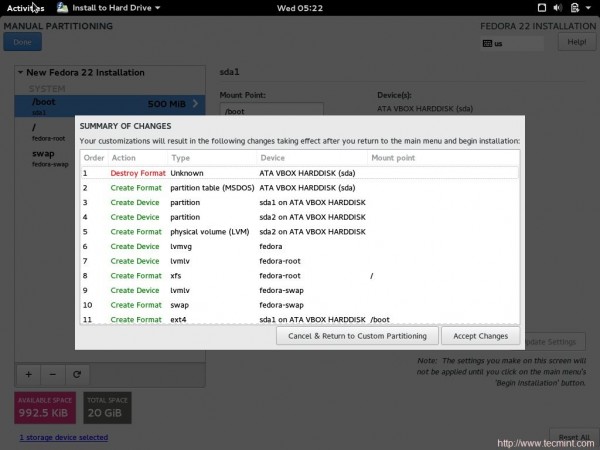
11. The System will ask if you want to destroy the format. Click “Accept Changes”.
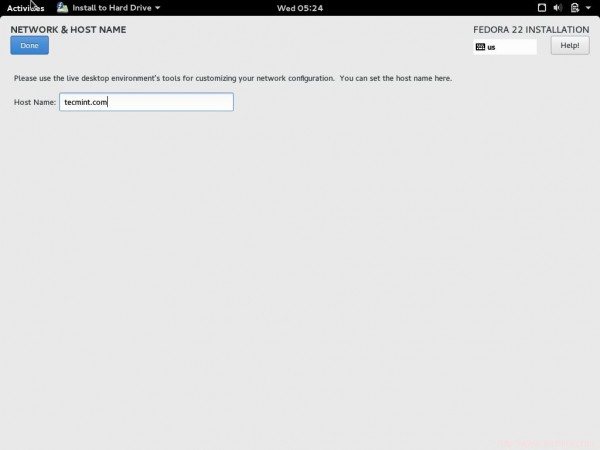
12. Now you will return back to Installation Summary Windows, select “Network & HOST NAME” from there and enter your desired Host Name. Click Done, when finished.
You will be back to Installation Summary Screen. Now everything seems right here. Click “Begin Installation”.
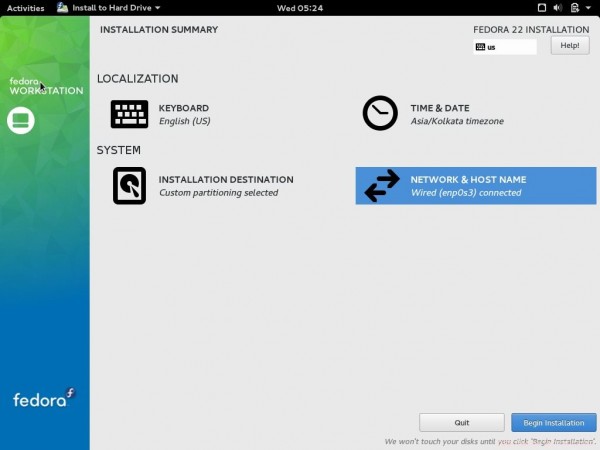
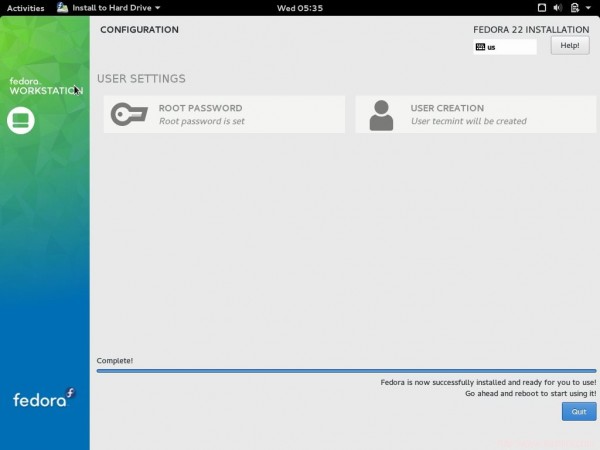
13. The system will start installing software followed by configuration and installing bootloaders. All these will be carried out automatically. Just just have to take care of two things from this windows. First create a new root password and second create a new User Account.
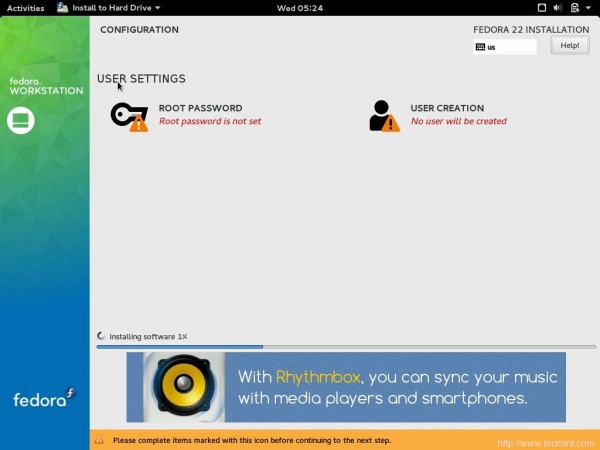
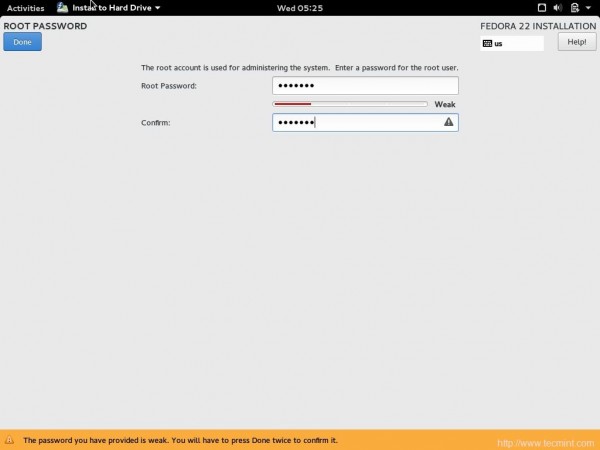
14. Click on Root Password, and enter a root password. Remember to create a strong Password. (In testing, I just needed to check a few things and security for me was not a concern hence password is weak in my case). Click ‘Done‘, when finished.
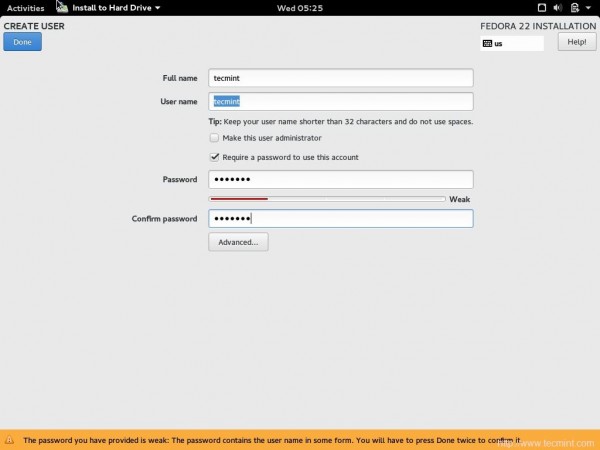
15. Next click on “USER CREATION” and input necessary details viz., full name and user name, password. If you like, you may select ‘Advanced‘. Click done when you are done.
16. It will take some time to complete the process. When completed, you get message “Fedora is now successfully installed and……” click quit.
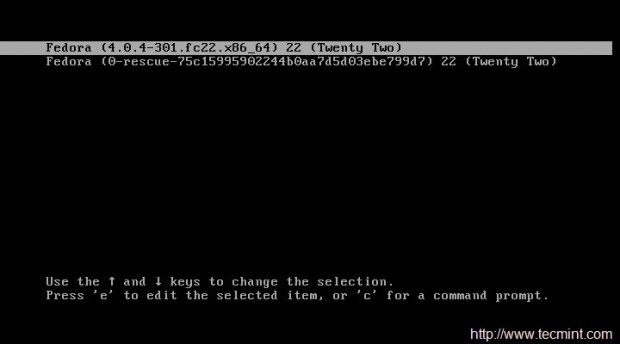
17. Next, reboot the system and you may notice the boot option which indicates boot-loader detected the Fedora 22 installation partition.
18. After boot, you will get a login screen of the Fedora 22, you just installed. Enter the user_name and password in the resulting window.
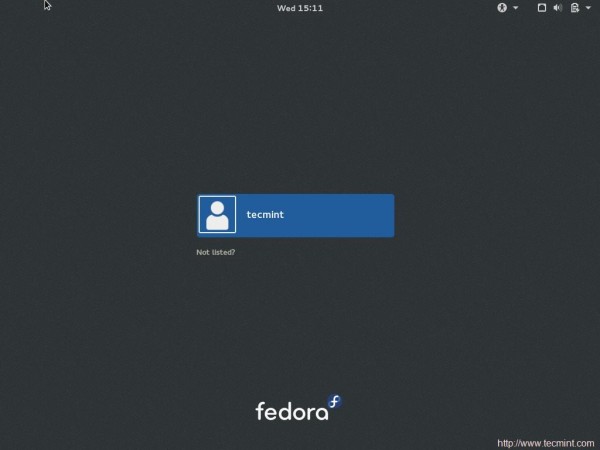
The Very first Impression. Looks like crystal clear.
And then you will find yourself in the mid of configuring initial setup (just few click required).
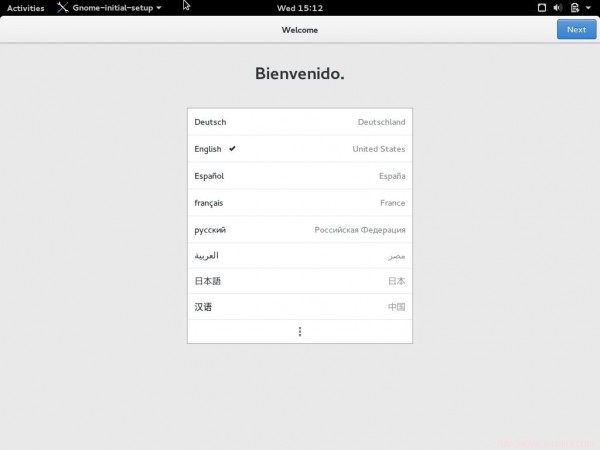
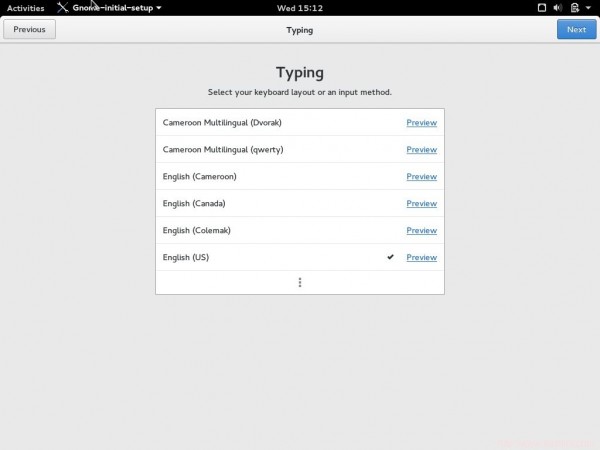
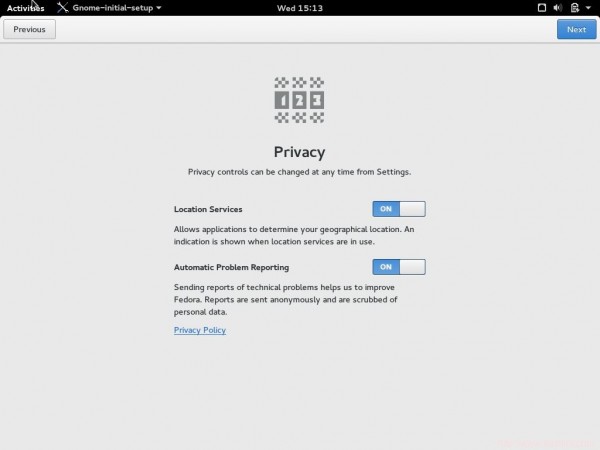
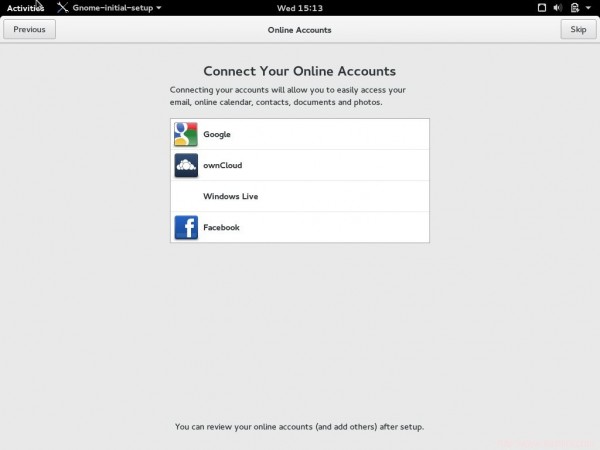
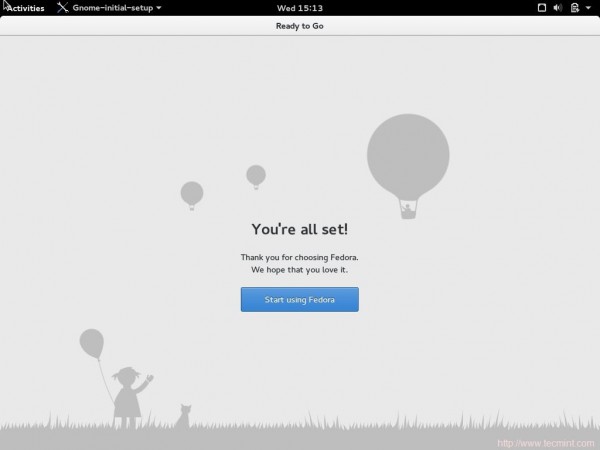
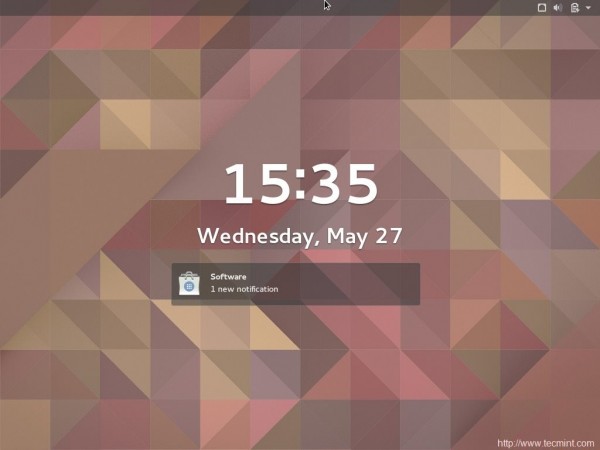
And you are all set to use your Fedora installation with all the power Fedora gives to its user. The default screen saver and update notification makes sense and seems very nicely implemented.
Quick Review of Fedora 22 Workstation
The notifications now appears in the center of top bar.
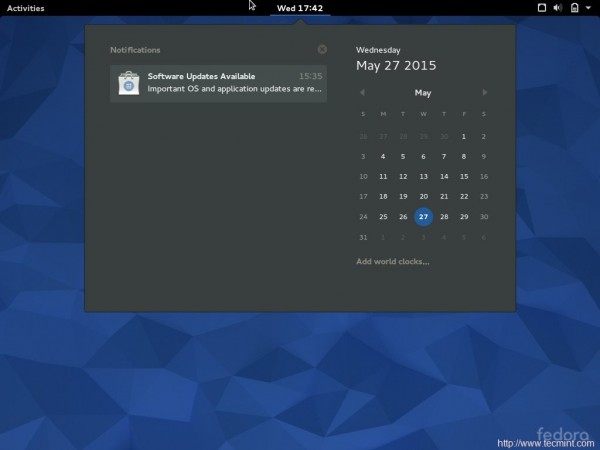
Everything be it icon or text seems very much polished.
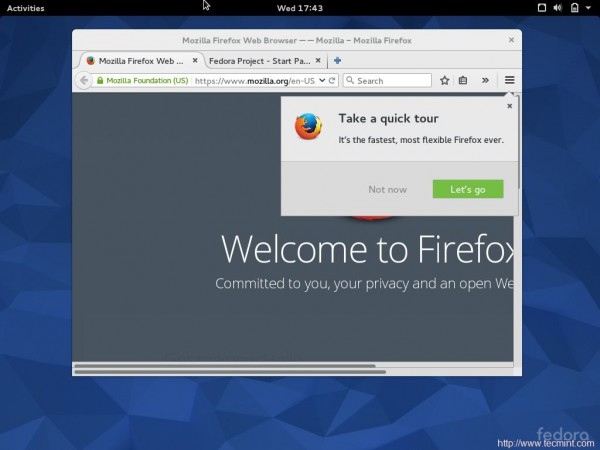
Mozilla Firefox is the default Browser.
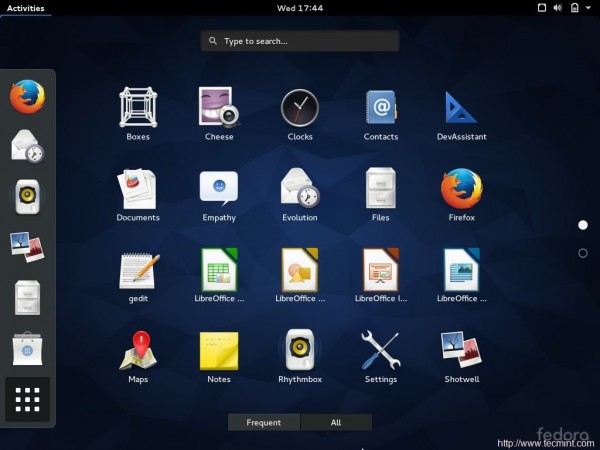
The list of pre-installed applications are least which ensures nothing extra is installed and running thus you can be sure that no undesirable application is eating your system resource. Moreover similar type applications are grouped together.
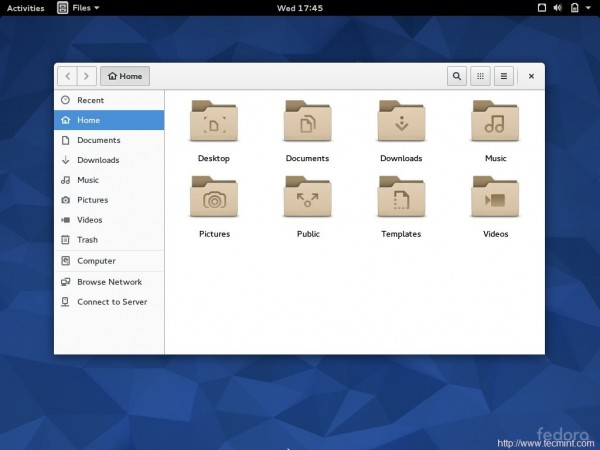
The nautilus manager file and folder viewer, seems very smooth.
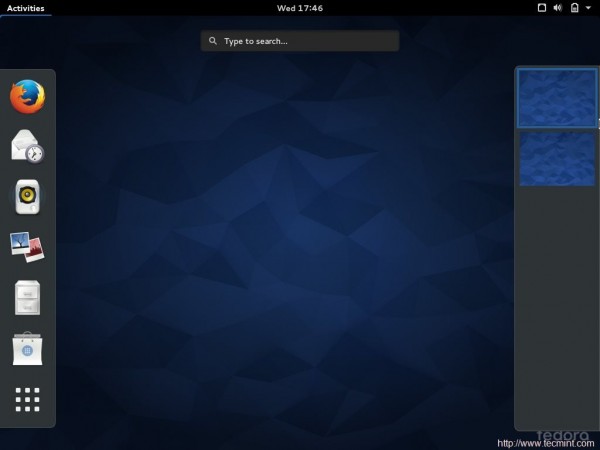
Virtual Desktop is pretty simple and clear..
DevAssistant setup wizard allows developer to develop Applications in major Programming Language (you may add more) from one Application. This is going to make the life of developers very easy.

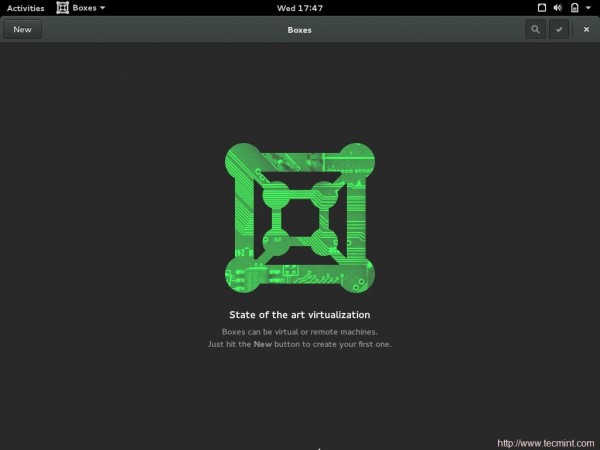
Boxes – The Virtualization tool. No need to look for third party virtualization platform. Though I have not tested Boxes and I am not sure and hence can not compare it with other virtualization Application Software available there.
Yum install … oops! Yum is no more the package manager in Fedora 22. DNF replace YUM. You may notice the warning that Yum is deprecated.
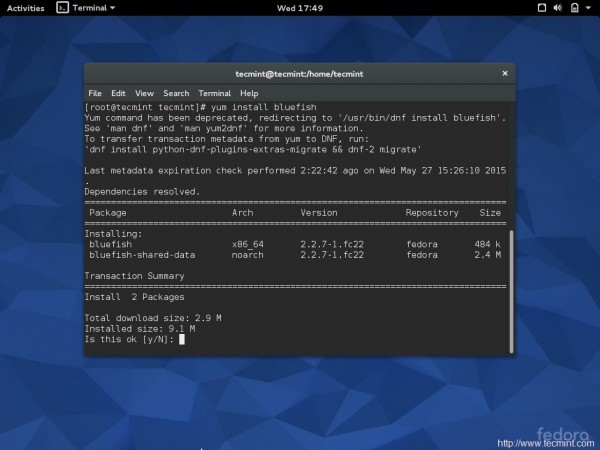
To know more about on how to use dnf to manage packages in Fedora, read 27 DNF Commands and Usage to Manage Packages.
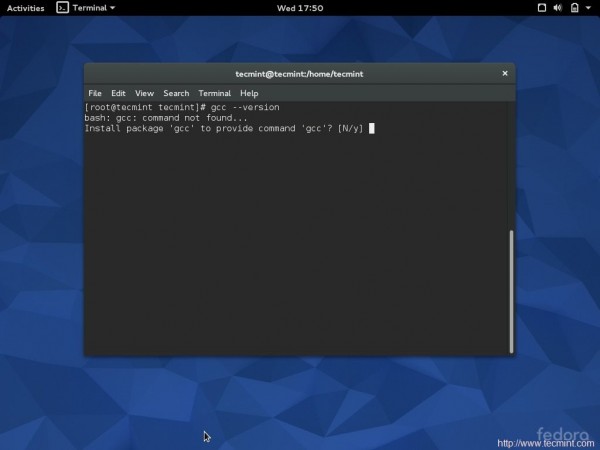
I tried checking the version of gcc. Gcc is not installed by-default. I was astonished to see it is recommending to install gcc automatically based upon the last command I run.
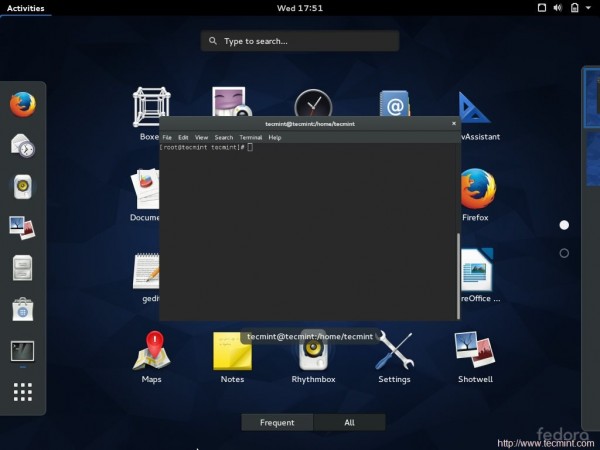
Tried switching to another virtual desktop and amazed by the improvement. Prior to this, the Applications were not visible while switching to virtual desktop and desktop background was the default background here.
You will notice the difference, if you have used Gnome 3 and have used Virtual Desktop. (For a person like me who deals with lots of files and applications and scripts simultaneously, Virtual Desktop is a life savor. It helps me keep things separate and arranged)..
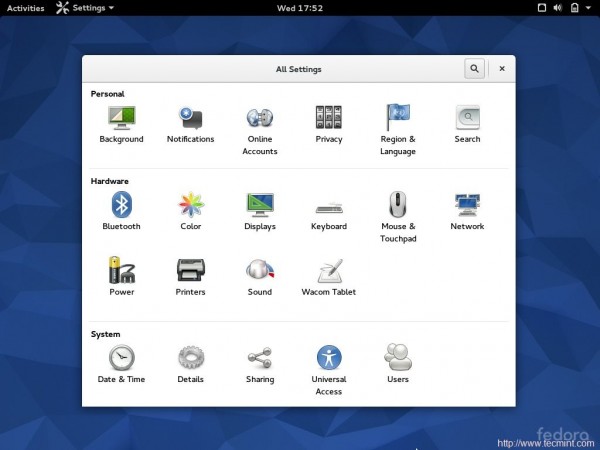
The Settings window. Nothing new but polished surface, text and icons here as well.
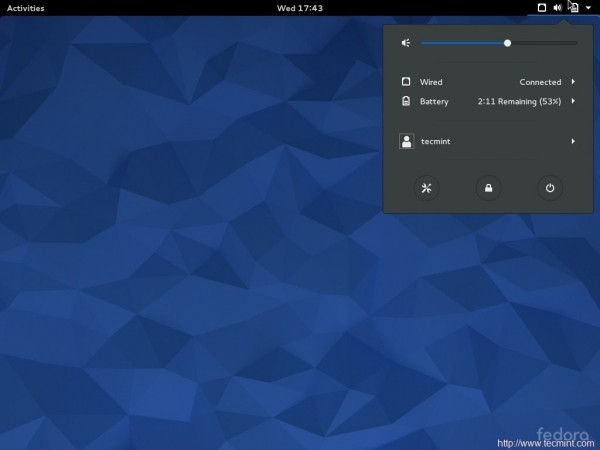
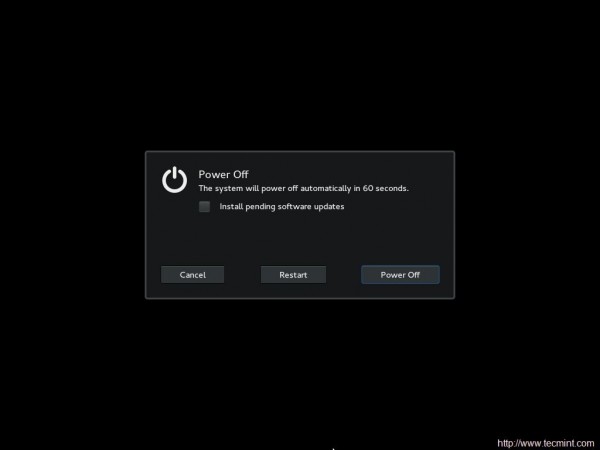
Reboot/power off Menu completely changed. The interface now is brighter, clear and very readable. Also you have the option to install pending software updates from this window.
Conclusion
I am very much satisfied with Fedora 22. It provides more than what it promises. I remained a fan of Gentoo GNU/Linux and Debian GNU/Linux, still I appreciate fedora 22. It works out of the box. Most of the packages (if not all) are updated and you know that’s why it is called bleeding edge.
I am going to recommend Fedora 22 to anyone who want to make most out of their system. Also a 2GB RAM was sufficient as I tested it thoroughly. Nothing seems to lag. Congratulations to Fedora Community for such nicely developed OS.
From the readers of Tecmint, I would personally suggest to use Fedora, at least test it. It is going to redefine Linux standards. Who says Linux is not beautiful. Look at Fedora you will have to take your words back. Keep Connected! Keep Commenting! Keep Sharing. Let us know your view on this. Like and share us and help us get spread. Enjoy


I tried to install Fedora to dual-boot with Windows 10 and it says that my available space on a fresh Windows 10 install is 7 mb’s and won’t let me change the size. Any suggestions.
Hi there, I need your advice. What if I installed Fedora Workstation, but I also including it with web server packages? Does it “reduce” the performance of my fedora?
@Muhfauzim,
No it will not reduce performance of your Fedora 21 workstation, you can host any web server (apache or nginx) or any other applications…