Since the advent of Linux’s grand entrance into the PC space back in 1993, has been an insurgency of operating systems and that time also happened to be the wake of a technological-oriented generation adopting computers at a much faster pace than ever before.
In the light of this fact, Debian took off grandly (two years after Linux was born) and through it, a staggering 200 independent distributions have poured out – thanks to Ian Murdock.
We can likewise say thanks to Canonical/Ubuntu for driving the concept of user-friendliness and usability for the “normal human” which other distros like Linux Mint et ‘al have perfected over the years to the extent at which it is more than reliable in this day and age.
[ You might also like: 10 Top Most Popular Linux Distributions of 2021 ]
While it’s easy to argue that nothing beats Linux Mint, let me be the one to bring it to your understanding that there are quite a reasonable number of well-optimized operating systems targeting potential newbies on entry into the Linux space.
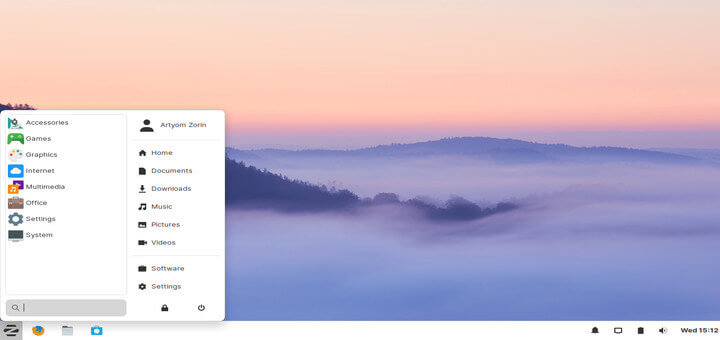
One of these “well-optimized” operating systems is no other than Zorin OS. Zorin OS is an enterprise-grade operating system that I fondly call a “Windows look-a-like on steroids”; why you ask me?
Zorin is built from the ground up with beginners in mind especially targeting those transitioning from Windows and macOS.
Zorin OS 16.1 which happens to be the latest “dependable” release is built atop Ubuntu 20.04 which is an LTS release that is going to last through to the year with security updates.
While the “cutting edge and advanced” version of the operating system Zorin OS 16.1 is essentially the bleeding edge version of Zorin where you get new features and functionalities without delays.
Zorin comes in 3 main variations: Zorin Ultimate, Core, Lite, and Education. Among these variants, Zorin Ultimate packs with most software applications and features than any other. The latest version of Zorin Ulitmate is Zorin 16.1. It was released on 17 August 2021.
Zorin Ultimate ships with new improvements such as:
- It comes with 6 desktop layouts (Ubuntu, macOS, Windows, Windows Classic, Touch, and GNOME).
- Updated productivity applications for image editing, video production, and Office work.
- Linux Kernel 5.13 with the latest security patches.
- Support for third-party graphic cards such as Radeon RX 5700, and AMD Navi.
Download Zorin OS Core 16.1
Zorin OS is available in a paid ‘Ultimate’ version and a ‘Core’ free version. I am downloading Zorin OS 16.1 Core free image for this guide, however, the procedure isn’t any different for the rest.
- Download Zorin OS 16.1 Ultimate for $39
- Download Zorin OS 16.1 Core for Free
- Download and Install Zorin OS Lite 16.1
In this article, we focus on how to install Zorin 16.1 Core on your PC.
Installing Zorin 16.1 Core on PC
Before you get underway with the installation, ensure that you make the USB drive bootable using the Zorin’s ISO image that you downloaded. You can easily achieve this using the Rufus tool.
Once this is done. Plug your bootable medium into your system and reboot.
Begin Zorin 16.1 Core Installation
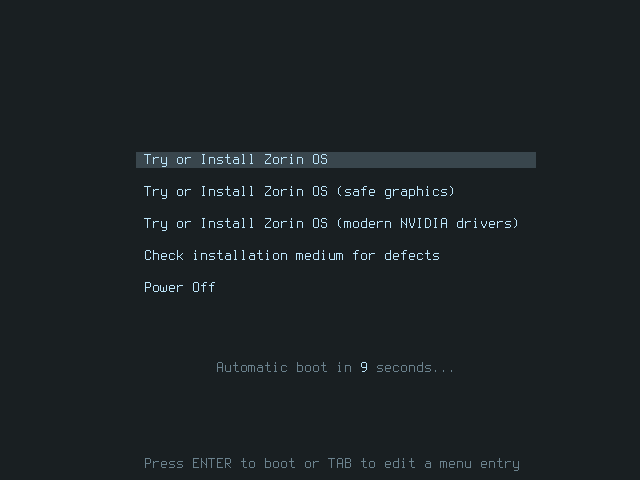
Upon booting, you will see a list of options on the first screen as shown. IF your PC is equipped with an NVIDIA graphic card, feel free to select the third option ‘Try or Install Zorin OS (modern NVIDIA drivers)‘.
If your system ships with a graphics card from a different vendor, then select either the first or the second option.
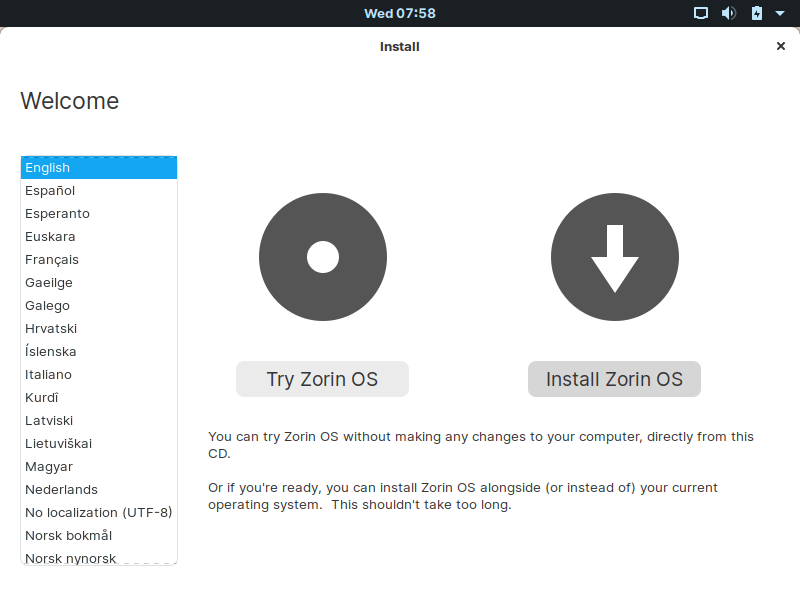
The installer will then present you with two options as shown. You might consider trying out Zorin before installing, in which case you will click ‘Try Zorin OS’. Since we are installing Zorin, we are going to proceed and select the ‘Install Zorin OS’ option.
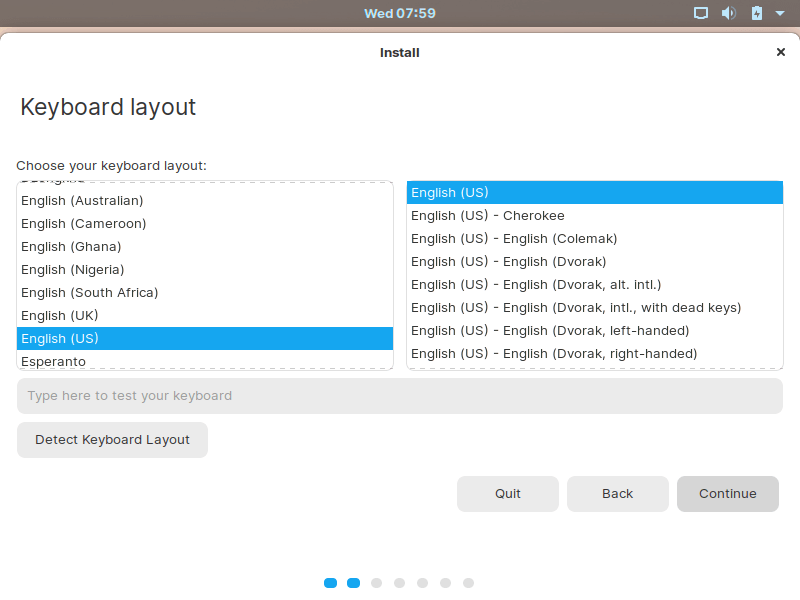
Select the Keyboard Layout
Next, select your preferred keyboard layout and click on the ‘Continue’ button.
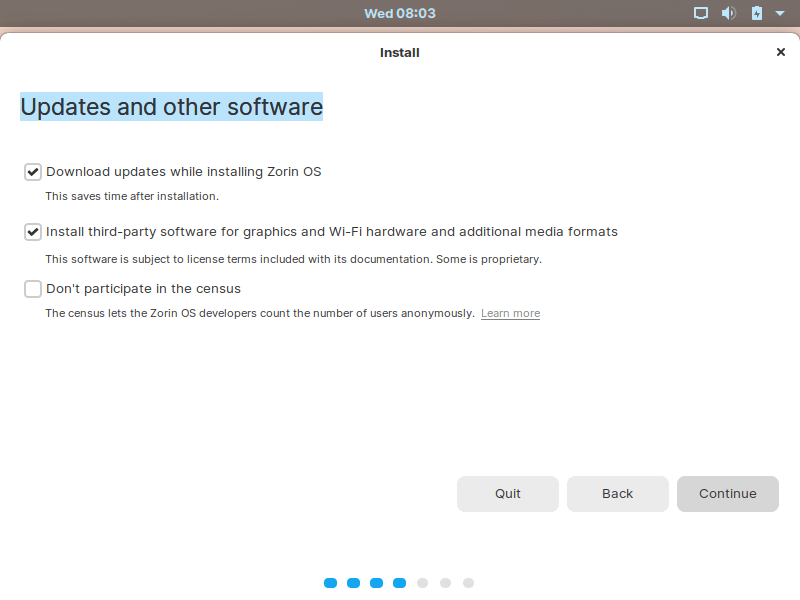
Select the Updates and Software to be Installed
In the ‘Updates and other Software’ step, select Download updates and third-party to install all the software packages including web browsers, media players, and office tools to mention a few.
Partition the Disk and Install Zorin OS
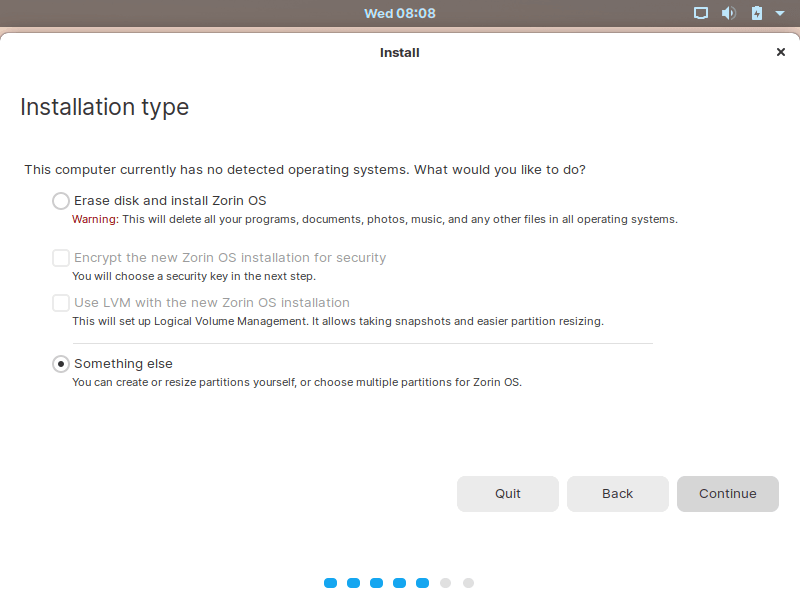
The next step presents you with 4 options that you can choose to install Zorin OS.
If you want the installer to automatically partition your hard drive without your user intervention, select the first option which is ‘Erase disk and install Zorin OS’. This option comes in handy, particularly for beginners who are not comfortable with manually partitioning their hard drives.

To manually create your own partitions, select the option ‘Something else’. In this guide we will show you how to manually create your own partitions, so we will go with this option.
So click on ‘Something else’, and hit ‘Continue’.
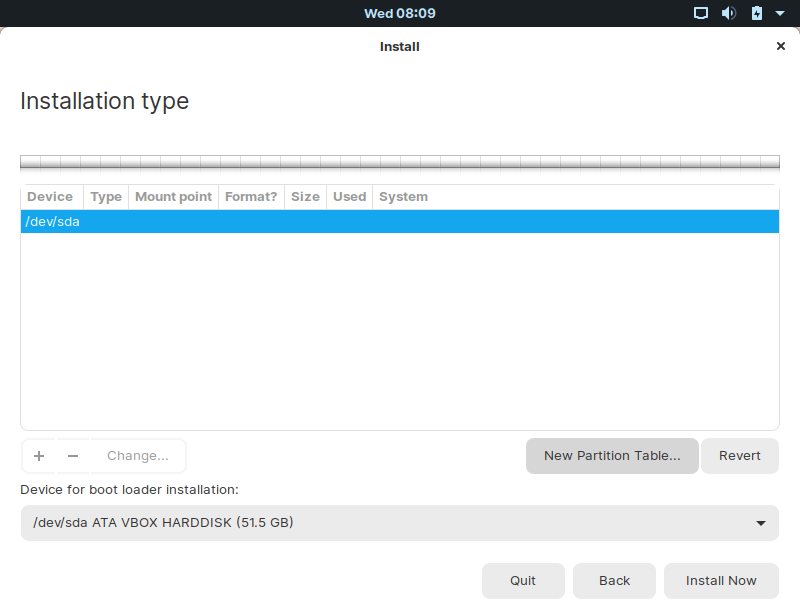
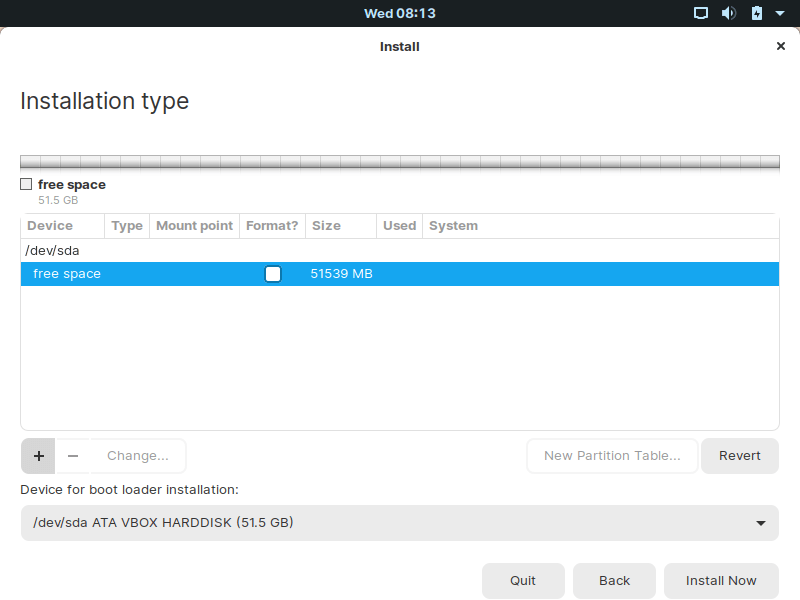
The next step displays the hard drive that you are about to start partitioning. In our case, we only have one hard drive labeled /dev/sda. To begin partitioning the drive, you need to, first of all, create a partition table. So click on the ‘New partition table’ button as shown.
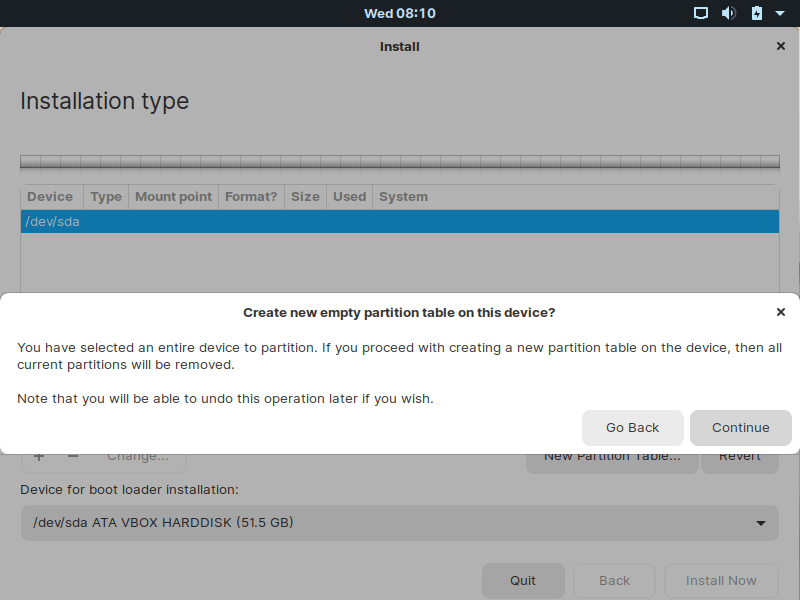
A pop-up dialogue will prompt you whether you want to proceed to create the partition table or go back. Click on ‘Continue’.
We are going to create the following crucial partitions:
/boot - 1048 MB
/home - 4096 MB
Swap - 2048 MB
/(root) - Remaining space
To begin creating the partitions, select free space and click on the plus sign button ( + ) as shown.
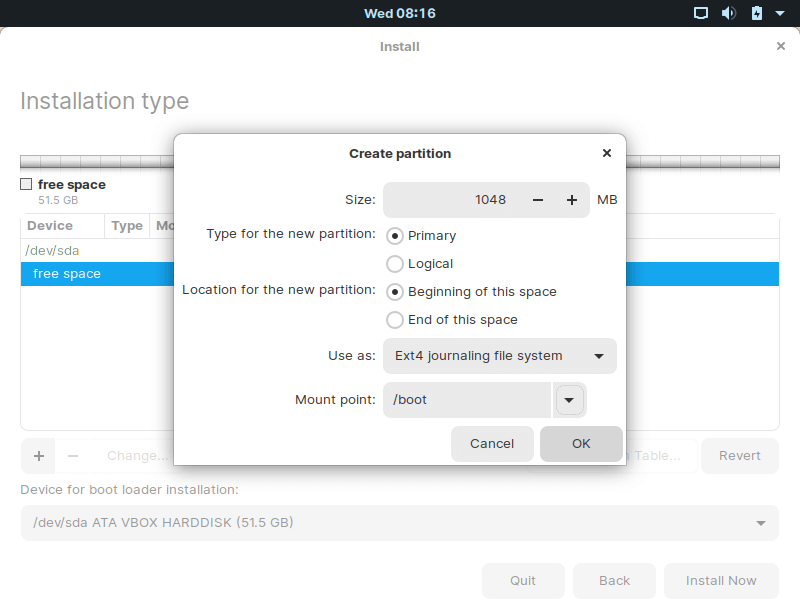
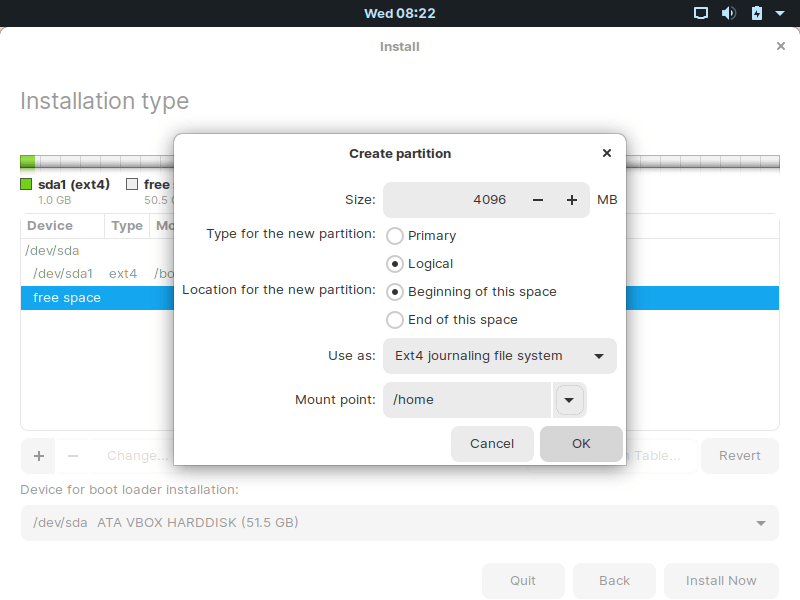
We will be creating /boot partition, so specify your partition’s size in MegaBytes (MB), – in this case 1040 MB. Leave the next 2 options as they are and select ‘Ext4 journaling file system‘ from the drop-down menu and select /boot in the mount point drop-down menu. Once you are satisfied with your settings, click ‘OK’.
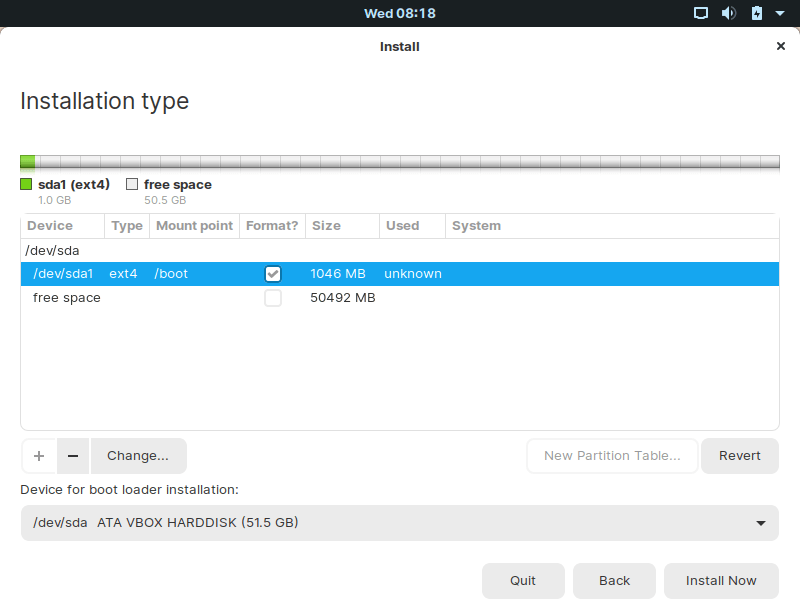
This brings you back to the Partition table and as you have noticed, you now have a boot partition already created labeled /dev/sda1.
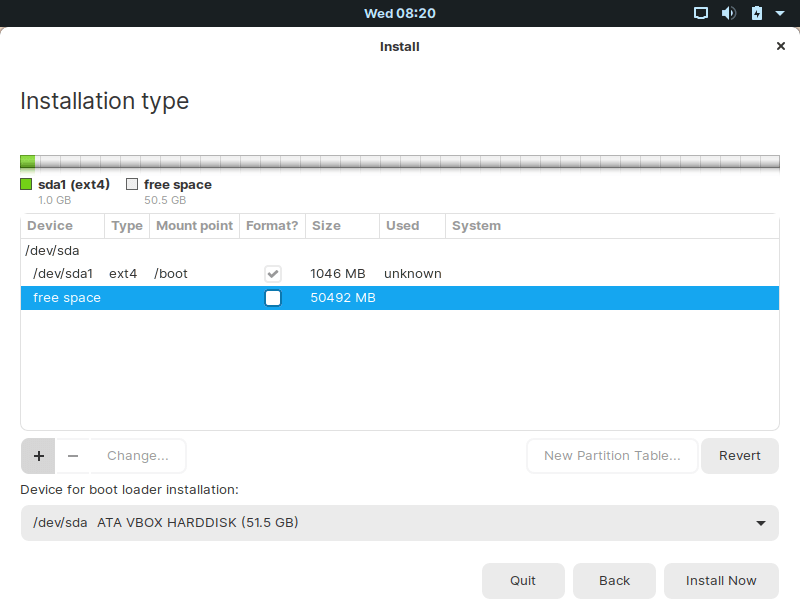
Now, we will create /home partition, again select free space and click on the plus sign button ( + ) as shown.
Fill in all the options as demonstrated earlier and click ‘OK’.
Now we have 2 partitions created: /boot and /home partition.
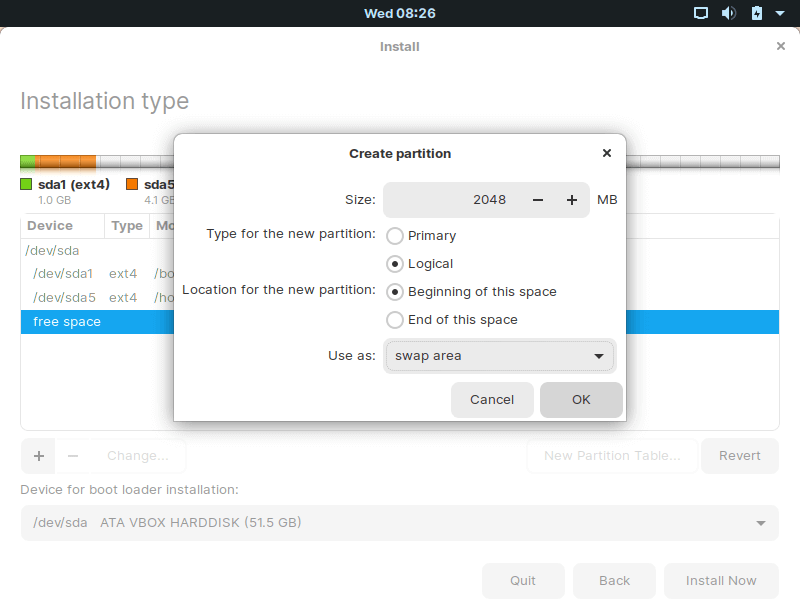
Now we will be creating a Swap partition, again select free space, click on the plus sign button ( + ). Next, enter the swap size and be keen to select the swap area in the ‘Use as’ drop-down menu, then click ‘OK’.

We have 3 partitions thus far: /boot, /home, and swap as shown. We now need to create the root partition, again select free space, click on the plus sign button ( + ).
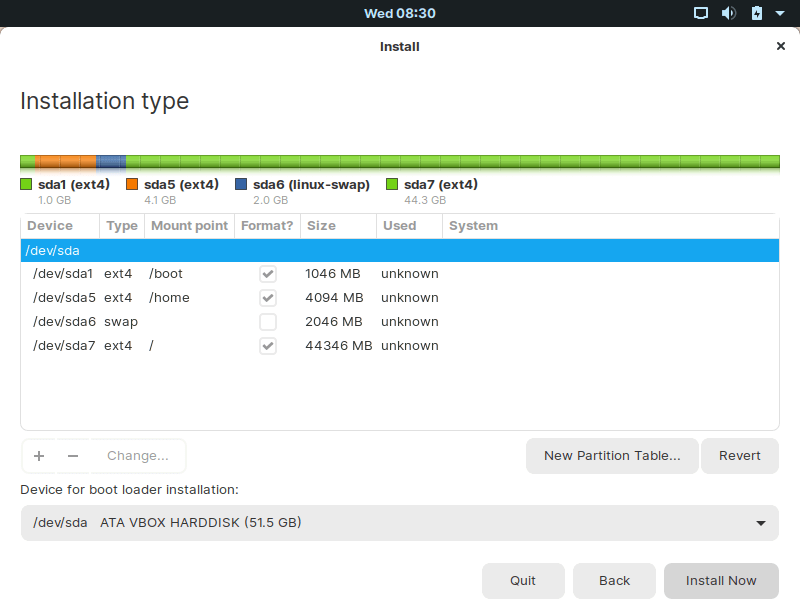
Here, we will assign the remaining space to the root partition as shown.
Finally, our partition table is complete with all the required partitions. To continue with the installation, click on the ‘Install now’ button.
Confirm the changes to our partition table.

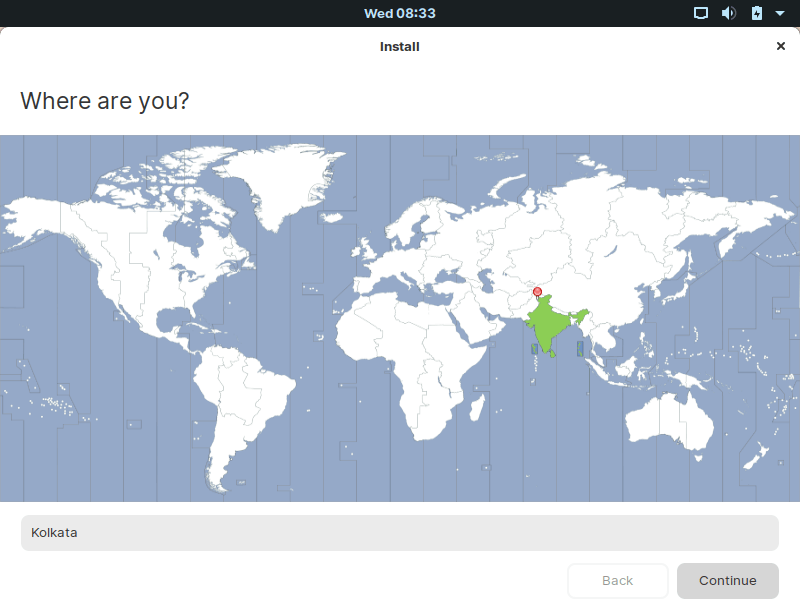
Select the Location
In the next step, the installer auto-detects your location if you are connected to the internet. Click ‘Continue’ to go to the next step.
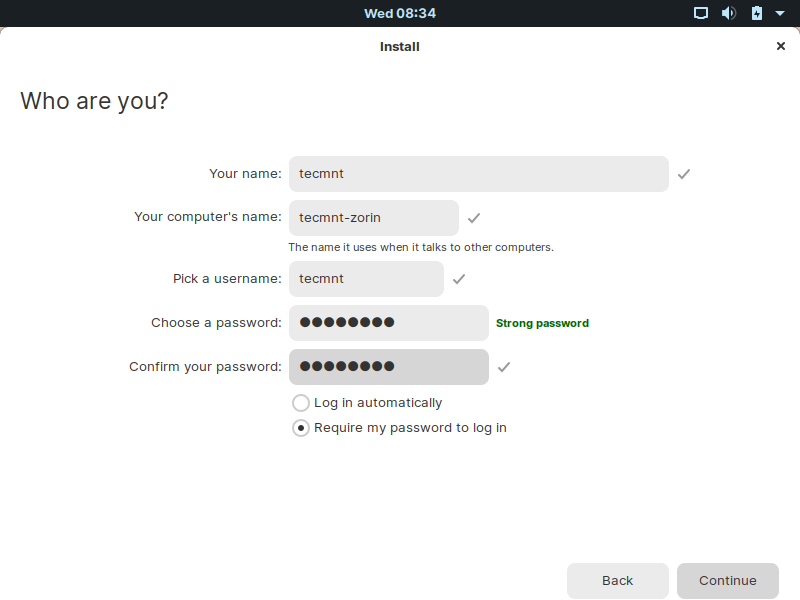
Creating a New User
Next, fill out your user details including your name, computer’s name, and password. Ensure that you provide a strong password to fortify your system’s security and click ‘Continue’.
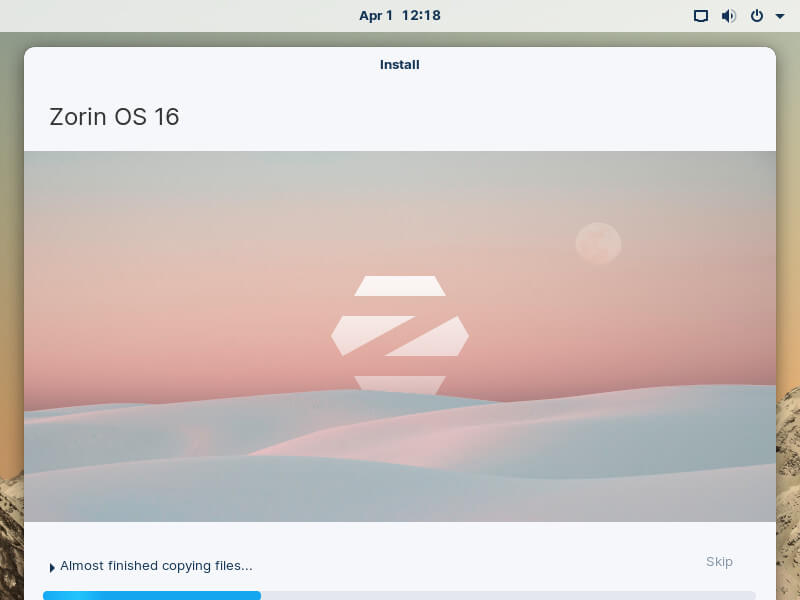
The installer will begin installing Zorin’s files and software packages on your system. This takes a while and it provides a good opportunity to grab a cup of tea or take a stroll.
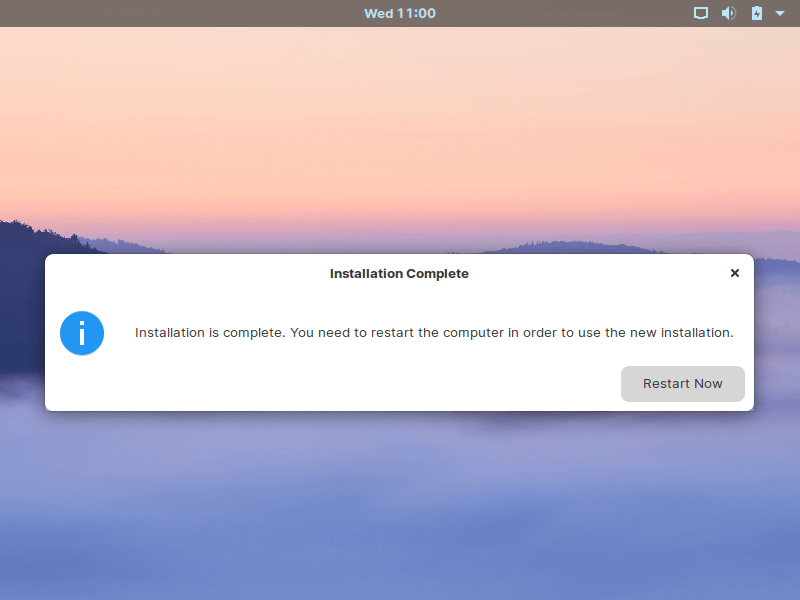
Upon completion, you will be requested to reboot your system. Therefore, click on the ‘Restart now’ button.
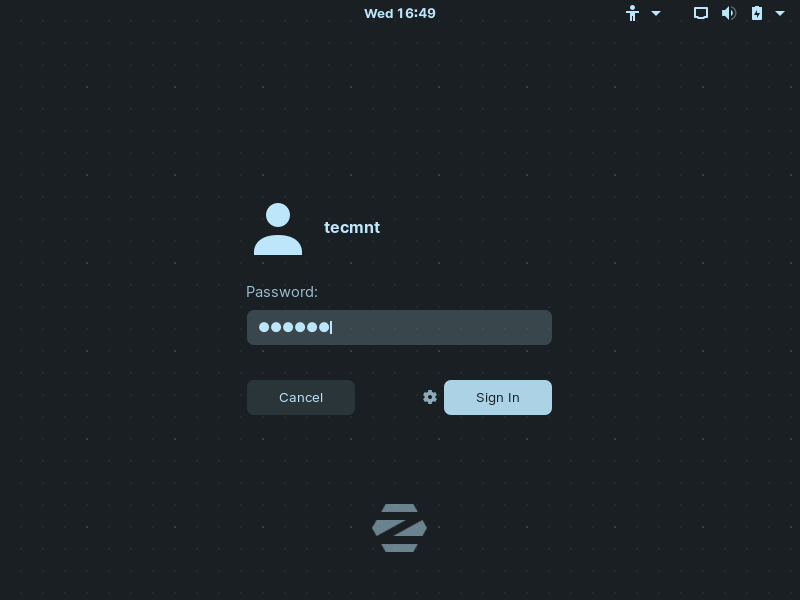
Upon rebooting, you can then log in with the username and password that you specified earlier on.
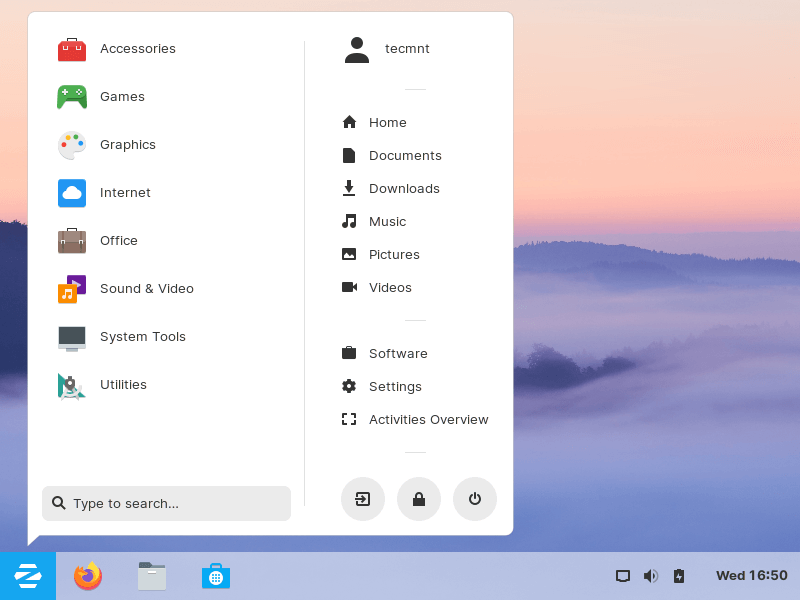
Once you log in, savor the beauty and simplicity of Zorin’s desktop.
Conclusion
There you have it, Zorin OS installation and review. If there’s anything that we happened to miss, kindly let us know in the comments below, and also, if you’ve used Zorin OS in the past, do share your experience with us too.
Is the Zorin OS named after Max Zorin, the famous Bond villain?
No. It is named after Vladimir Zorin, a Russian politician. :-)
All good, Zorin looks very good, polished, a lot of resemblance to Win. A lot of good options from many other distros (Mint, Ubuntu, Elementary).
I mention that I’m a Linux fan and user for 5 years, I consider myself not advanced, but not a beginner also. So I installed Zorin OS Core 16.1, worked at customization, and until saving a Timeshift backup, Zorin crashed 2 times in 1 week, after a restart and then after being shut down and the next day restarted.
My enthusiasm and friendship with Zorin were very short.
Request an expert opinion to “stand alone installing Zorin 16 core on Microsoft Surface Pro 7 with windows 10 pro