Laravel is a free, open source, flexible and lightweight PHP framework with Model-View Controller (MVC) design structure. It has a refined, easy, and readable syntax for developing modern, robust and powerful applications from the scratch. In addition, Laravel comes with several tools, that you can use to write clean, modern and maintainable PHP code.
Read Also: How to Install Laravel PHP Web Framework in CentOS
In this article, I will explain how to install and run latest version of Laravel 5.6 PHP Framework on Ubuntu 18.04, 16.04 and 14.04 LTS (Long Term Support) with Apache2 and PHP 7.2 support.
System Requirements
Your system must satisfy the following requirements to be able to run the latest version of Laravel:
- PHP >= 7.1.3 with OpenSSL, PDO, Mbstring, Tokenizer, XML, Ctype and JSON PHP Extensions.
- Composer – an application-level package manager for the PHP.
Installing Pre-Requisites
First, make sure to update your system sources and existing software packages using following commands.
$ sudo apt-get update
$ sudo apt-get upgrade
Installing LAMP Stack on Ubuntu
Next, setup a running LAMP (Linux, Apache, MySQL and PHP) environment, if you already have, you can skip this step, or install lamp stack using following commands on Ubuntu system.
$ sudo apt-get install python-software-properties
$ sudo add-apt-repository ppa:ondrej/php
$ sudo apt-get update
$ sudo apt-get install apache2 libapache2-mod-php7.2 mysql-server php7.2 php7.2-xml php7.2-gd php7.2-opcache php7.2-mbstring php7.2-mysql
Even though the default Ubuntu repository has PHP, but it’s always a good idea to have a third party repository for more frequent updates. If you want, you can skip this step and stick to default PHP version from Ubuntu’s repository.
Installing Composer on Ubuntu
Now, we need to install a Composer (dependency manager for PHP) for installing required Laravel dependencies using the following commands.
# curl -sS https://getcomposer.org/installer | php
# mv composer.phar /usr/local/bin/composer
# chmod +x /usr/local/bin/composer
Installing Laravel on Ubuntu
Once Composer installed, now you can download and install the latest version of Laravel from the official git repository under Apache /var/www directory.
$ cd /var/www
$ git clone https://github.com/laravel/laravel.git
$ cd /var/www/laravel
$ sudo composer install
Once Laravel installation completes, set the appropriate permissions on all files using following commands.
$ chown -R www-data.www-data /var/www/laravel
$ chmod -R 755 /var/www/laravel
$ chmod -R 777 /var/www/laravel/storage
Setting Up Encryption Key
Now create a environment file for your application, using the sample file provided.
$ cp .env.example .env
Laravel uses an application key to secure user sessions and other encrypted data. So you need to generate and set your application key to a random string using following command.
$ php artisan key:generate
Once the key has been generated, now open the .env configuration file and update the required values. Also, make sure APP_KEY is correctly set in the configuration file as generated in above command.
APP_NAME=Laravel
APP_ENV=local
APP_KEY=base64:AFcS6c5rhDl+FeLu5kf2LJKuxGbb6RQ/5gfGTYpoAk=
APP_DEBUG=true
APP_URL=http://localhost
Create Database for Laravel
You might also needed to create a MySQL database for your Laravel application project using following commands.
$ mysql -u root -p
mysql> CREATE DATABASE laravel;
mysql> GRANT ALL ON laravel.* to 'laravel'@'localhost' IDENTIFIED BY 'secret_password';
mysql> FLUSH PRIVILEGES;
mysql> quit
Now open the .env configuration file and update the database settings as shown.
DB_CONNECTION=mysql
DB_HOST=127.0.0.1
DB_PORT=3306
DB_DATABASE=laravel
DB_USERNAME=laravel
DB_PASSWORD=secret_password
Configuring Apache for Laravel
Now go to the Apache default virtual host configuration file /etc/apache2/sites-enabled/000-default.conf and update the DocumentRoot to Laravel public directory as shown.
$ nano /etc/apache2/sites-enabled/000-default.conf
Now modify the default virtual host configuration with the following content and also make sure to replace yourdomain.tld with the domain name of your website as shown.
<VirtualHost *:80>
        ServerName yourdomain.tld

        ServerAdmin webmaster@localhost
        DocumentRoot /var/www/laravel/public

        <Directory />
                Options FollowSymLinks
                AllowOverride None
        </Directory>
        <Directory /var/www/laravel>
                AllowOverride All
        </Directory>

        ErrorLog ${APACHE_LOG_DIR}/error.log
        CustomLog ${APACHE_LOG_DIR}/access.log combined
</VirtualHost>
After making above changes, make sure to reload the Apache configuration changes by restarting service using following command.
$ sudo service apache2 restart
Accessing Laravel Application
Finally access your Laravel application from a browser, using the following URL.
http://yourdomain.tld
OR
http://your-ip-address
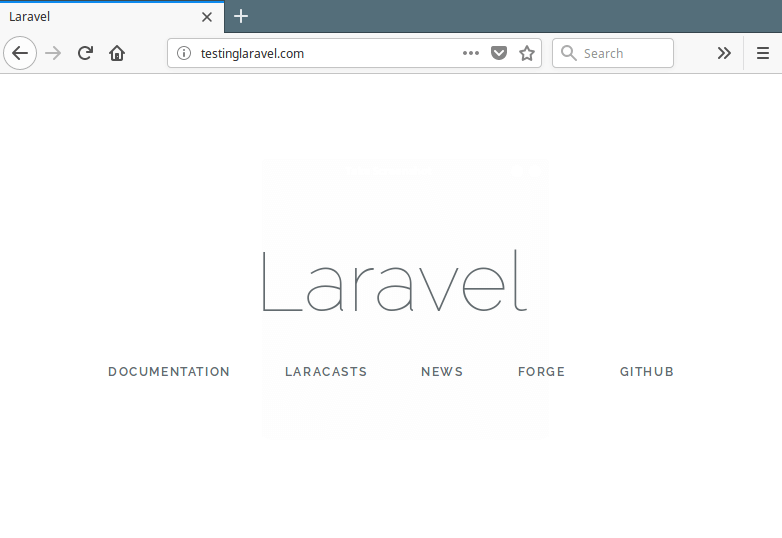
From this point, you are ready to go and start building powerful applications using Laravel PHP Framework. For additional configurations such as cache, database and sessions, you can go to the Laravel homepage.



777 for storage directory?
I think it’s not proper for storage directory permission.
I suggest it should use the following commands to change these directory permissions: