As a System Administrator, you may want to examine and monitor the status of your Linux systems when they are under stress of high load. This can be a good way for System Administrators and Programmers to:
- fine tune activities on a system.
- monitor operating system kernel interfaces.
- test your Linux hardware components such as CPU, memory, disk devices and many others to observe their performance under stress.
- measure different power consuming loads on a system.

In this guide, we shall look at two important tools, stress and stress-ng for stress testing under your Linux systems.
1. stress – is a workload generator tool designed to subject your system to a configurable measure of CPU, memory, I/O and disk stress.
2. stress-ng – is an updated version of the stress workload generator tool which tests your system for following features:
- CPU compute
- drive stress
- I/O syncs
- Pipe I/O
- cache thrashing
- VM stress
- socket stressing
- process creation and termination
- context switching properties
Though these tools are good for examining your system, they should not just be used by any system user.
Important: It is highly recommended that you use these tools with root user privileges, because they can stress your Linux machine so fast and to avoid certain system errors on poorly designed hardware.
How to Install ‘stress’ Tool in Linux
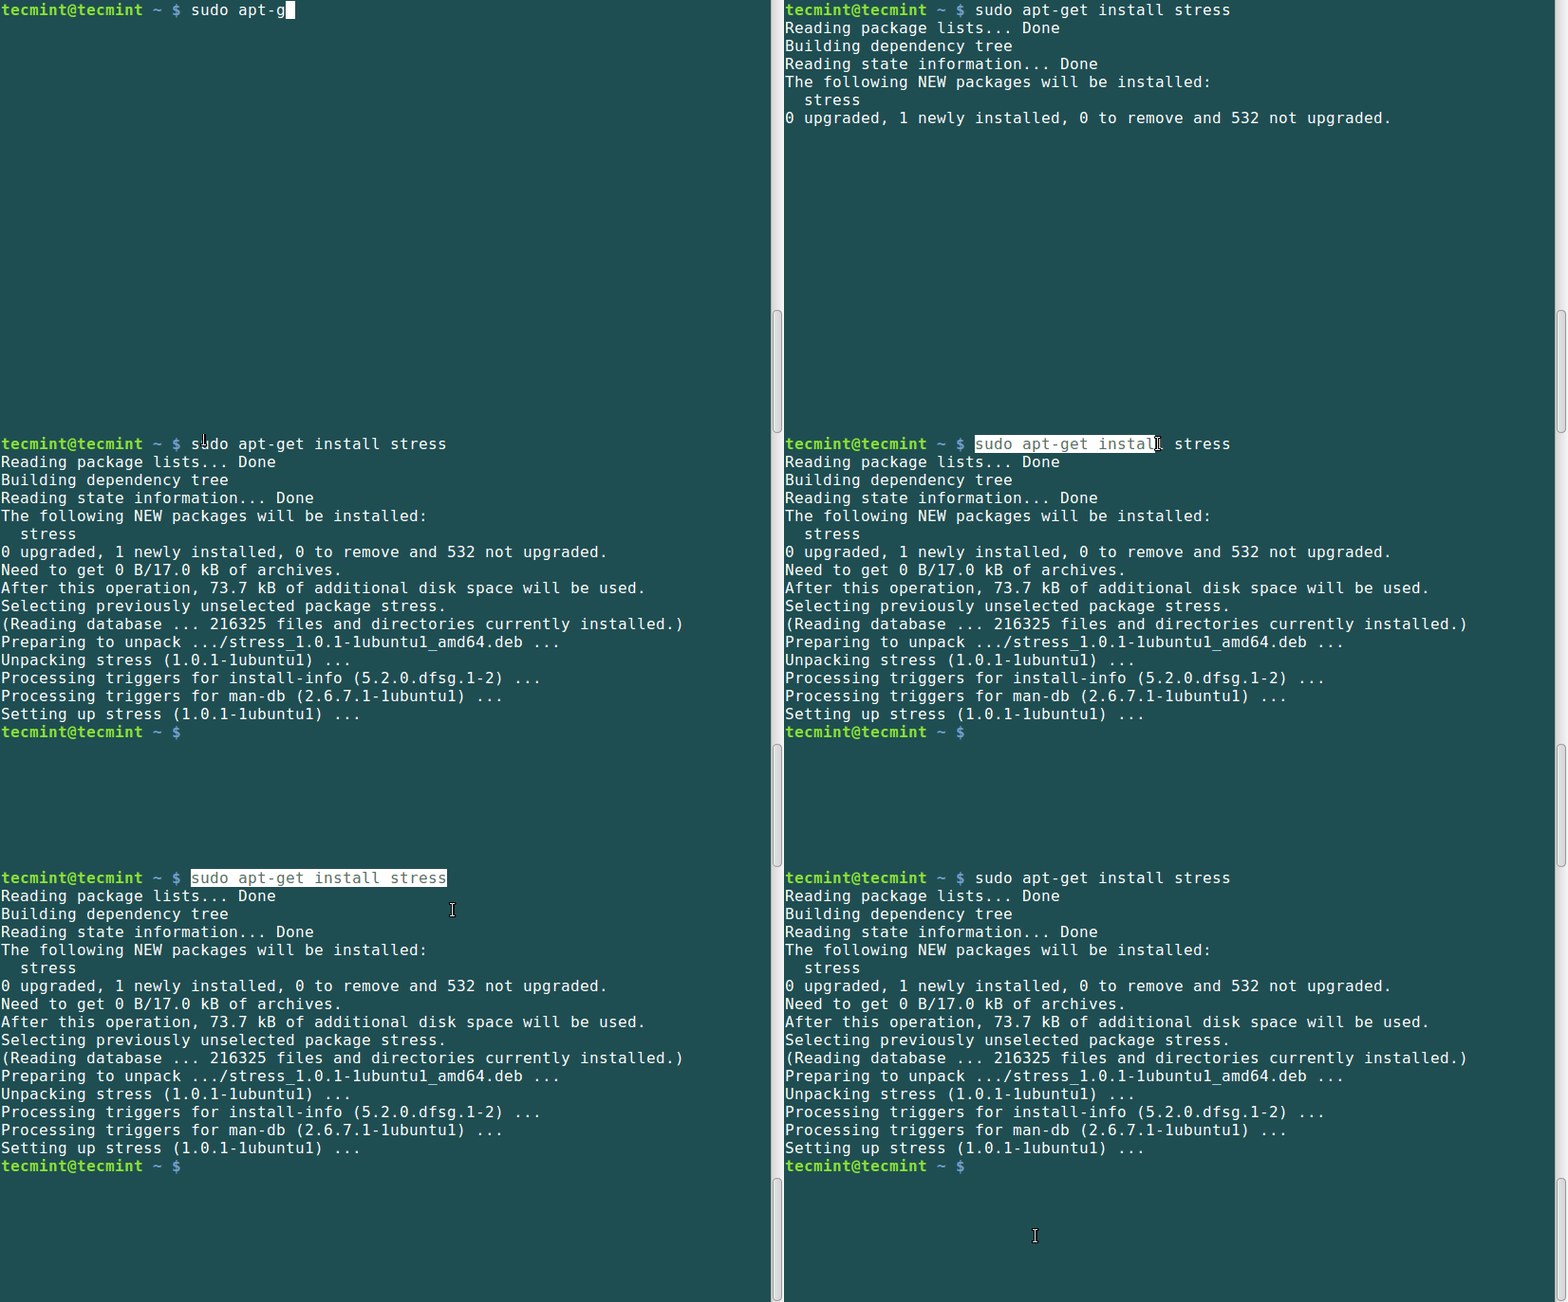
To install stress tool on Debian and its derivatives such Ubuntu and Mint, run the following command.
$ sudo apt-get install stress

To install stress on a RHEL/CentOS and Fedora Linux, you need to turn on EPEL repository and then type the following yum command to install the same:
# yum install stress
The general syntax for using stress is:
$ sudo stress option argument
Some options that you can use with stress.
- To spawn N workers spinning on sqrt() function, use the –cpu N option as follows.
- To spawn N workers spinning on sync() function, use the –io N option as follows.
- To spawn N workers spinning on malloc()/free() functions, use the –vm N option.
- To allocate memory per vm worker, use the –vm-bytes N option.
- Instead of freeing and reallocating memory resources, you can redirty memory by using the –vm-keep option.
- Set sleep to N seconds before freeing memory by using the –vm-hang N option.
- To spawn N workers spinning on write()/unlink() functions, use the –hdd N option.
- You can set a timeout after N seconds by using the –timeout N option.
- Set a wait factor of N microseconds before any work starts by using the –backoff N option as follows.
- To show more detailed information when running stress, use the -v option.
- Use –help to view help for using stress or view the manpage.
How Do I use stress on Linux systems?
1. To examine effect of the command every time you run it, first run the uptime command and note down the load average.
Next, run the stress command to spawn 8 workers spinning on sqrt() with a timeout of 20 seconds. After running stress, again run the uptime command and compare the load average.
tecmint@tecmint ~ $ uptime
tecmint@tecmint ~ $ sudo stress --cpu  8 --timeout 20
tecmint@tecmint ~ $ uptime
Sample Output
tecmint@tecmint ~ $ uptime
 17:20:00 up  7:51,  2 users,  load average: 1.91, 2.16, 1.93     [<-- Watch Load Average]
tecmint@tecmint ~ $ sudo stress --cpu 8 --timeout 20
stress: info: [17246] dispatching hogs: 8 cpu, 0 io, 0 vm, 0 hdd
stress: info: [17246] successful run completed in 21s
tecmint@tecmint ~ $ uptime
 17:20:24 up  7:51,  2 users,  load average: 5.14, 2.88, 2.17     [<-- Watch Load Average]
2. To spawn 8 workers spinning on sqrt() with a timeout of 30 seconds, showing detailed information about the operation, run this command:
tecmint@tecmint ~ $ uptime
tecmint@tecmint ~ $ sudo stress --cpu 8 -v --timeout 30s
tecmint@tecmint ~ $ uptime
Sample Output
tecmint@tecmint ~ $ uptime
 17:27:25 up  7:58,  2 users,  load average: 1.40, 1.90, 1.98     [<-- Watch Load Average]
tecmint@tecmint ~ $ sudo stress --cpu 8 -v --timeout 30s
stress: info: [17353] dispatching hogs: 8 cpu, 0 io, 0 vm, 0 hdd
stress: dbug: [17353] using backoff sleep of 24000us
stress: dbug: [17353] setting timeout to 30s
stress: dbug: [17353] --> hogcpu worker 8 [17354] forked
stress: dbug: [17353] using backoff sleep of 21000us
stress: dbug: [17353] setting timeout to 30s
stress: dbug: [17353] --> hogcpu worker 7 [17355] forked
stress: dbug: [17353] using backoff sleep of 18000us
stress: dbug: [17353] setting timeout to 30s
stress: dbug: [17353] --> hogcpu worker 6 [17356] forked
stress: dbug: [17353] using backoff sleep of 15000us
stress: dbug: [17353] setting timeout to 30s
stress: dbug: [17353] --> hogcpu worker 5 [17357] forked
stress: dbug: [17353] using backoff sleep of 12000us
stress: dbug: [17353] setting timeout to 30s
stress: dbug: [17353] --> hogcpu worker 4 [17358] forked
stress: dbug: [17353] using backoff sleep of 9000us
stress: dbug: [17353] setting timeout to 30s
stress: dbug: [17353] --> hogcpu worker 3 [17359] forked
stress: dbug: [17353] using backoff sleep of 6000us
stress: dbug: [17353] setting timeout to 30s
stress: dbug: [17353] --> hogcpu worker 2 [17360] forked
stress: dbug: [17353] using backoff sleep of 3000us
stress: dbug: [17353] setting timeout to 30s
stress: dbug: [17353] --> hogcpu worker 1 [17361] forked
stress: dbug: [17353] tecmint@tecmint ~ $ uptime
 17:27:59 up  7:59,  2 users,  load average: 5.41, 2.82, 2.28     [<-- Watch Load Average]
3. To spwan one worker of malloc() and free() functions with a timeout of 60 seconds, run the following command.
tecmint@tecmint ~ $ uptime
tecmint@tecmint ~ $ sudo stress --vm 1 --timeout 60s
tecmint@tecmint ~ $ uptime
Sample Output
tecmint@tecmint ~ $ uptime
 17:34:07 up  8:05,  2 users,  load average: 1.54, 2.04, 2.11     [<-- Watch Load Average]
tecmint@tecmint ~ $ sudo stress --vm 1 --timeout 60s
stress: info: [17420] dispatching hogs: 0 cpu, 0 io, 1 vm, 0 hdd
stress: info: [17420] successful run completed in 60s
tecmint@tecmint ~ $ uptime
 17:35:20 up  8:06,  2 users,  load average: 2.45, 2.24, 2.17     [<-- Watch Load Average]
4. To spwan 4 workers spinning on sqrt(), 2 workers spwaning on sync(), 2 workers on malloc()/free(), with a time out of 20 seconds and allocate a memory of 256MB per vm worker, run this command below.
tecmint@tecmint ~ $ uptime
tecmint@tecmint ~ $ sudo stress --cpu 4 --io 3 --vm 2 --vm-bytes 256M --timeout 20s
tecmint@tecmint ~ $ uptime
Sample Output
tecmint@tecmint ~ $ uptime
 17:40:33 up  8:12,  2 users,  load average: 1.68, 1.84, 2.02     [<-- Watch Load Average]
tecmint@tecmint ~ $ sudo stress --cpu 4 --io 3 --vm 2 --vm-bytes 256M --timeout 20s
stress: info: [17501] dispatching hogs: 4 cpu, 3 io, 2 vm, 0 hdd
stress: info: [17501] successful run completed in 20s
tecmint@tecmint ~ $ uptime
 17:40:58 up  8:12,  2 users,  load average: 4.63, 2.54, 2.24     [<-- Watch Load Average]


Great stuff, but I’m wondering how can I put this stress test on my ESXi host without creating any new VM.
When I try to GPU burn test there are errors showing the:
gpu_burn-drv.cpp:in function int main(int, char**)

gpu_burn-drv.cpp:816:23: error: runtime_error is not a member of std throw std: : runtime_error("No cuda capable gpu found.\n)
But when I install ubuntu on the same server GPU burn test is ok so I can’t understand what is the issue so anyone tells me what to do……
I am using this stress-ng image and applying chaos at K8’s level as I am building chaos as a service. I am planning to put CPU stress. I was expecting the CPU % to spike > 80%. My hypothesis is similar to your uptime values ~ 1- 2% and when I apply CPU stress it is hardly spiking up to 10%. I tried various params but this is the max spike I get. Can we ever make CPU stress > 80% ? as I see even your load averages pretty low.
--vm-bytesis NOT per vm worker but for all workers combined, so you can put almost all your memory if you boot without X.@Florian
Many thanks for the correction, we will cross check this.
Do we have this tool in freeBSD?
@Shashi,
Yes, you can install stress-ng tool on FreeBSD system to imposes certain types of high CPU Load on your FreeBSD based Unix system.
This stress-ng tool can be installed via ports as shown.
Just a tiny annoyance…
It’s “Spawn”, not “Spwan”
@JLockard,
Thanks for notifying about that typo, corrected in the writeup..
The article states: “It is highly recommended that you use these tools with root user privileges”. The manual does not recommend this:
Running stress-ng with root privileges will adjust out of memory set‐
tings on Linux systems to make the stressors unkillable in low memory
situations, so use this judiciously. With the appropriate privilege,
stress-ng can allow the ionice class and ionice levels to be adjusted,
again, this should be used with care.