Manjaro is a modern and user-friendly Arch-based Linux distribution that comes highly recommended for desktop lovers given its intuitive and elegant UI design.
It is free and open source and comes with three officially supported editions namely Xfce, KDE Plasma, and GNOME. All the editions are fully customizable and you can configure them to suit your own taste. Manjaro is versatile and can be used for home, office, and gaming.
In this guide, we demonstrate how to install Manjaro 21 XFCE Edition, which is a lightweight desktop environment that handles well with low system resources and is recommended for older PCs.
Prerequisites
Before setting sail, ensure that you have the following requirements:
- A 16 GB USB drive for the installation medium.
- Broadband internet connection for downloading the ISO image.
Additionally, ensure that your system meets the following minimum recommended requirements.
- Minimum of 2GB of RAM
- Minimum of 1 GHz Dual core processor
- 30 GB of free hard disk space
- HD graphics card and monitor
Step 1: Download Manjaro 21 XFCE ISO Image
The first step is to download the Manjaro ISO image. So head over to the Official download page and download the Manjaro Xfce ISO image. Once downloaded, create a bootable USB drive using one of the free useful tools for creating a bootable USB.
Once done, plug the bootable USB drive into your PC and reboot. Be sure to configure the BIOS to boot from the USB installation medium.
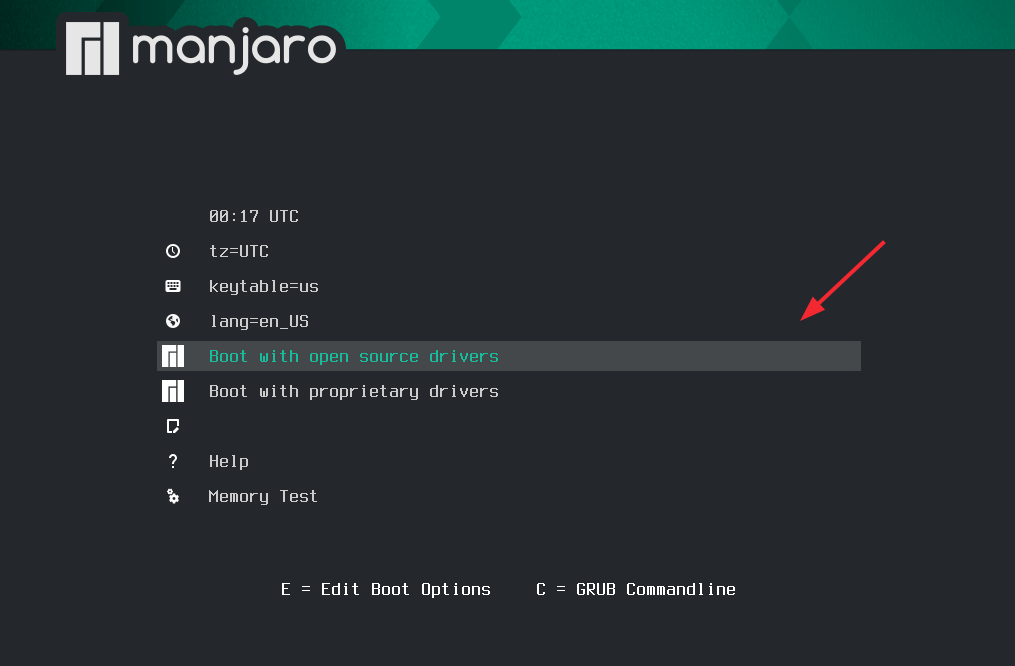
Upon reboot, the Manjaro Linux installer will display a list of installation options as shown. Select ‘Boot with opensource drivers’ and hit ENTER.
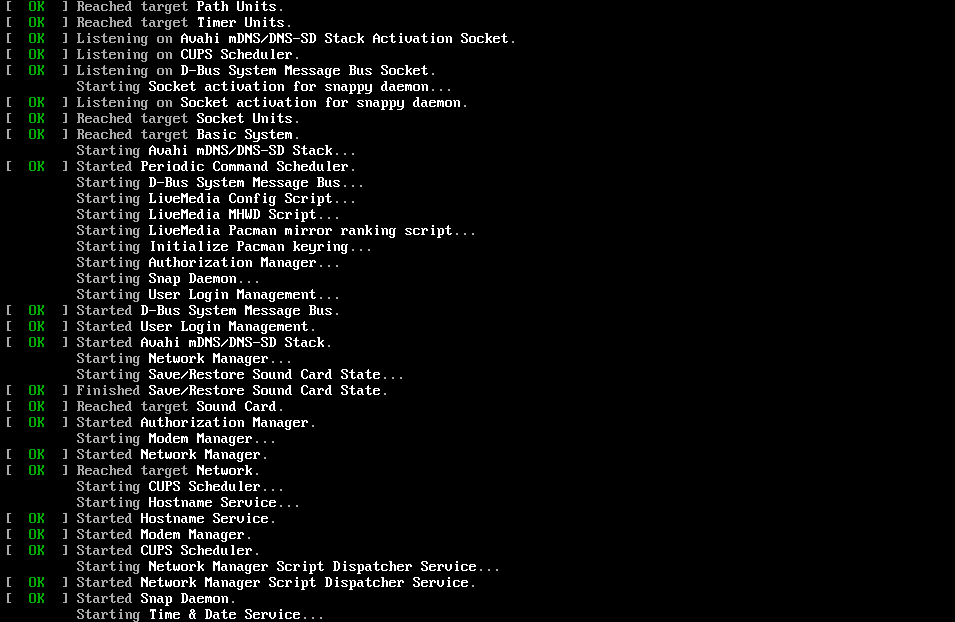
Thereafter, you will see a stream of boot messages on the screen.
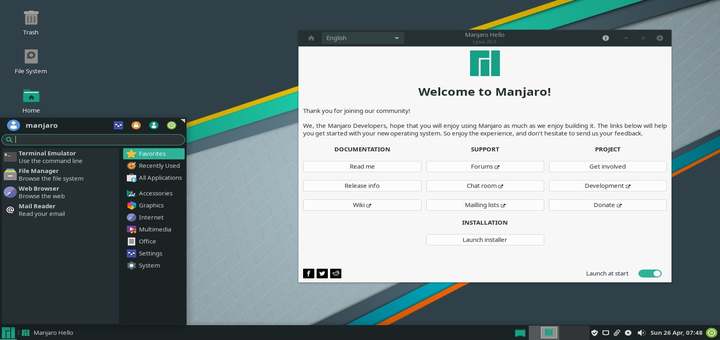
A few seconds later, you will be ushered to the live installation environment and a welcome window will pop open presenting you with an array of useful links for Documentation, and Support.

Step 2: Begin the Installation of Manjaro Linux
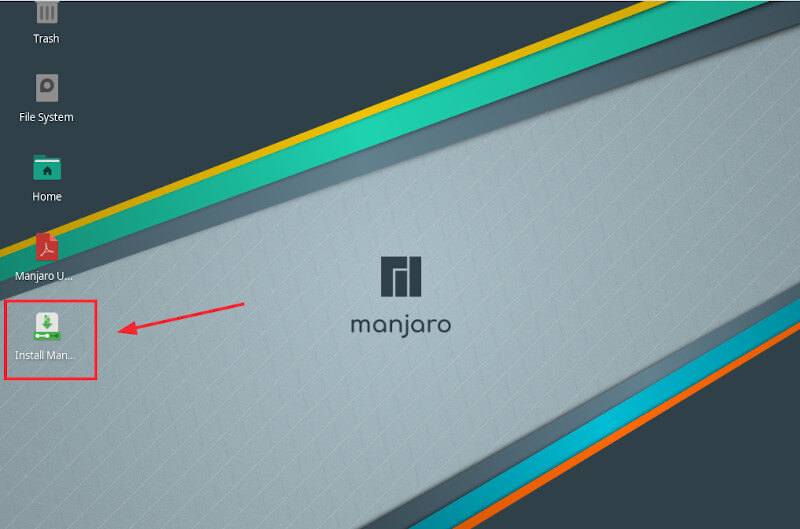
Since our objective is to install Manjaro, close this window and click the ‘Install Manjaro’ icon as shown.
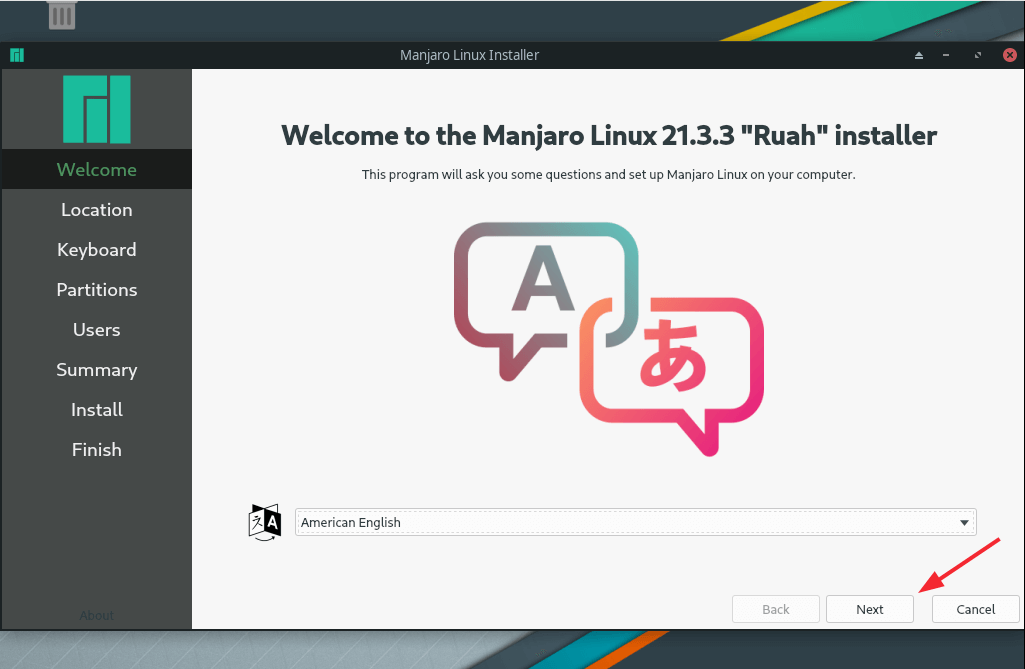
The installation will walk you through a series of steps. First up, select the installation language and click ‘Next’.
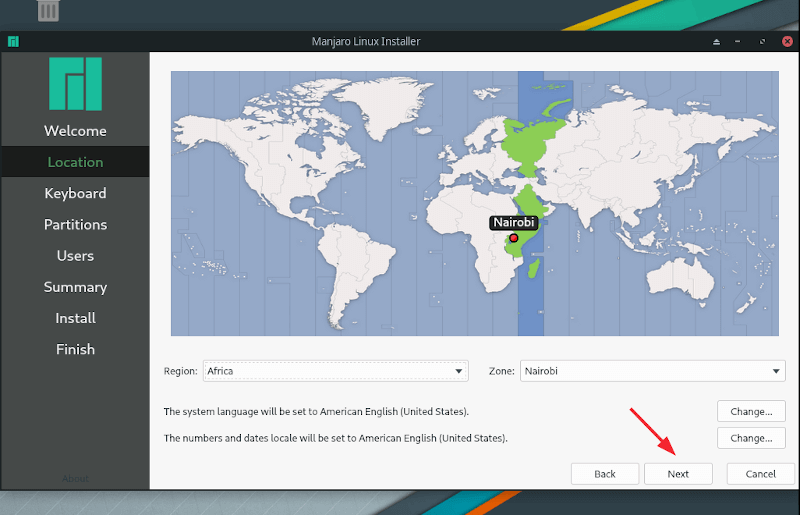
Next, select your preferred geographical location and hit ‘Next’.
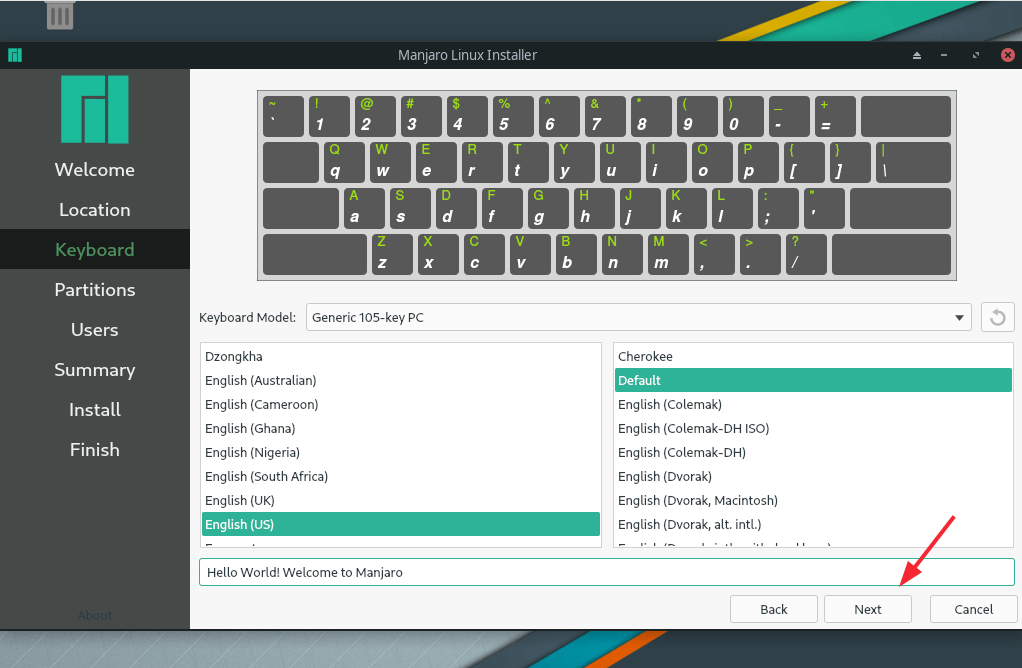
Next, select your preferred keyboard layout and hit ‘Next’.
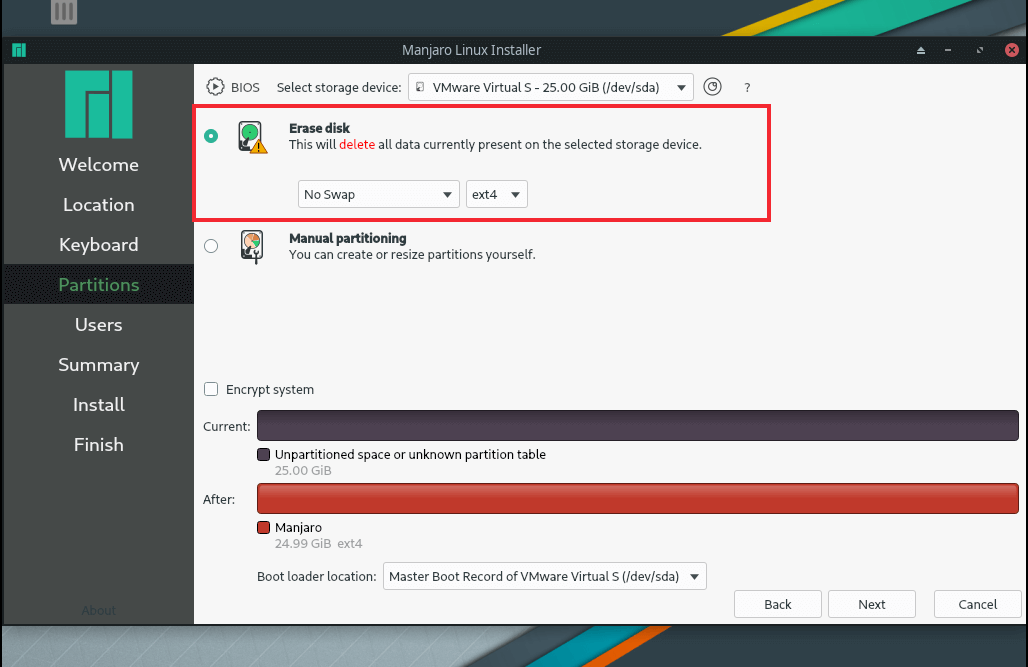
Step 3: Configure Manjaro Partitioning
In this section, you will be required to configure your hard drive. Two options are provided – ‘Erase disk’ which completely wipes out your hard disk and automatically partitions your disk and ‘Manual partitioning’ for advanced users who prefer to manually partition the disk.
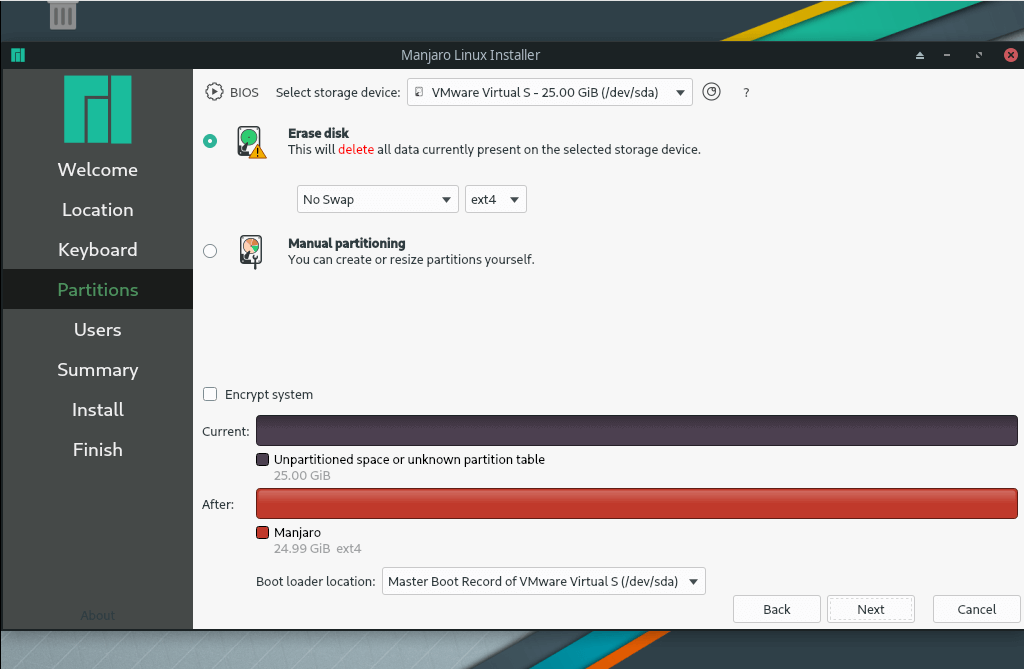
In this guide, we will go with the first option. So, click ‘Erase disk’ and click ‘Next’.
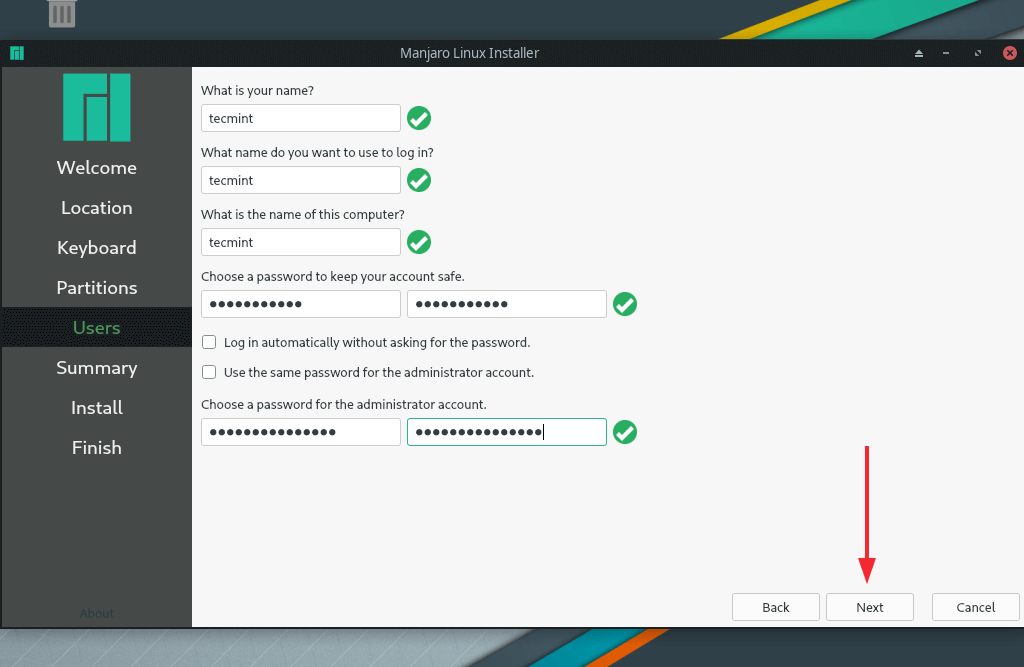
Next, create a login user and specify the password for the Administrator account. Once done, click ‘Next’.
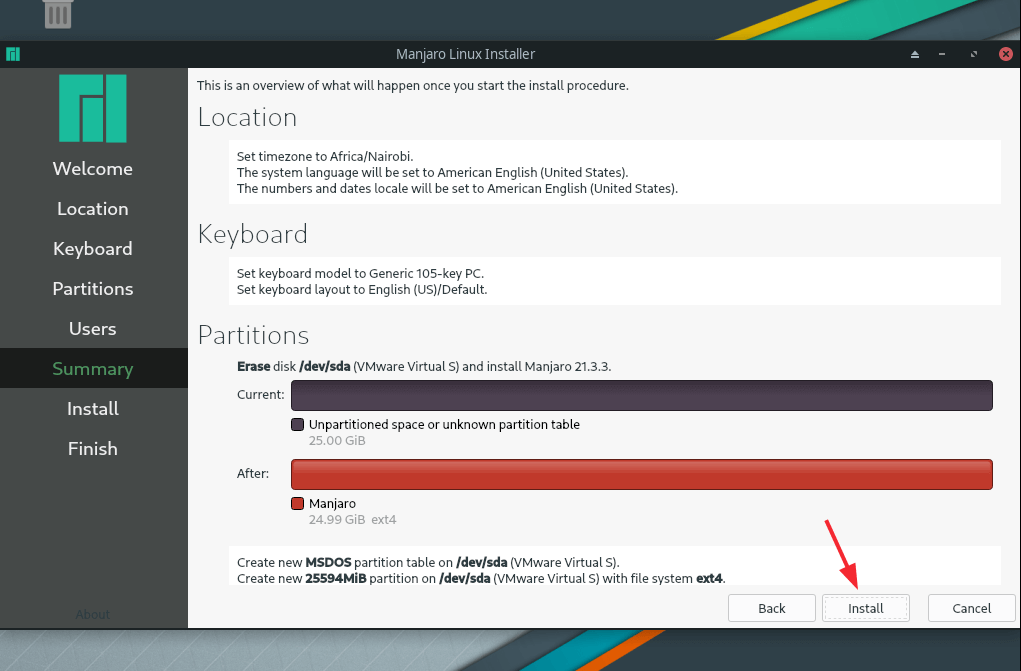
Step 4: Review Settings and Install Manjaro
Finally, you will get a summary of all the settings that you have chosen to apply. So take time and review them, and if everything is okay, click ‘Install’. Otherwise, click ‘back’ and make the required changes.
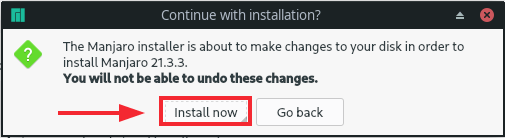
On the pop-up that appears, click ‘Install now’ to continue with the installation.
From this point, the installer will create the disk partitions and copy all the files and packages required by Manjaro to the disk. This is a process that takes roughly 20 – 30 minutes, and this would be an ideal time to grab some coffee and relax.

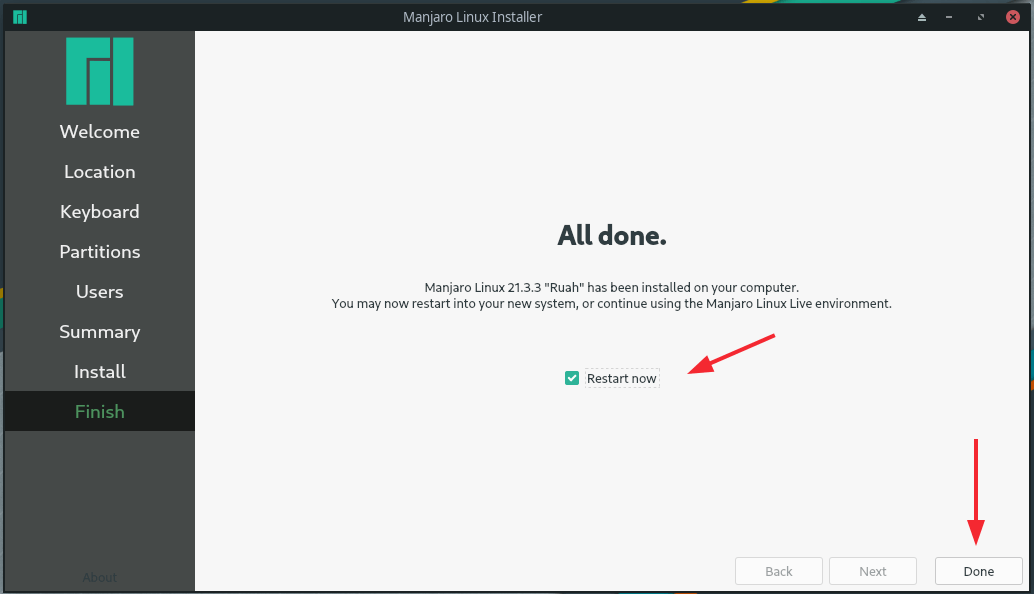
Once the installation is complete, you will be prompted to restart the system in order to boot into Manjaro. So, check the ‘Restart Now’ button and click ‘Done’.
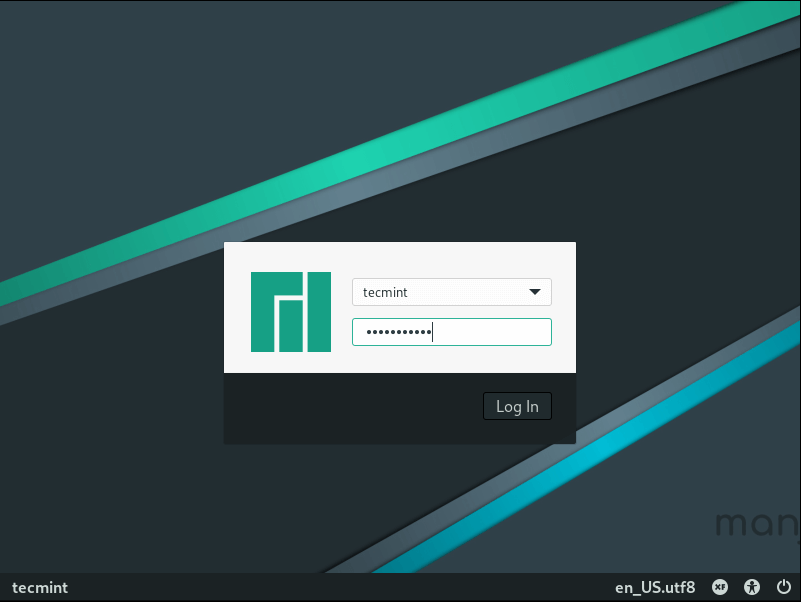
Once the system reboot, provide your password to login into the Xfce environment.
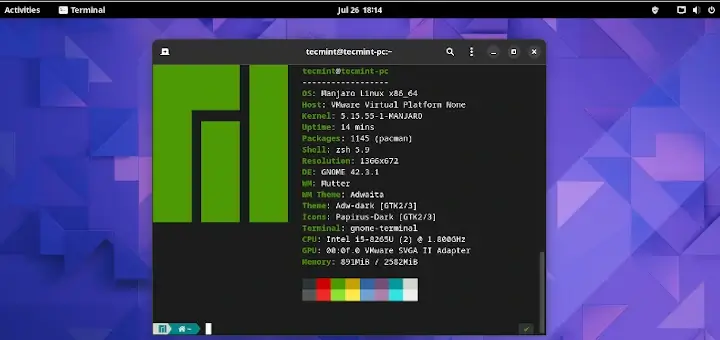
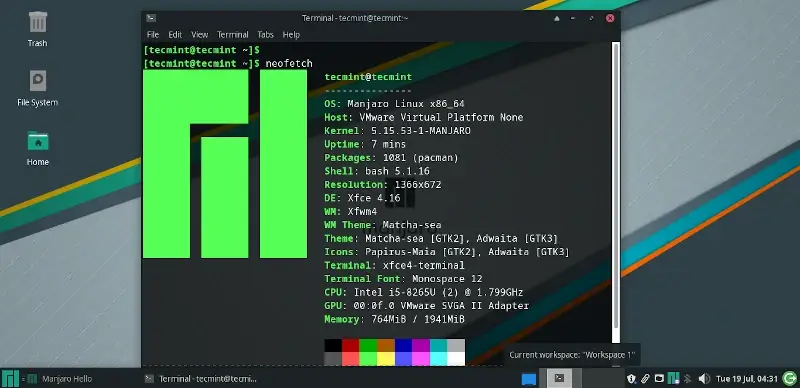
This ushers you to the Elegant Manjaro Xfce environment as shown.
This concludes our walkthrough on the installation of Manjaro Xfce Edition. Have fun as you get started out.