KDE is a well-known desktop environment for Unix-like systems designed for users who wants to have a nice desktop environment for their machines, It is one of the most used desktop interfaces out there.
[ You might also like: 10 Best and Most Popular Linux Desktop Environments of All Time ]
In the past few years, a lot of work has been geared towards improving the KDE desktop, with the latest stable release KDE Plasma 5 desktop series comes with some amazing features and bringing many improvements to the original task-manager, KRunner, including Wayland support which came around in Plasma 5 and activities as well, plus a more refined look and feel.
KDE Plasma 5 Features
There is a lot of new features in KDE Plasma 5, here’s a list of the most important new features.
- KDE 5 applications were rewritten using Qt 5; the next generation of the famous Qt library to design graphical interfaces, which means that KDE 5 apps will be faster than KDE 4 besides a better usage of GPU from KDE 5 applications.
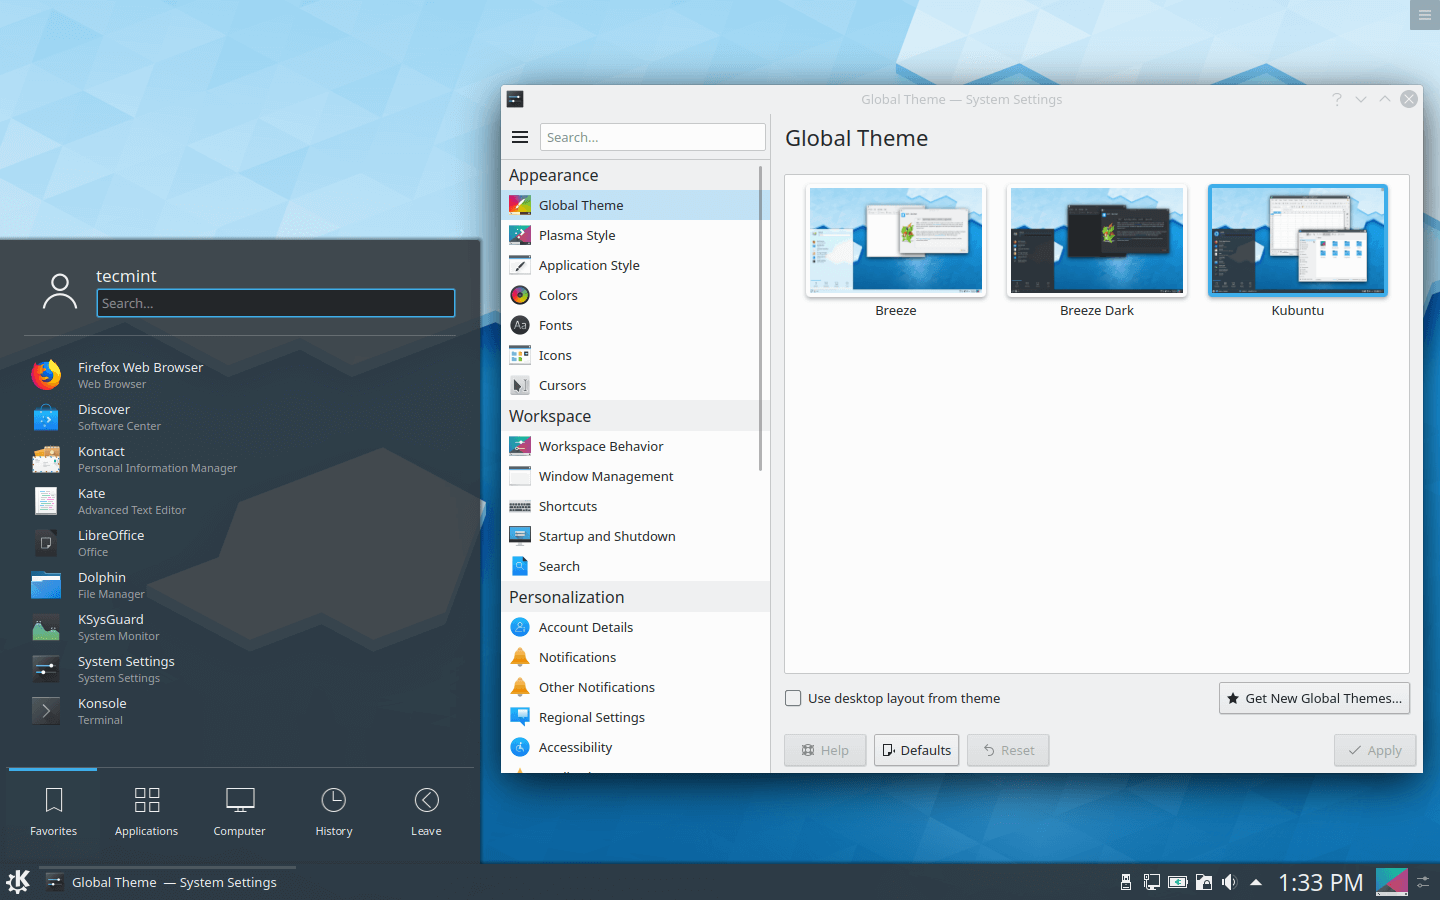
- Completely new look for KDE 5 Plasma, with the new slicker plasma theme, KDE 5 Plasma is much more beautiful than KDE 4.x with the new flat design, besides the nice look, the “slicker” theme is lighter than the default theme for KDE.
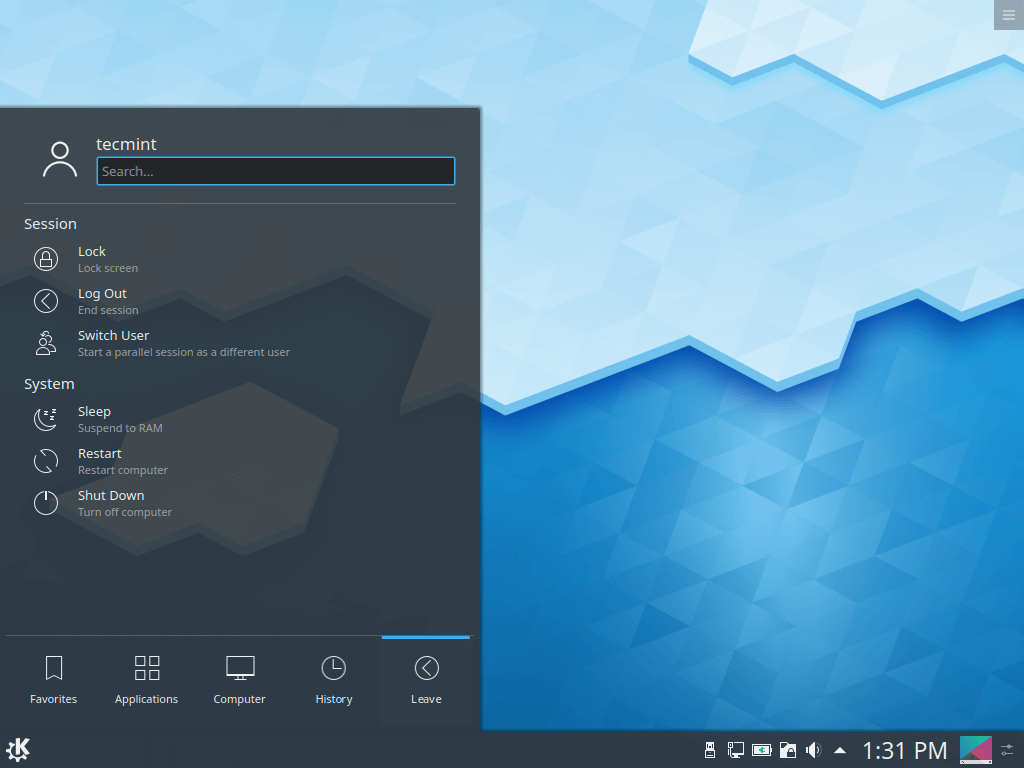
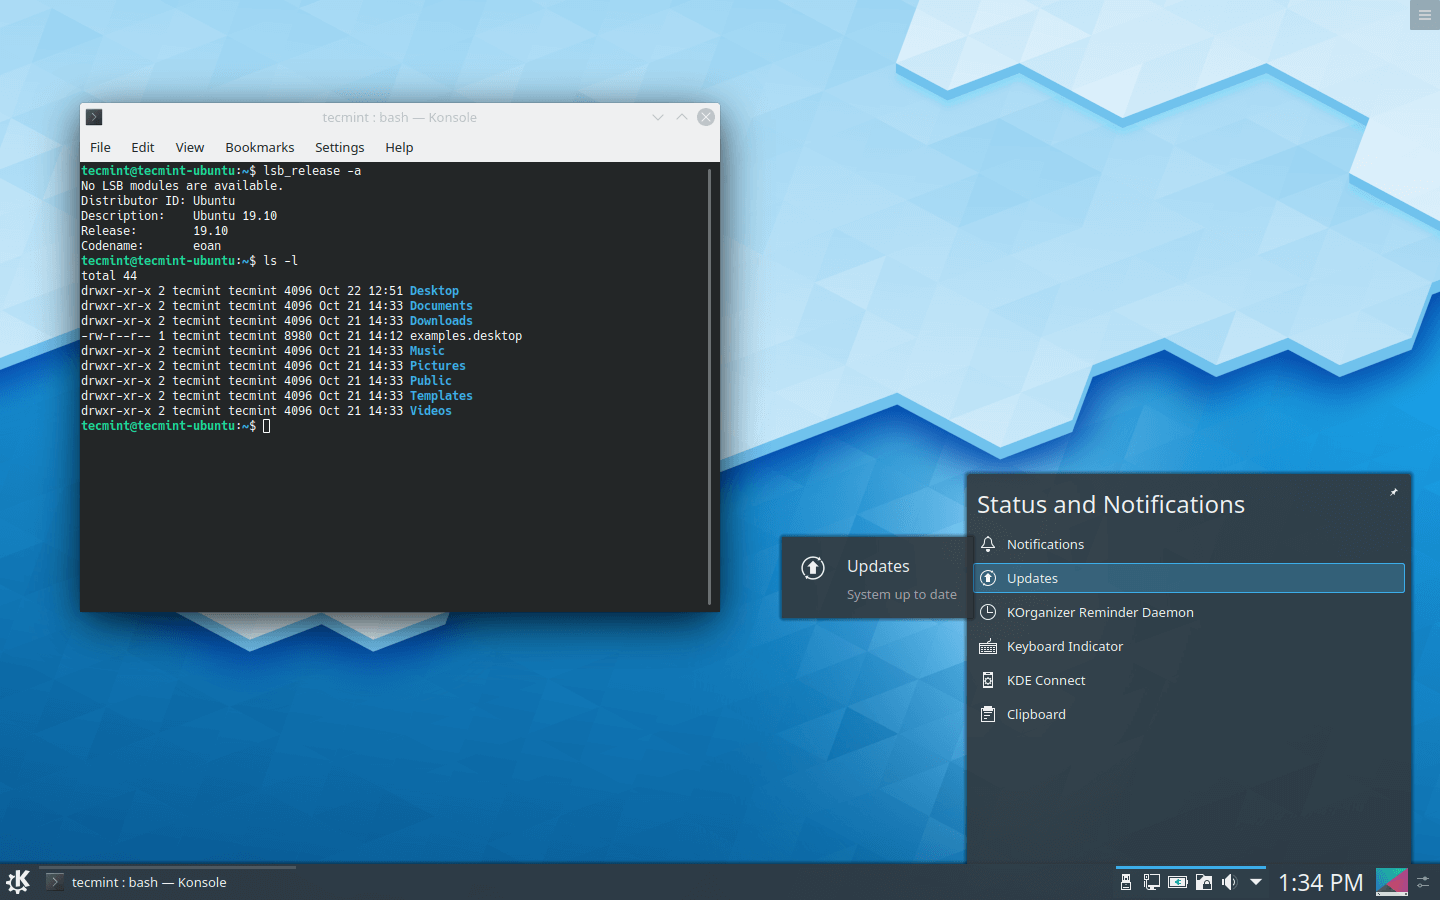
- The Start menu for KDE 5 Plasma has been redesigned and the notifications area has also been redesigned, with fewer popup windows providing a better user experience to access the notifications.
- The lock screen window is also redesigned with a better login interface.
- Smoother performance, KDE 5 Plasma applications are rendered upon the top of the OpenGL scenegraph which means that KDE 5 programs have the priority when being rendered beside other processes.
- Hardware-acceleration migration is now complete, this means that Plasma 5 rendering will be faster now because of the fully-usage of the GPU.
- A nice set of new wallpapers will look perfect on the default theme.
- Many other features that you will explore on your own.
On 27 July 2021, the makers of KDE released yet another Plasma feature update, Plasma 5.22.4. It ships in with several exciting new features and improvements, bringing a classic feel to your desktop. For more details, see the release notes.
Installation of KDE Plasma in Linux
To install KDE Plasma on Ubuntu 20.04 and Linux Mint 20, you have to use the default repository using the following apt commands.
Install KDE Plasma On Ubuntu 20.04
$ sudo apt update
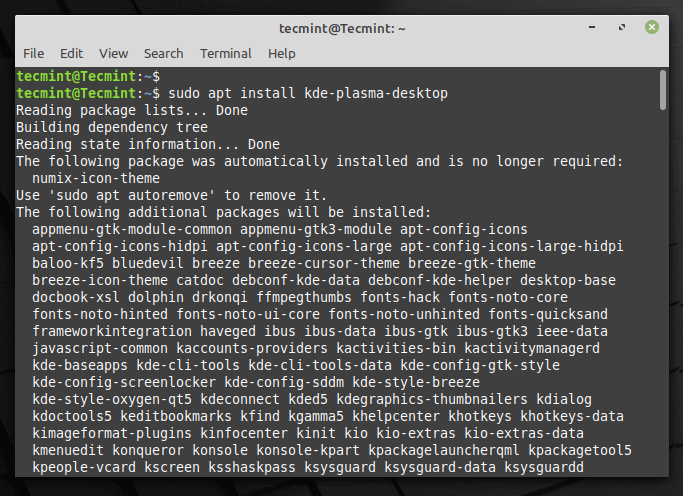
$ sudo apt install kde-plasma-desktop
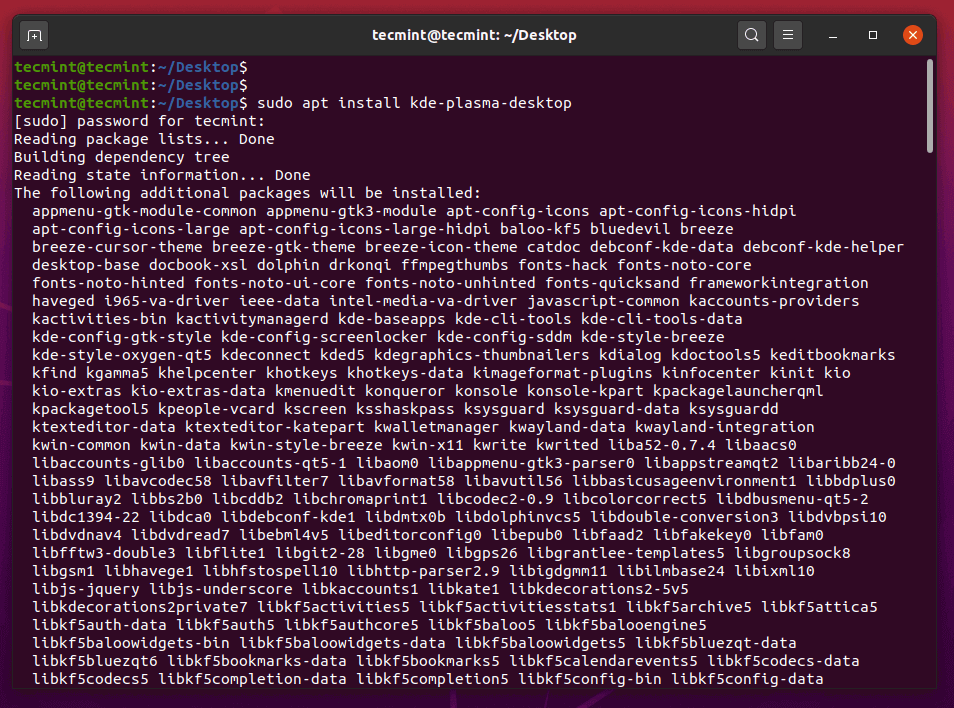
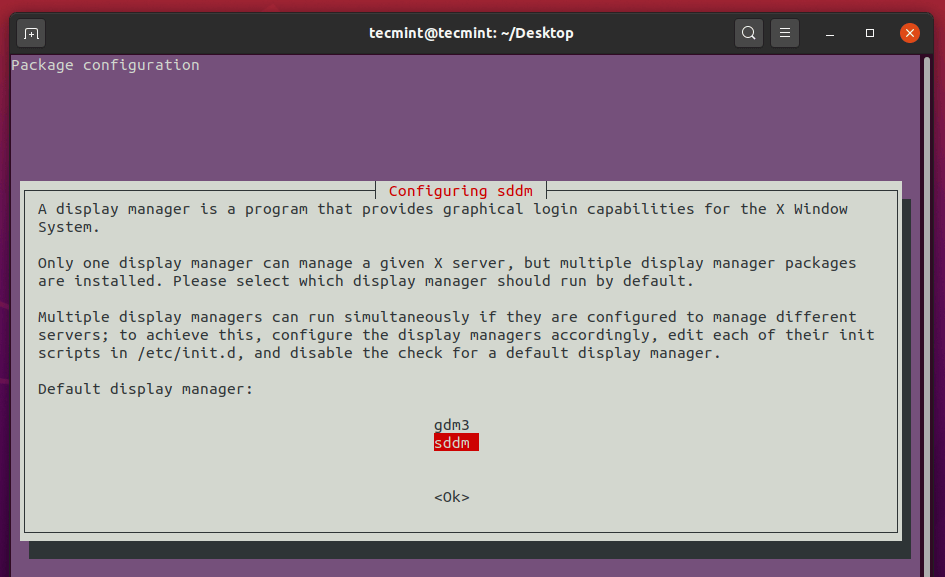
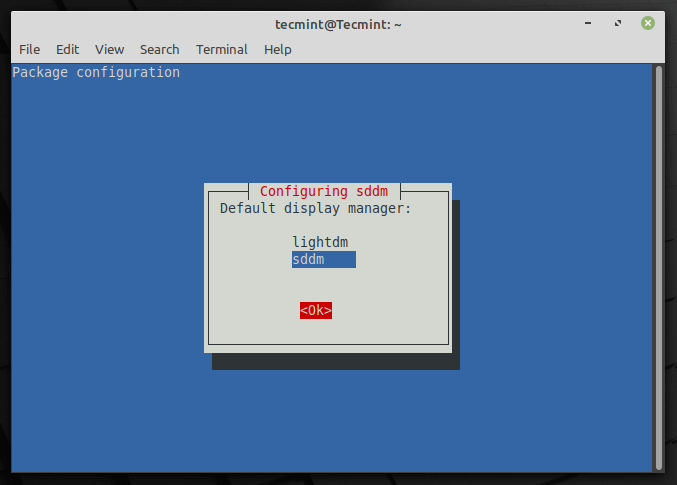
Please note during installation, it will ask you to configure the sddm login manager, click OK, and select the ‘sddm’ login manager as default.
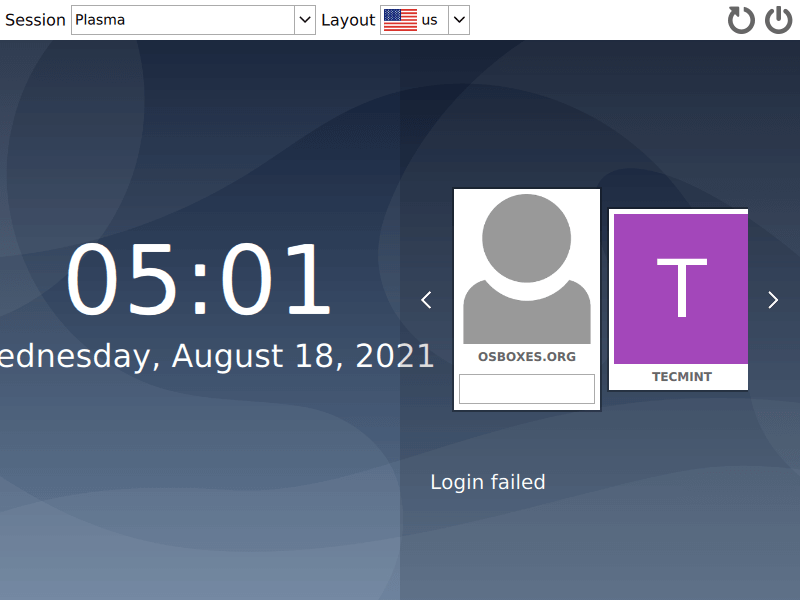
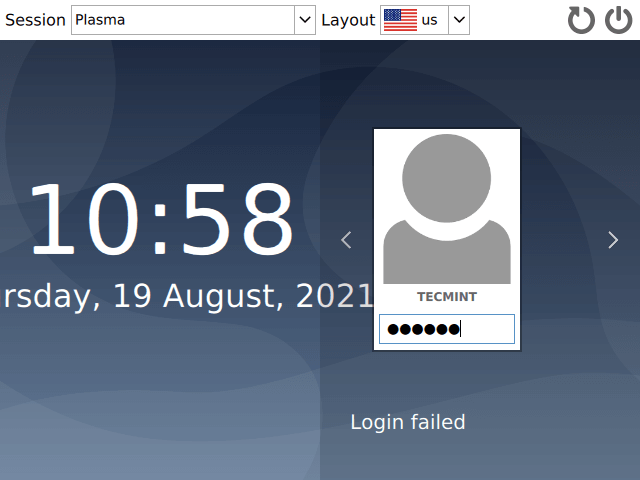
Once the installation process is completed, make sure to restart your system and select Plasma Desktop and enter the password to login to the KDE Plasma desktop environment.
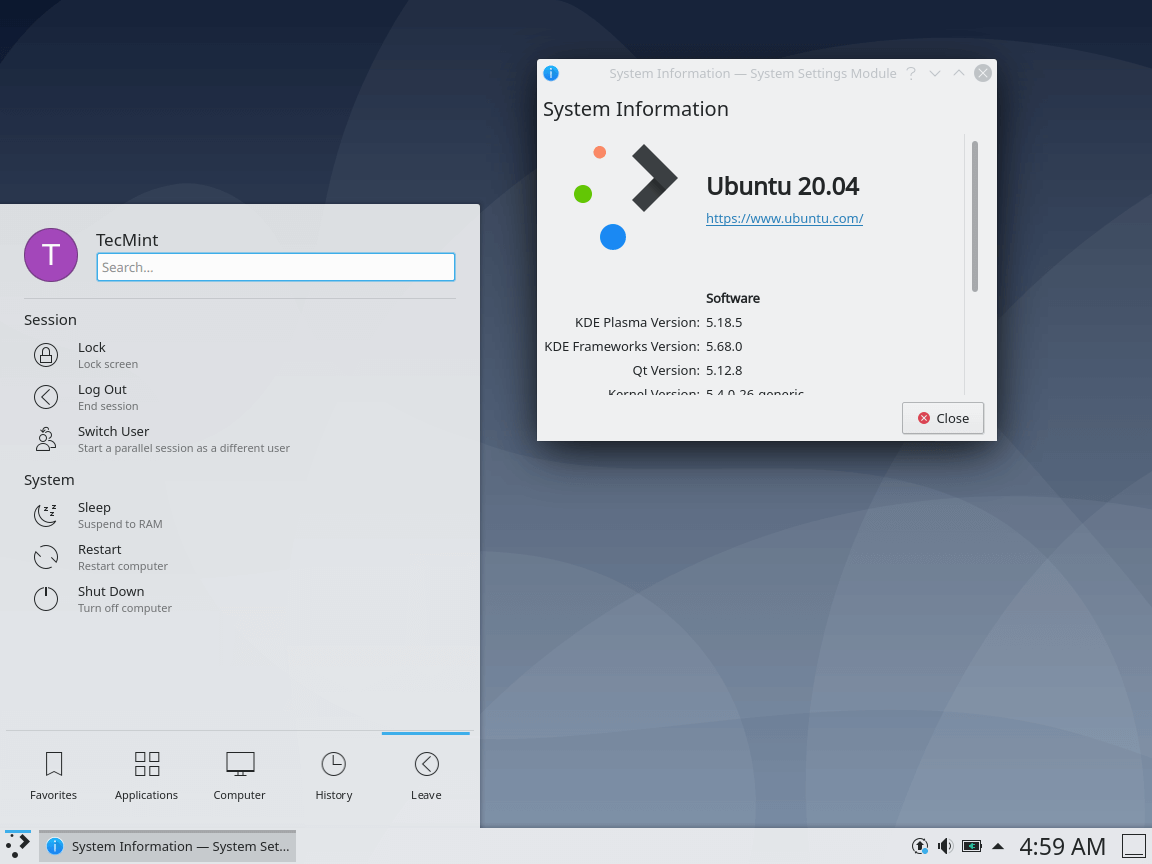
Install KDE Plasma On Linux Mint 20
The KDE Plasma desktop packages are already in the official repository of Linux Mint and you can install them using the following commands.
$ sudo apt update
$ sudo apt install kde-plasma-desktop
Choose sddm login manager.
After installation finishes, choose Plasma desktop from login.
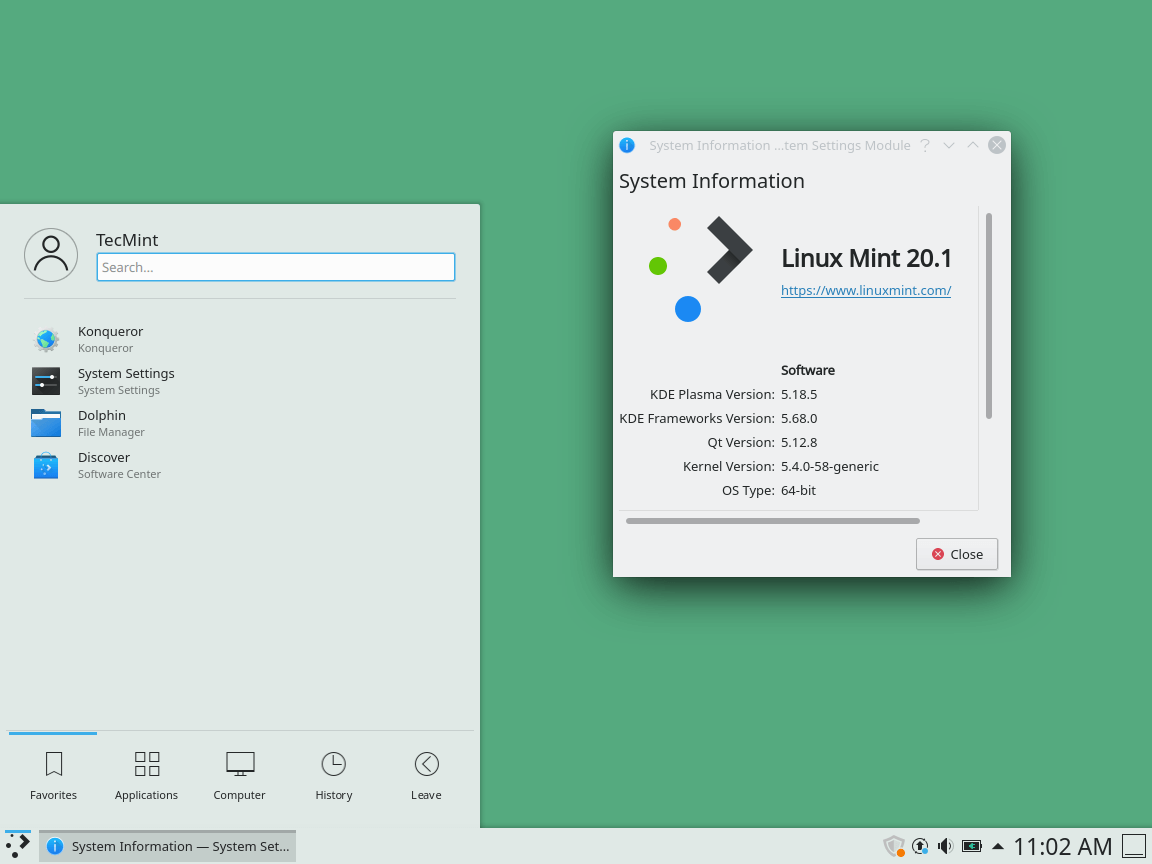
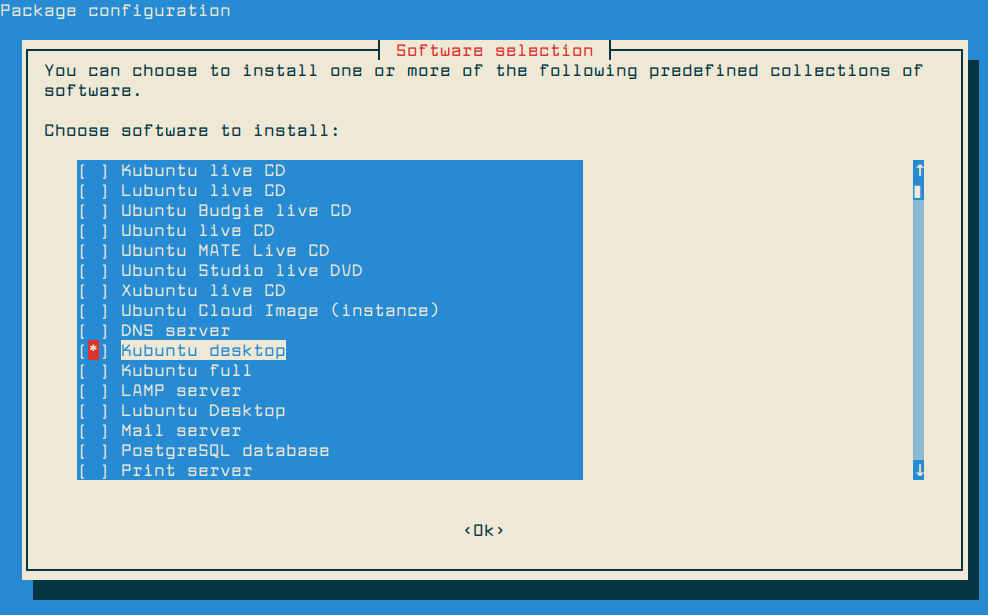
Install KDE Plasma on Debian 11/10
$ sudo apt install tasksel
$ sudo tasksel install kde-desktop
OR
$ sudo tasksel
Install KDE Plasma On OpenSUSE
For OpenSUSE, the latest version of KDE Plasma is available from the default repository for your system and you can install it using the zypper command as root.
$ sudo zypper in -t pattern kde kde_plasma
Install KDE Plasma On Fedora 34
For Fedora systems, new KDE plasma updates are available from the default repositories, make sure to keep your Fedora installation up-to-date, in order to install the most recent version of KDE Plasma using the following dnf commands.
$ sudo dnf update
$ sudo dnf install @kde-desktop
Install KDE Plasma On RHEL/CentOS and Rocky Linux/AlmaLinux
# yum groupinstall "KDE Plasma Workspaces"
For Arch Linux, packages are available to download from the official extra repository, activate it, and enjoy it.
KDE Plasma 5.22 Screenshot Tour
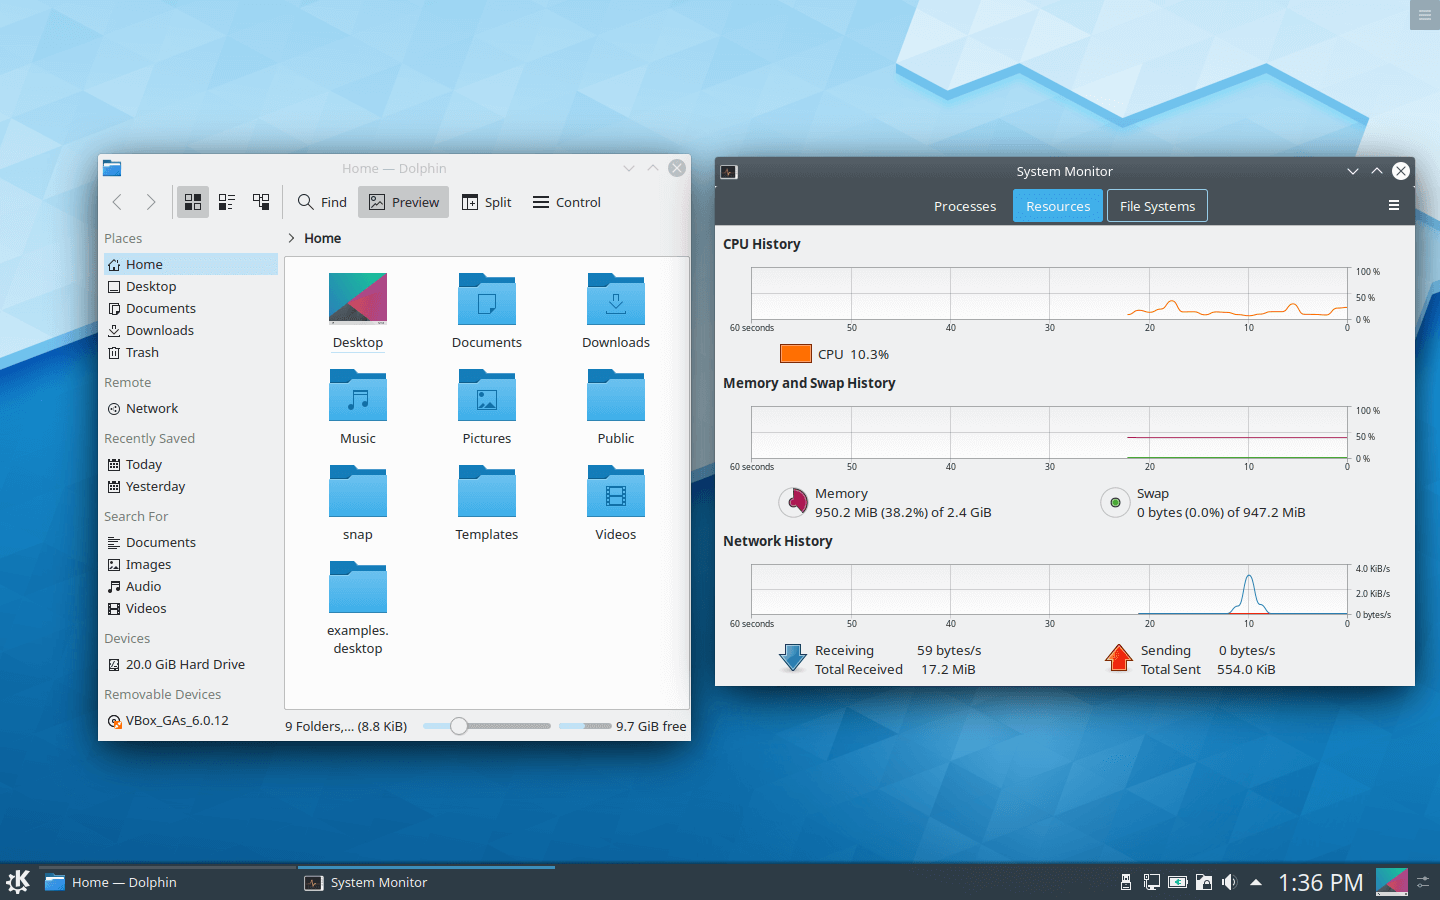
I hope that everything has worked fine, you can now enjoy KDE Plasma on your desktop.
In case of any queries or additional information you want to provide to us, you can use the comment section below to give us feedback. Have you tested KDE Plasma 5 on your Linux system? How did you find it?. Please post your thoughts about the KDE desktop using our comment section below.



I have two 3GB and 16 GB thumb drives without an external write-protect switch. Both of them have been locked with an internal command or script by Ubuntu 20.04 and Zorin 16 pro QS. I used Rufus 15.0 to write the contents of both ISO images to each thumb drive per OS.
After installation of the separate OS Ubuntu and Zorin on my SSD and HDD drives, I wanted to remove the files from both thumb drives but couldn’t because the thumb drives became write-protected by Ubuntu and Zorin after I used them to install both OS’s.
I can’t format or remove the partition from each thumb drive using Windows Disk Manager or a third-party partitioning program called Macrorit Pro. I get I/O error messages or “Cannot write to the device it is write protected” How can I remove this write protect using the Linux terminal command using Kubuntu 21.04 or terminal ubuntu 22.04? Is there a sudo command to use?
Linux programmers need to give us the option of no display manager. Like in the old neckbeard days. A RAW command-line login. No fancy candy.
Hi,
It’s a long time since you posted, but it does exist. It is called runlevel 3, or multi-user. Used 90% of the time on servers.
You can switch to it with SystemCtl, or by other ways – the Internet is your friend ;)
Can you please let me know if this guide works with Peppermint OS? And if not, could you update the tutorial and include it? Peppermint is based on Ubuntu and Linux mint so could It work?
I’m on Ubuntu mate and it uninstalled the Ubuntu and edubuntu desktop envioment!
@Charles
Oh, sorry, i hope it didn’t mess up your system.
Sadly it did but don’t worry it wasn’t your fault, all i did was uninstall Ubuntu and installed kubuntu which is a distribution of Ubuntu but it comes with KDE plasma desktop.
@Charles
Okay, it’s good that you found a way around. Many thanks for the feedback.