Manjaro 21, codenamed ‘Ruah‘ is the latest release of Manjaro which is a Linux distribution based on Arch Linux. It features major improvements and enhancements including new versions of desktop environments – Xfce, GNOME, and KDE.
In this guide, we walk you through the installation of Manjaro 21 GNOME Edition.
Prerequisites
Before you begin, ensure that you have the following requirements:
- A 16 GB USB drive for the installation medium.
- A Broadband internet connection for downloading the ISO image.
In addition, ensure that your system meets the following minimum recommended requirements.
- Minimum of 2GB of RAM
- Minimum of 1 GHz Dual core processor
- 30 GB of free hard disk space
- HD graphics card and monitor
Step 1: Download Manjaro 21 GNOME ISO Image
To get started, head over to the official Manjaro download page and download the GNOME ISO image. Once downloaded, create a bootable USB Pendrive using one of the free useful tools for creating a bootable USB.
Next, plug in the bootable Pendrive to your system and reboot. In the BIOS, be sure to set the bootable USB medium as the first item in the boot priority section so that the system can detect the USB drive as the first device.
Step 2: Begin the Installation of Manjaro GNOME
Once rebooted, the Manjaro Linux installer will be displayed with a list of installation options as shown. Select ‘Boot with opensource drivers’ and hit ENTER.

Shortly afterward, you will see a stream of messages.

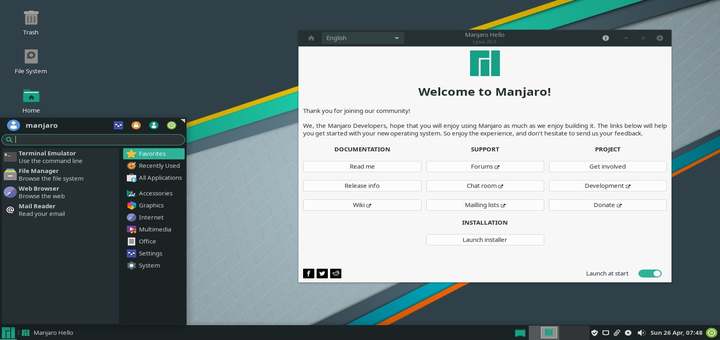
A few minutes later, the Manjaro GNOME environment will come to view, with a Welcome window displaying a list of options for Documentation, and Support.
To get started, click on ‘Launch Installer’.

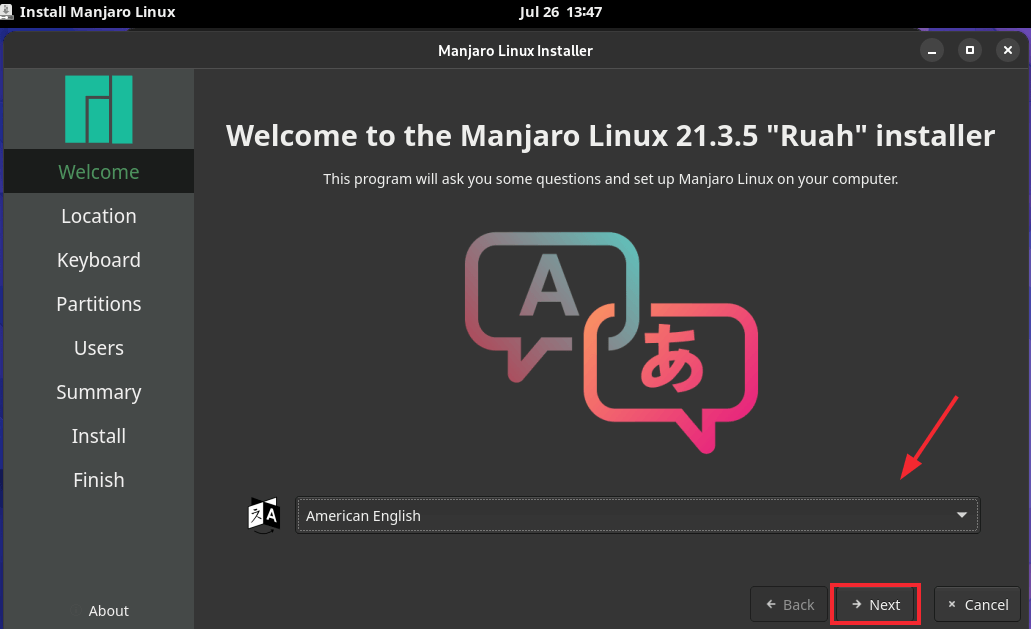
The installer will walk you through a series of steps. First up, select the installation language. Then click ‘Next’.
In the next step, choose your preferred geographical location and hit ‘Next’.

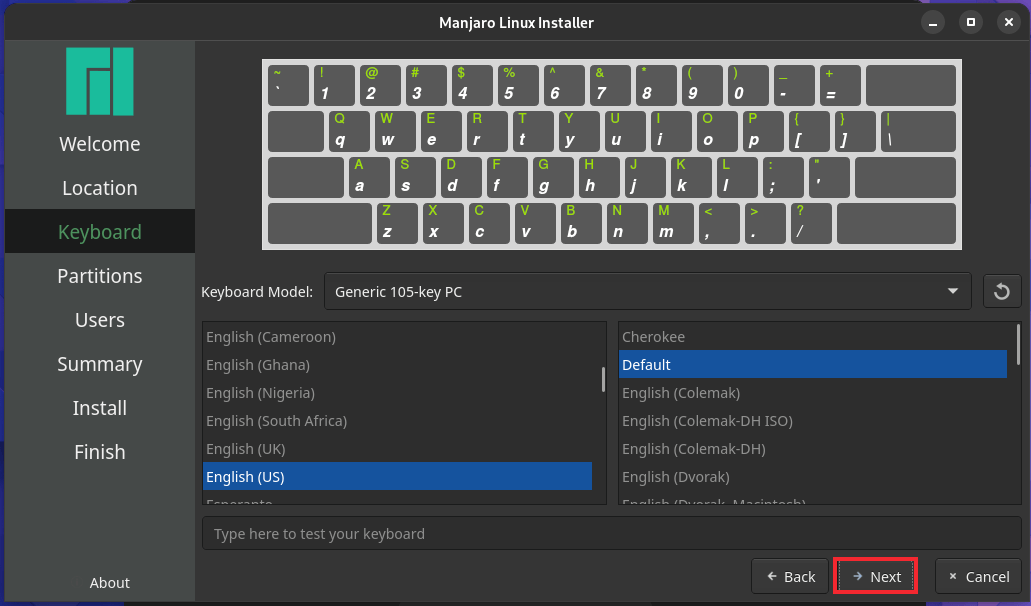
Next, select your preferred keyboard layout. You can also type a few words in the text field provided just to verify your selection. Once satisfied, click ‘Next‘.
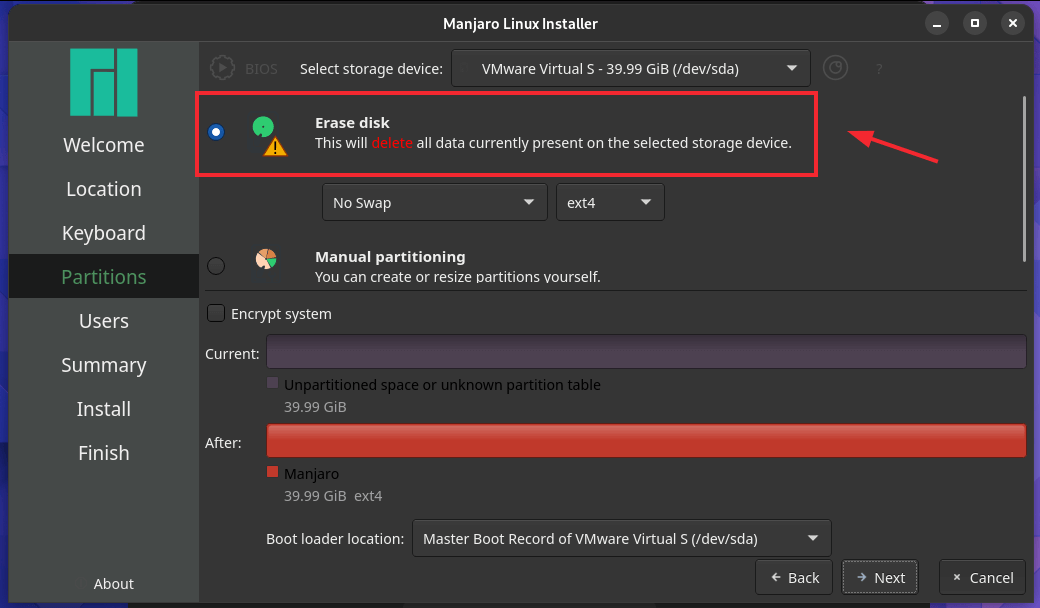
Step 3: Configure Partitioning in Manjaro
The next step requires you to partition your hard drive. Two options are presented to you. The first option erases all the data on your disk and automatically partitions your hard drive.
The Manual partitioning option grants you the power and flexibility to manually partition your hard drive. This option is mostly used by advanced users who want complete control of their disk partitions.
In this guide, we will go with the first option, So, click ‘Erase disk’ and click ‘Next’.
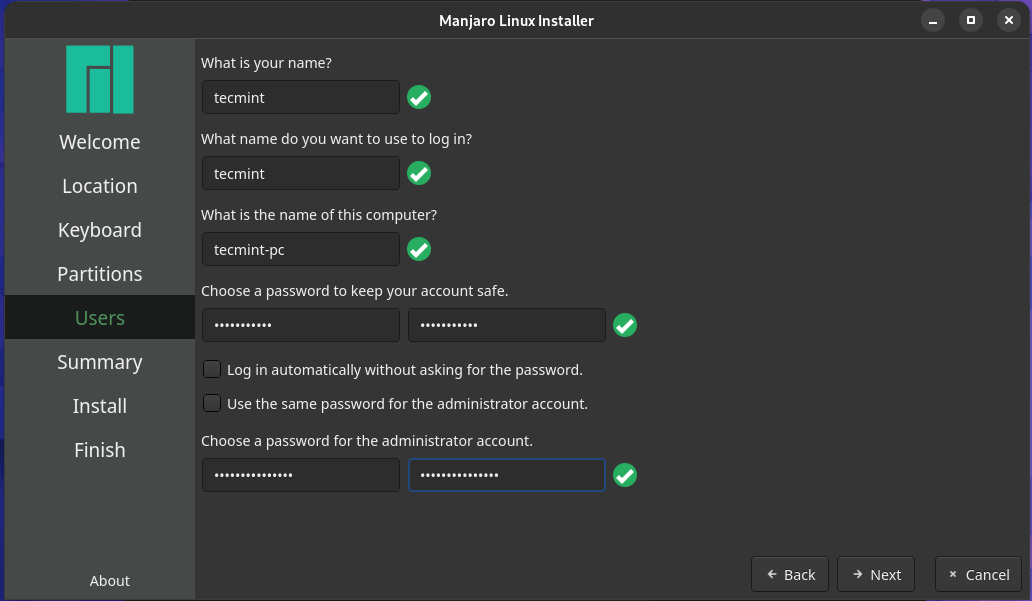
Step 4: Create a Regular and Administrator Account
Next, create a regular user and Administrator account. Then click ‘Next’.
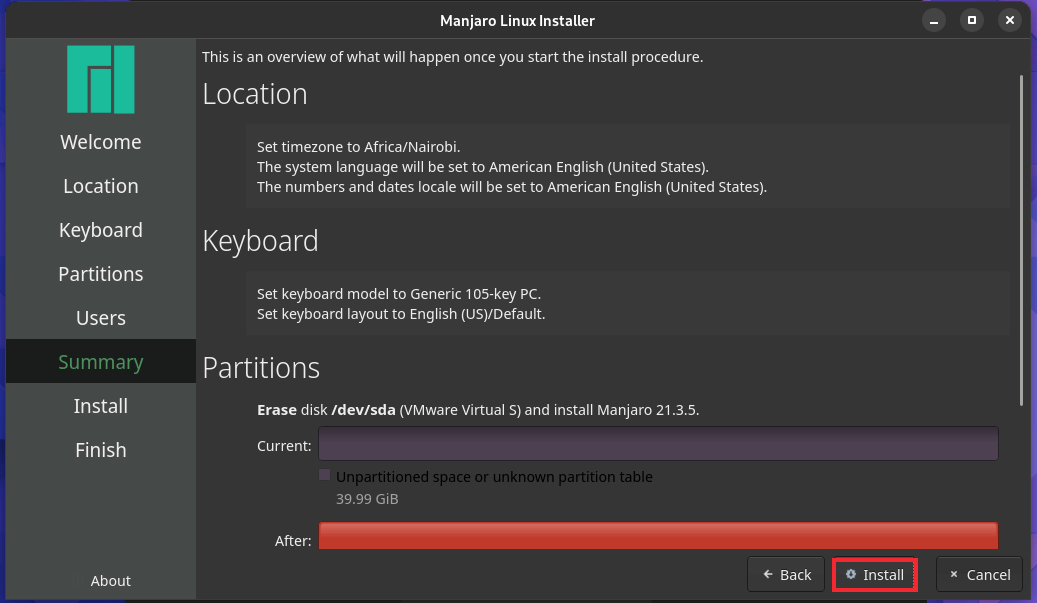
Step 4: Begin Manjaro Instalaltion
In this step, you will be presented with a summary of all your selections. So, carefully go through each of your selections and if everything looks good, click ‘Install’. Otherwise, click ‘back’ and make the necessary changes.
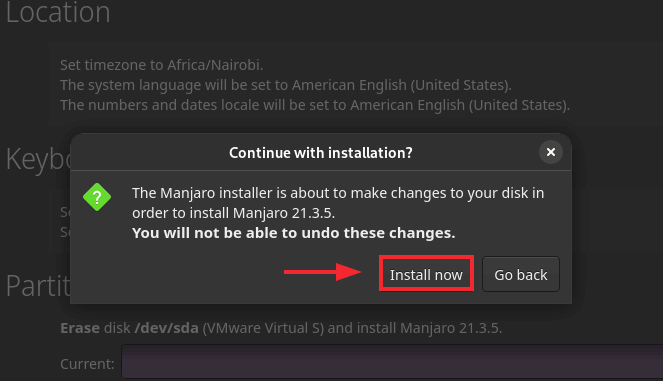
On the pop-up that appears click ‘Install Now’.
The installer will partition your hard disk and copy all the files and software packages to the disk. This takes roughly half an hour, and this is an ideal time to take a break and grab a snack.

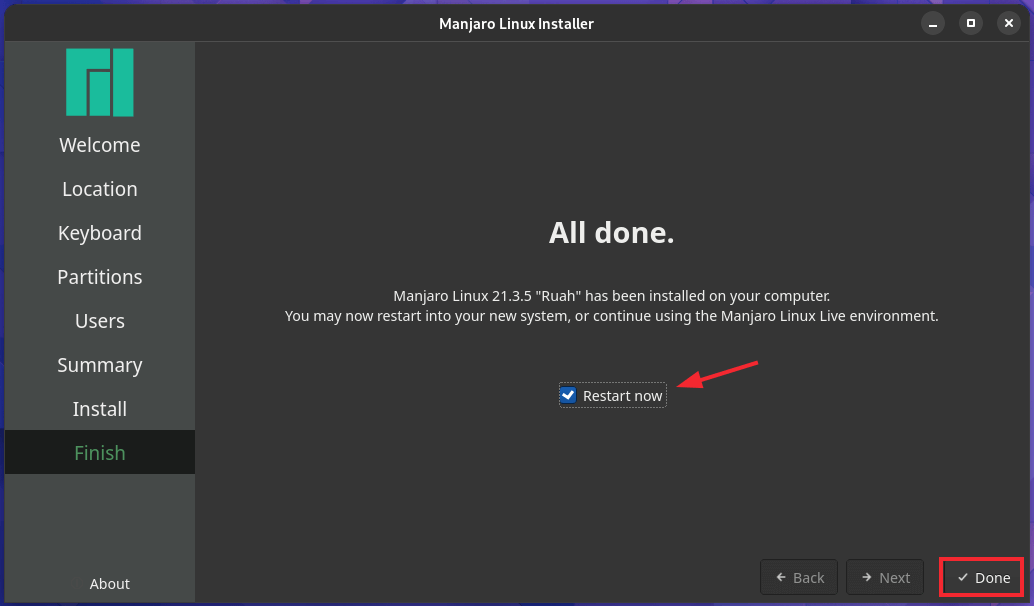
Once Manjaro has been installed on your PC, check the ‘Restart Now’ button, and click ‘Done’.
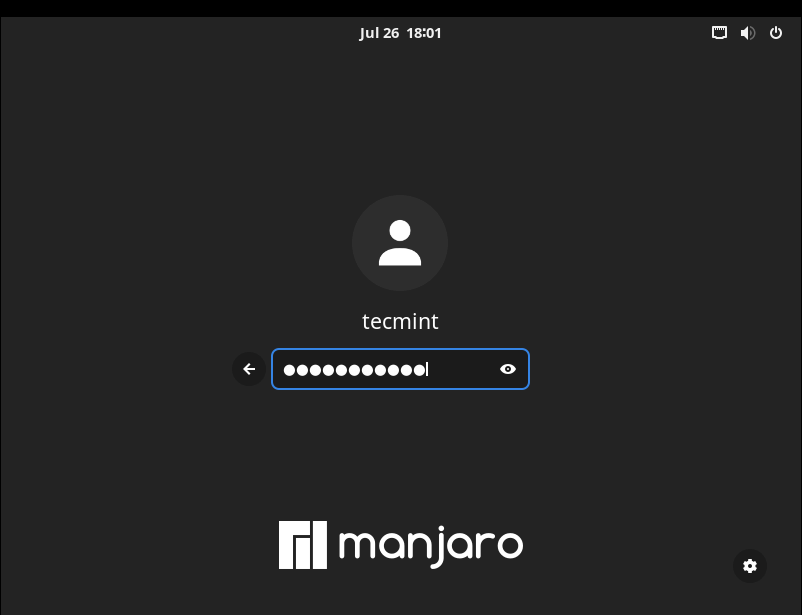
Once the system reboots, you will get the login screen shown. Provide your password to authenticate.
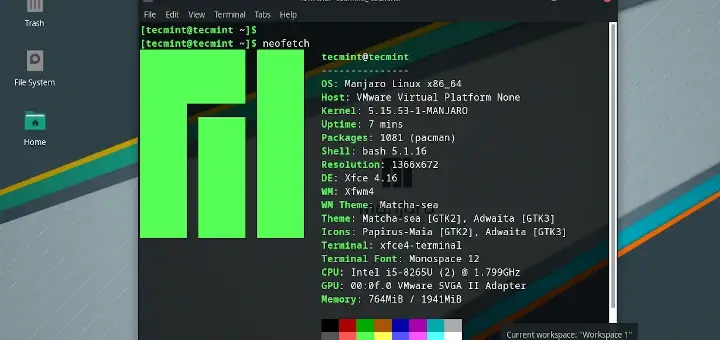
Thereafter, you will be ushered to the Manjaro GNOME environment.
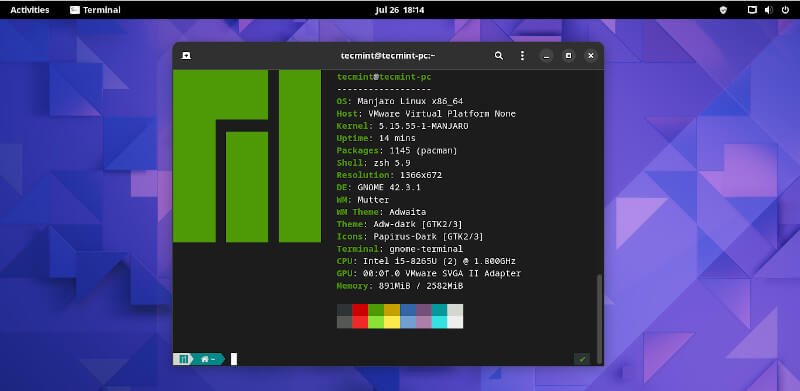
In this guide, we have successfully walked you through the installation of the Manjaro 21 (GNOME Edition) Desktop. Your feedback is highly welcome.