Magento is a free, open-source CMS for web-commerce websites, first launched in 2008 and later acquired by eBay, according to W3Techs, Magento is used by 2.6% in all websites world-wide on the Internet, which is why it is important for a Linux admin to know how to install it on Linux machine which we will be explaining in this article.
Magento Features
- Free and open-sourced.
- Built using PHP, Zend framework and MySQL database.
- Can easily be used to create online web-stores.
- Ability to install & change default website theme, without need to change the content.
- Ability to install & configure modules to add more functionality.
- 3 Available editions to use which are: Community Edition – Professional Edition – Enterprise Edition.
- Supported by a large community.
Requirements
This article will guide you to install the most recent version of “Community Edition” of Magento on a system running:
- Apache version 2.2 or 2.4
- PHP version 5.6 or 7.0.x or later with required extensions
- MySQL version 5.6 or later
Step 1: Install Apache, PHP and MySQL
1. Magento is a PHP script, that uses MySQL database, thats why we will need a running web-server and a MySQL database server with PHP Support, to install those things on Ubuntu/Debian, you will have to run the following commands in the terminal.
Note: On Ubuntu/Debian, during mysql installation, it will prompt you to setup password for mysql user (i.e. root) by default.
$ apt-get update && apt-get upgrade
$ sudo apt-get install php7.0-common php7.0-gd php7.0-mcrypt php7.0-curl php7.0-intl php7.0-xsl php7.0-mbstring php7.0-zip php7.0-iconv mysql-client mysql-server
Note: Currently, PHP 7.1.3 is the latest and most stable available version from the default Ubuntu and Debian repository, and works with Magento Community Edition 2.1 and 2.0.
If you’re using older Ubuntu or Debian distribution, consider upgrading to PHP 7.0 or later to adopt the new features of Magento CE (Community Edition).
$ sudo apt-get -y update
$ sudo add-apt-repository ppa:ondrej/php
$ sudo apt-get -y update
$ sudo apt-get install -y php7.0 libapache2-mod-php7.0 php7.0 php7.0-common php7.0-gd php7.0-mysql php7.0-mcrypt php7.0-curl php7.0-intl php7.0-xsl php7.0-mbstring php7.0-zip php7.0-bcmath php7.0-iconv
2.Next, you need to increase PHP memory for Magento, to do this, open php.ini file.
$ sudo nano /etc/php/7.0/apache2/php.ini
Seach for the line ‘memory_limit‘ in the file.
memory_limit = 128M
And change the value to 512.
memory_limit = 512M
Once all the required packages has been installed on the system/server successful, now move forward to create a new MySQL database for Magento installation.
Step 2: Create MySQL Database for Magento
3. This section instructs, how to create a new database and new user for Magento. Although a new magento database is recommended, but optionally you can also deploy into an existing database, it’s upto you.
To create a new database and a user, login to your database server using root account and password that you’ve created during mysql-server installation above.
$ mysql -u root -p
## Creating New User for Magento Database ##
mysql> CREATE USER magento@localhost IDENTIFIED BY "your_password_here";

## Create New Database ##
mysql> create database magento;

## Grant Privileges to Database ##
mysql> GRANT ALL ON magento.* TO magento@localhost;

## FLUSH privileges ##
mysql> FLUSH PRIVILEGES;

## Exit ##
mysql> exit
Step 3: Configure Apache for Magento
4. Now we will create a new virtual host file example.com.conf for our Magento site under /etc/apache2/sites-available/.
$ sudo nano /etc/apache2/sites-available/example.com.conf
Now add the following lines to it.
<VirtualHost *:80>
    ServerName example.com
    ServerAlias www.example.com
    ServerAdmin webmaster@localhost
    DocumentRoot /var/www/html/example.com/

    ErrorLog /var/www/html/example.com/logs/error.log
    CustomLog /var/www/html/example.com/logs/access.log combined

    <Directory /var/www/html/example.com/>
        Options Indexes FollowSymLinks MultiViews
        AllowOverride All
    </Directory>

</VirtualHost>
Save and close the file.
5. Now, enable new virtual host (example.com.conf) and ‘mod_rewrite‘ module.
$ sudo a2ensite example.com.conf
$ sudo a2enmod rewrite
6. We will disable the default virtual host configuration file to avoid any conflict with our new virtual host.
$ sudo a2dissite 000-default.conf
7. Finally, restart the Apache service.
$ sudo service apache2 restart
Step 4: Download Magento Community Edition
8. As usual, we’ll download the latest version from the official website, at the time of writing this article, the latest version from the Community Edition is 2.1.5, which you can download using the following link, it is under the “Full Release” section, of course, you need to register first before downloading Magento.
9. After you download Magento you may extract the downloaded file, place its content in /var/www/html/ using root permissions.
$ sudo mv Magento-CE-2.1.5-2017-02-20-05-36-16.tar.gz /var/www/html/example.com/
$ sudo tar -xvf Magento-CE-2.1.5-2017-02-20-05-36-16.tar.gz
$ sudo rm -rf Magento-CE-2.1.5-2017-02-20-05-36-16.tar.gz
10. Now we need to set Apache ownership to the files and folders.
$ sudo chown -R www-data:www-data /var/www/html/example.com/
11. Now open your browser and navigate to the following url, you will be presented with the Magento installation wizard.
http://server_domain_name_or_IP/
Step 5: Install Magento Community Edition
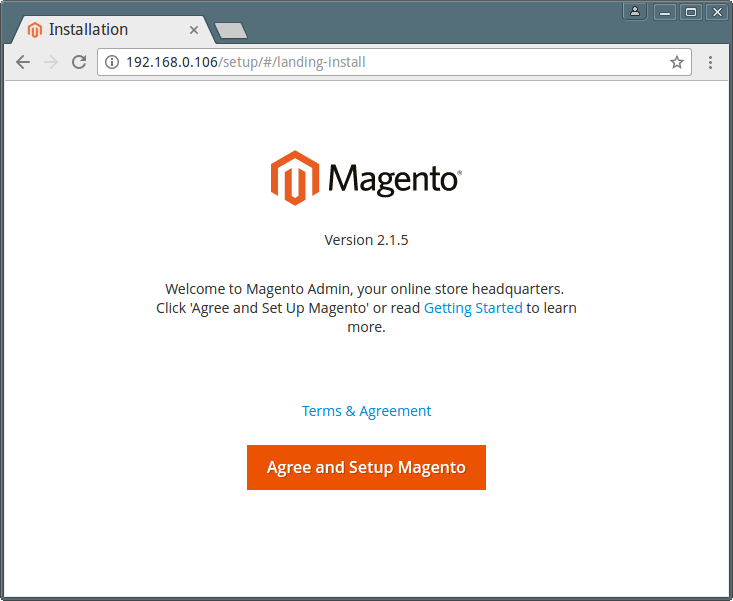
12. This will be the first step you see in the installation process of Magento, Accept the license agreement and click “Continue”.
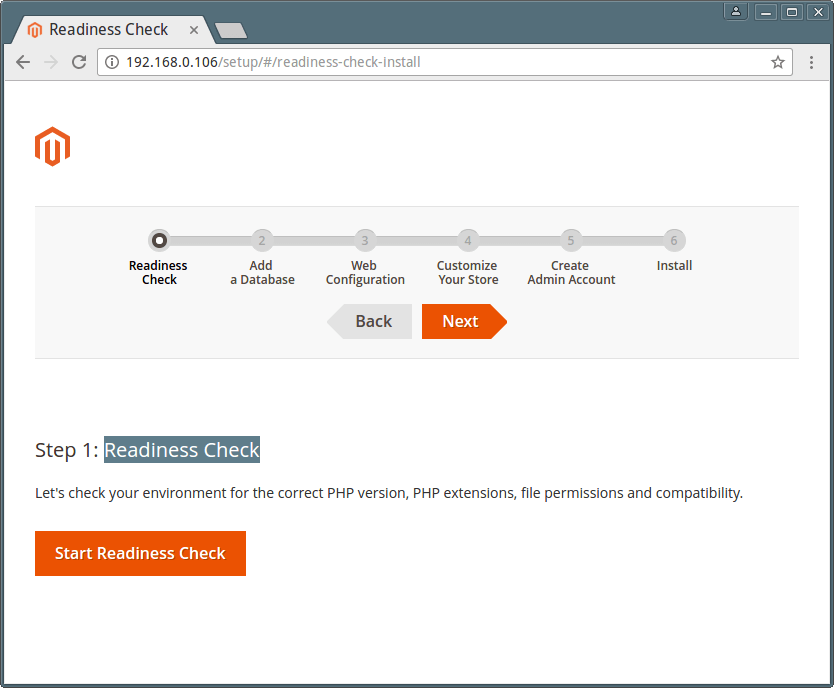
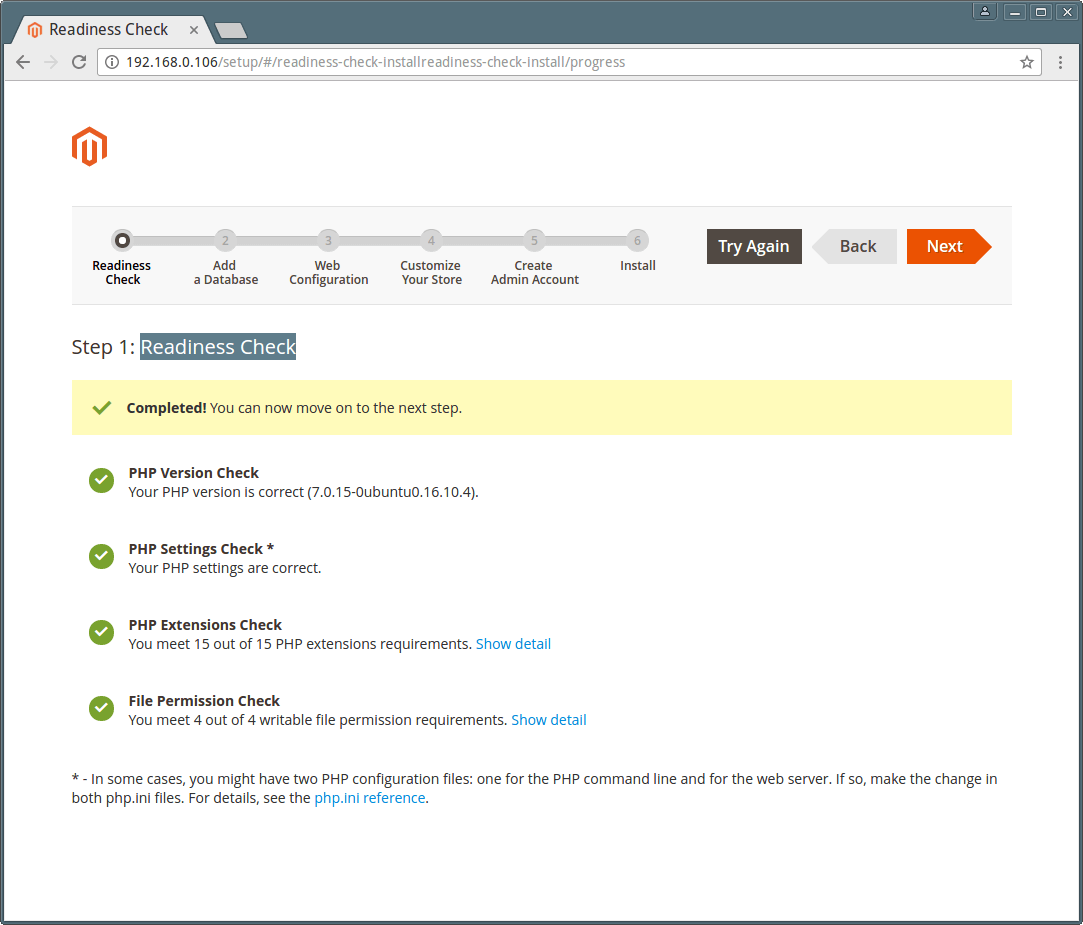
13. Next, the wizard will perform a Readiness Check for the correct PHP version, PHP extensions, file permissions and compatibility.
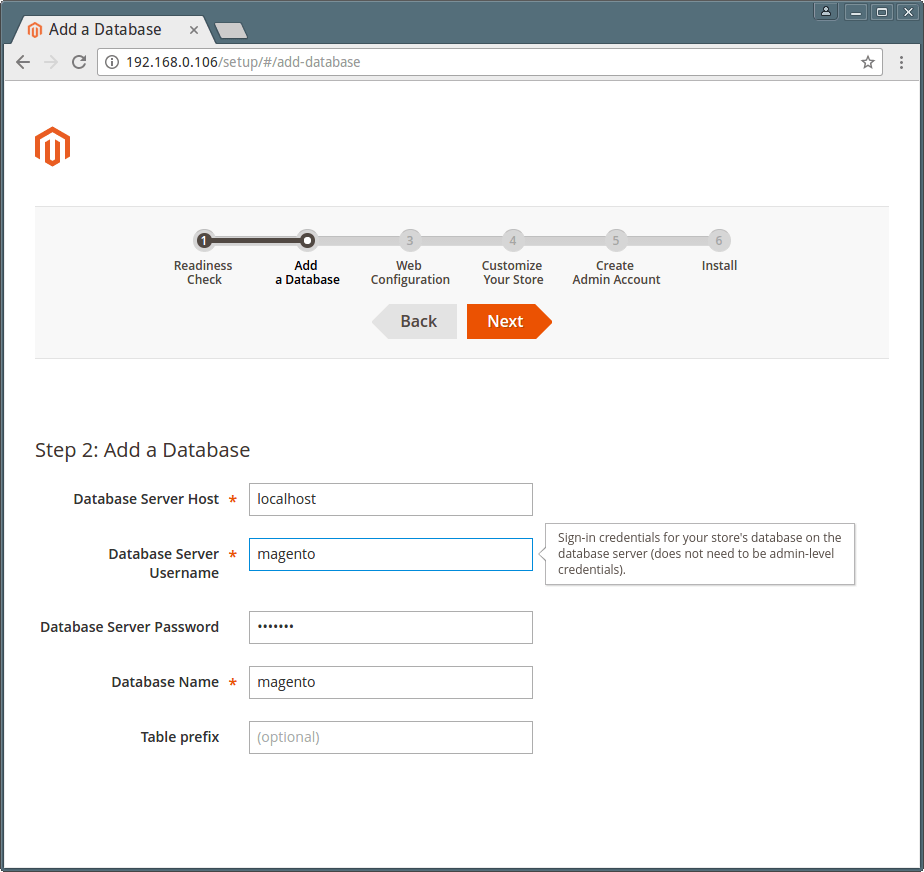
14. Enter magento database settings.
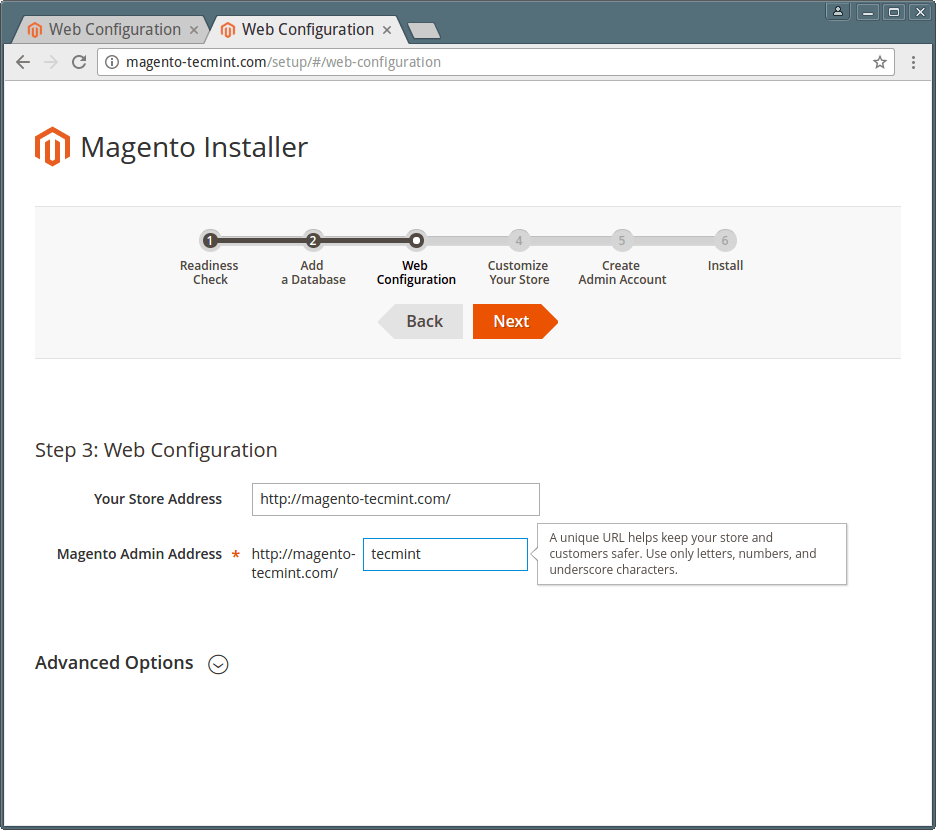
16. Magento Web site configuration.
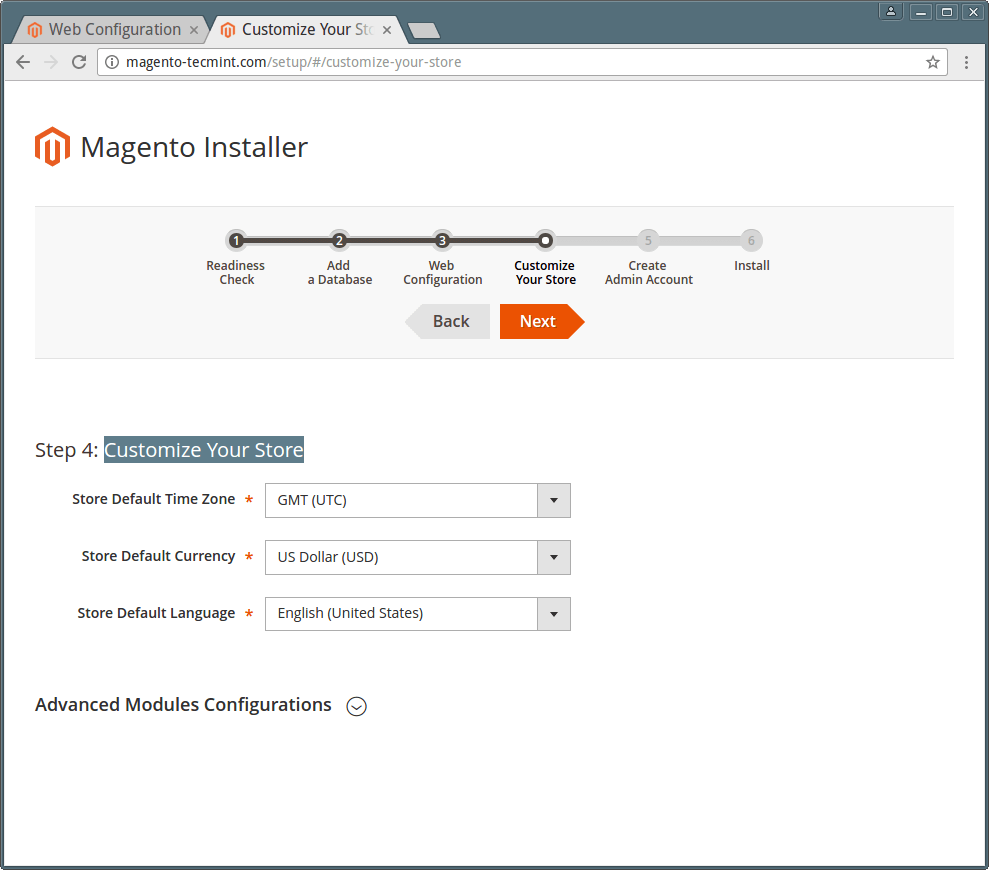
17. Customize your Magento store by setting timezone, currency and language.
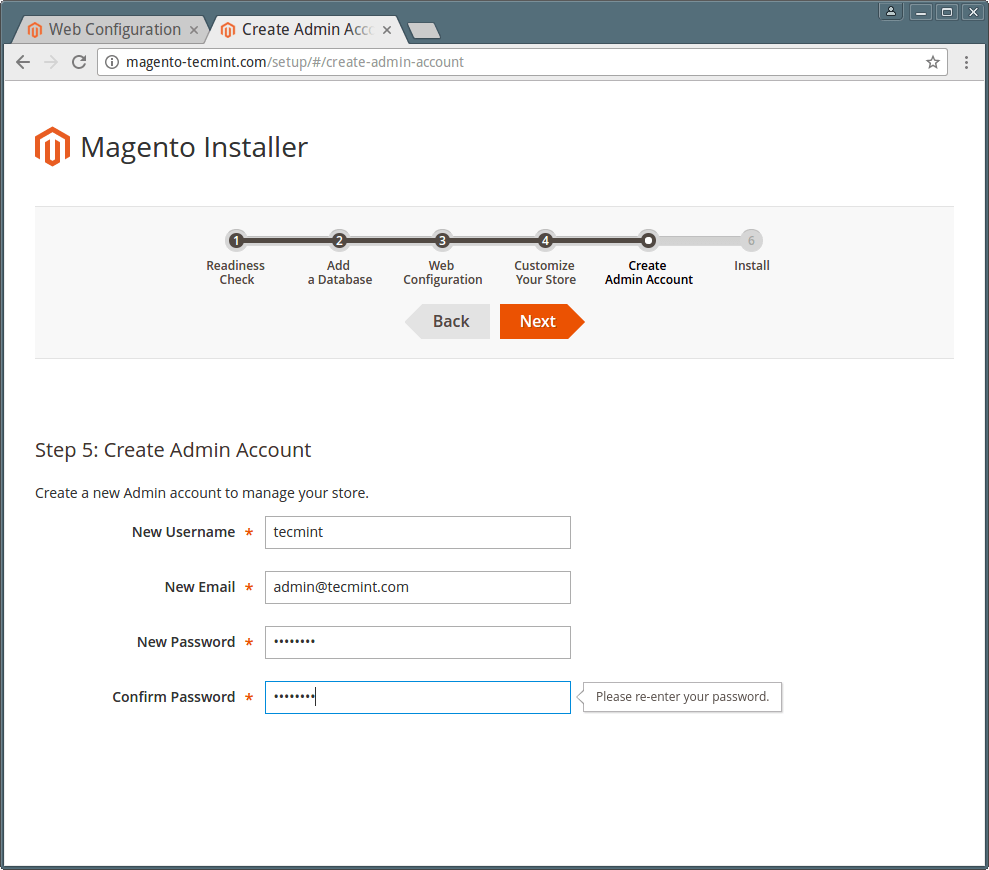
18. Create a new Admin account to manage your Magento store.
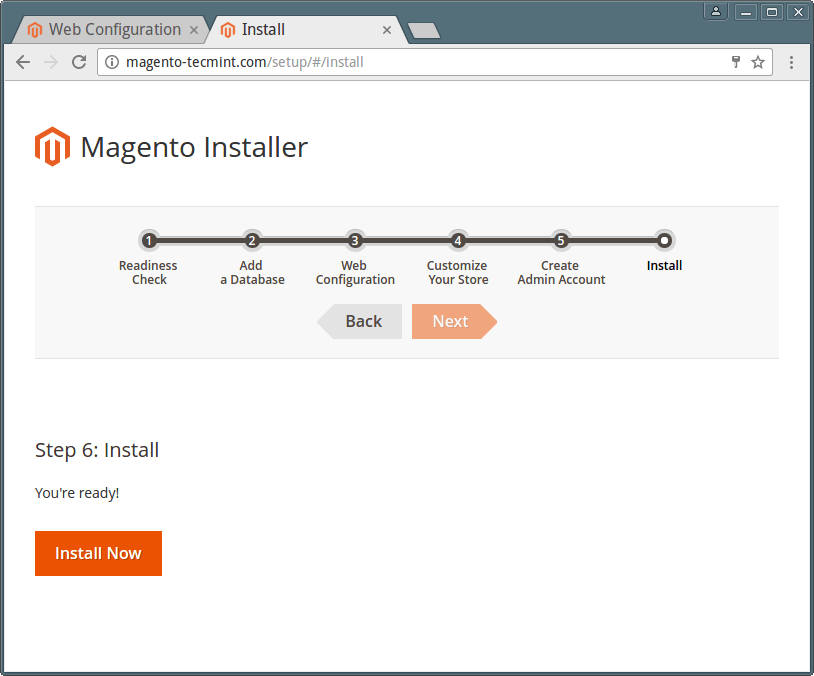
19. Now click ‘Install Now‘ to continue Magento installation.
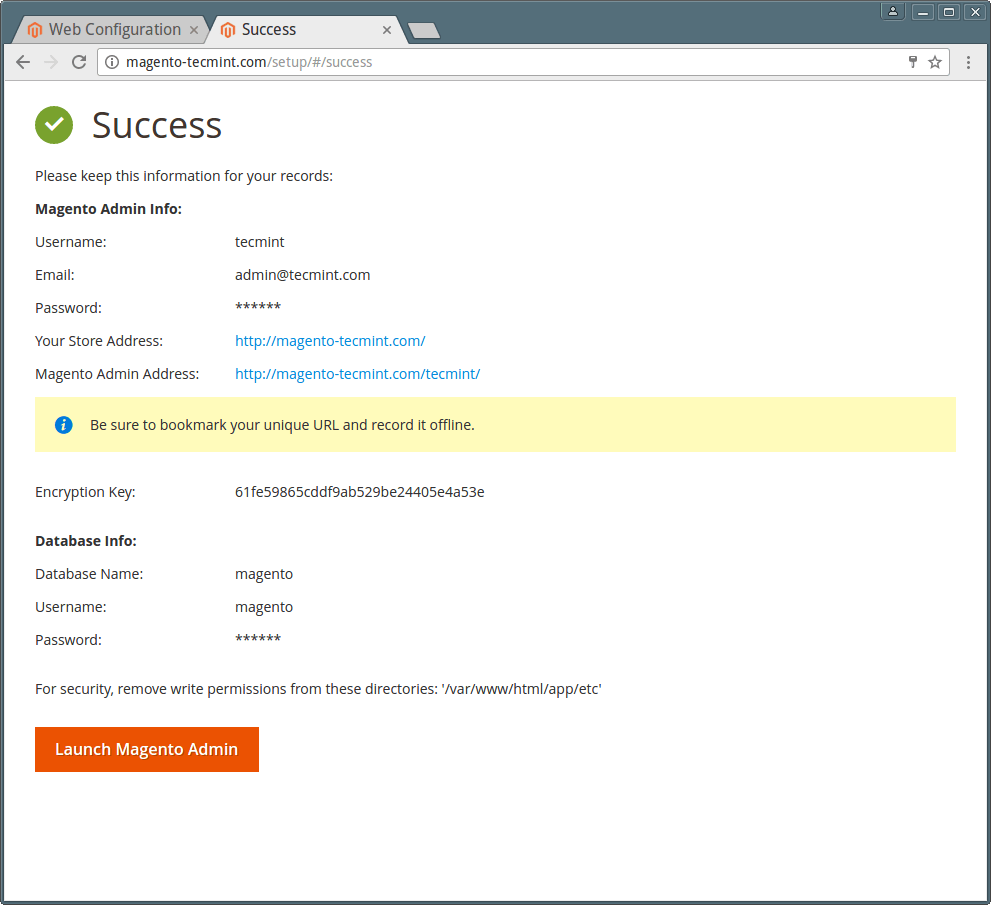
Step 6: Magento Configuration
Magento is a very configurable CMS, the problem is that it isn’t easy, it is not like configuring WordPress or Drupal themes & modules, thats why we won’t talk a lot in this section here, however you may download Magento official user guide which will explain how to configure Magento from Bennington to advance for you.
Have you ever tried Magento before? What do you think about it in comparing with other web-commerce CMSs? Please share your feedback using our comment section.






Thank you very much.
I spent a week to install on the VPS without success. But, when reading your guide, I finished in just 10 minutes.
Nice post although command line installation is much more faster and customisable.
And there is a request can you make a post on magento migration from one domain to another.
With all its components and data.
Hello, If you go to weightlossn0w.com you’ll see Welcome to Magento’s Installation Wizard! You can tick “I agree to the above terms and conditions.” But when you click the Continue button nothing happens, it’s as if the window freezes. The host is a Linux server with PHP Version 5.4.36, Apache Version 2.2.29, MySQL Version 5.5.40-cll Any thoughts? I’ve contacted the people controlling the server but they have not responded as yet.
@Charley,
I just tried the installation wizard and it moves to the next step, now I am at Database Configuratin wizard..I think you should try on different browser…
I followed that post but I faced many many problems while working o ubuntu 14.4
there is many issues appeared to me
@Mohamed,
Sorry for the trouble, actually the article is little outdated and haven’t updated since last one year. We are in process to update all our updated articles to latest version..give us some..be patience and stay tuned…
The only issues I had with this guide were:
1.the location of the apache config
“$ sudo nano /etc/apache2/sites-available/default”
was not found. I found the file at
“$sudo nano /etc/apache2/sites-available/000-default.conf”.
The Directory section did not exist at all for me, I inserted it below the “documentroot” line (not 100% sure this is the correct location).
2.The other issue is in the Magento configuration. It comes directly after fixing the write permissions. I am getting an error “php extension mcrypt must be loaded”. I fixed this by:
“sudo php5enmod mcrypt”
“sudo service apache2 reload”
“sudo service apache2 restart”
HHHmm Not sure about those 777 permissions? Is there a way to not have to do that?
Will you may set them to 775 if you want.
Hi, magento is rewritable for this reason your files should have permissions 777 and owned by the user the web public domain, not the user ROOT as this would generate update problems, editing and viewing the frontend
This will cause many security problems of course, not all the files should be under 777 permissions but only those that Magento requested in this picture:
https://www.tecmint.com/wp-content/uploads/2014/09/Magento-Configuration-620×428.png
If it was like you said, there would be more error messages but Magento only requires those files to be under 777, not the whole installation.
Thanks.
is there any supporting details from magento or is that from your experience?