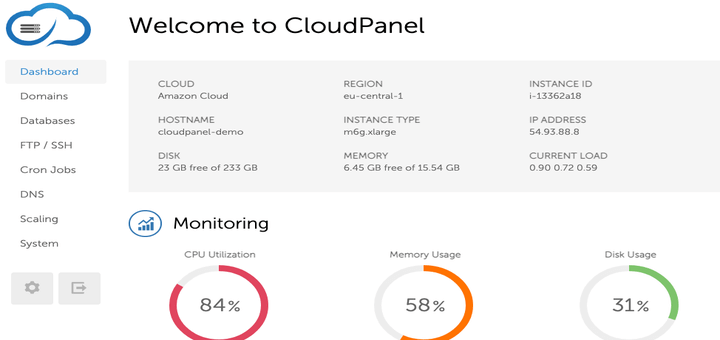
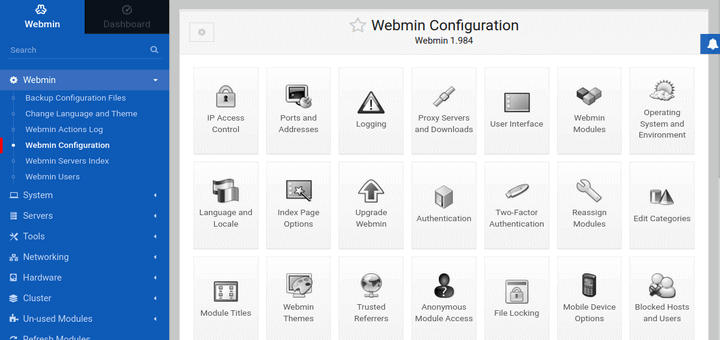
Webmin is a modern web-based Linux management tool (similar to Cockpit Web Console) that allows you to monitor various system metrics. With Webmin, you can also perform administrative tasks such as manage user accounts, change settings and configure DNS settings.
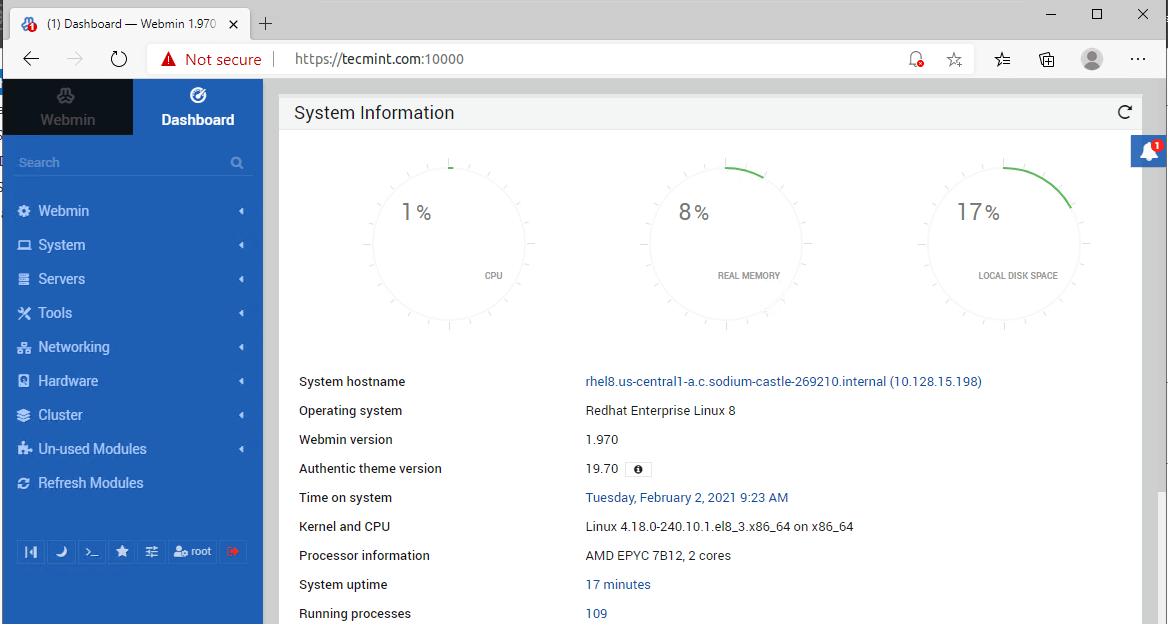
Webmin provides a GUI that displays system metrics such as CPU, RAM, and Disk utilization. This information can be used to diagnose any issues that are potentially affecting your system’s performance.
Webmin allows you to perform the following sysadmin tasks:
- Change user account passwords.
- Install, update, upgrade and remove packages.
- Configuration of firewall rules.
- Rebooting or shutting down.
- Viewing log files.
- Schedule cron jobs.
- Set up new user accounts or remove existing ones.
In this guide, we go through the installation of Webmin on RHEL 8.
Step 1: Install Prerequisites for Webmin
To get started, we are going to install some prerequisites which are required during the installation of Webmin. So. go ahead and run the dnf command:
$ sudo dnf install -y wget perl perl-Net-SSLeay openssl unzip perl-Encode-Detect perl-Data-Dumper
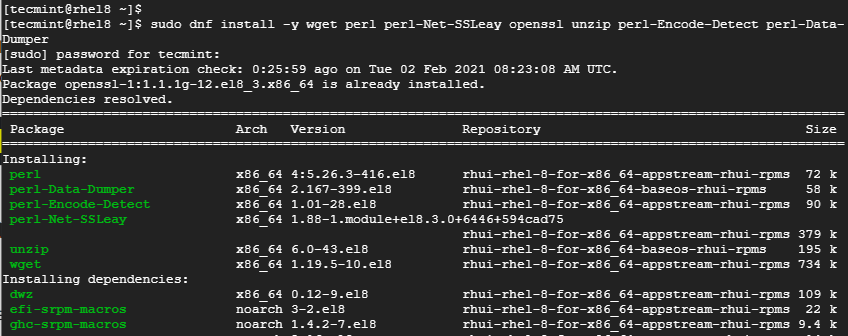
When the installation is complete, proceed to the next step.
Step 2: Enable Webmin Repository
The next course of action is to download Webmin’s GPG key for encryption and signing messages using the following wget command.
# wget https://download.webmin.com/jcameron-key.asc
Once downloaded, import it using the rpm command as follows.
# sudo rpm --import jcameron-key.asc
Step 3: Install Webmin on RHEL 8
With the GPG key in place, the last step is to install Webmin. The official Webmin download page contains Webmin packages for mainline Linux distributions such as Debian, CentOS, etc. Since we are installing Webmin on RHEL, you need to grab the RPM package using the wget command as shown.
$ wget https://prdownloads.sourceforge.net/webadmin/webmin-1.970-1.noarch.rpm
When the download is complete, install Webmin using the command:
$ sudo rpm -Uvh webmin-1.970-1.noarch.rpm

Once the installation process completes, verify that Webmin is running.
$ sudo systemctl status webmin.service
The output below confirms that Webmin is running.

Step 4: Open Webmin Port on Firewall
By default, Webmin listens on TCP port 10000. To confirm this, use the netstat command as shown.
# sudo netstat -pnltu | grep 10000
If you are behind a firewall, open the TCP port 10000:
$ sudo firewall-cmd --add-port=10000/tcp --zone=public --permanent
$ sudo  firewall-cmd --reload
Step 4: Accessing Webmin Interaface
With everything set, it’s now time to access Webmin, and we will do this over a web browser. So launch your web browser and browse the URL:
https://server-ip:10000/
At first, you will get an alert that your connection is private. But fret not. This only shows that the Webmin SSL certificate is self-signed and not recognized by CA. So, click on the ‘Advanced’ tab.
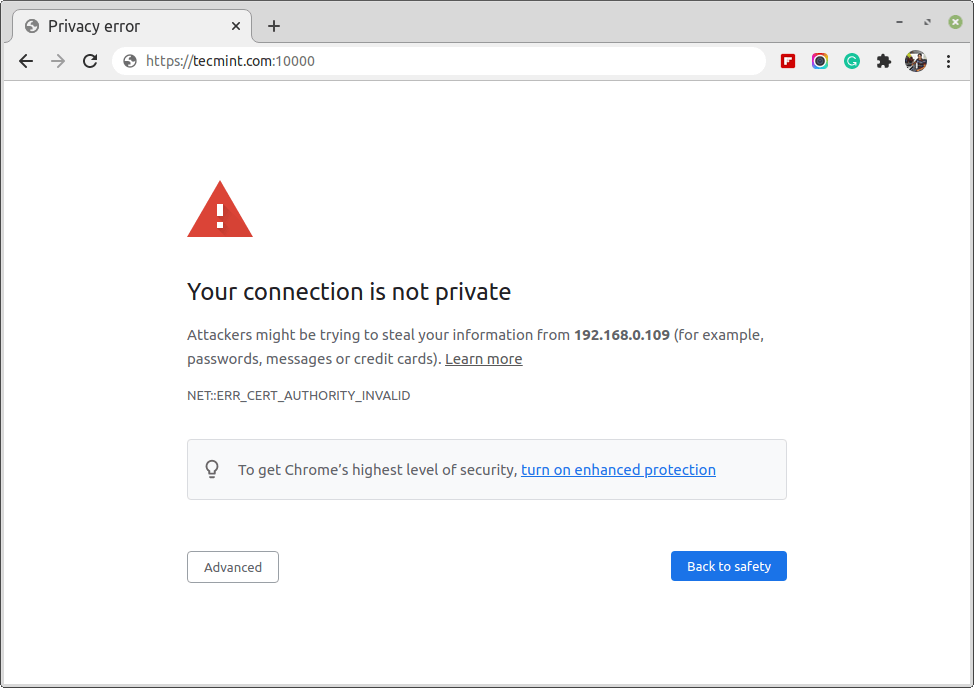
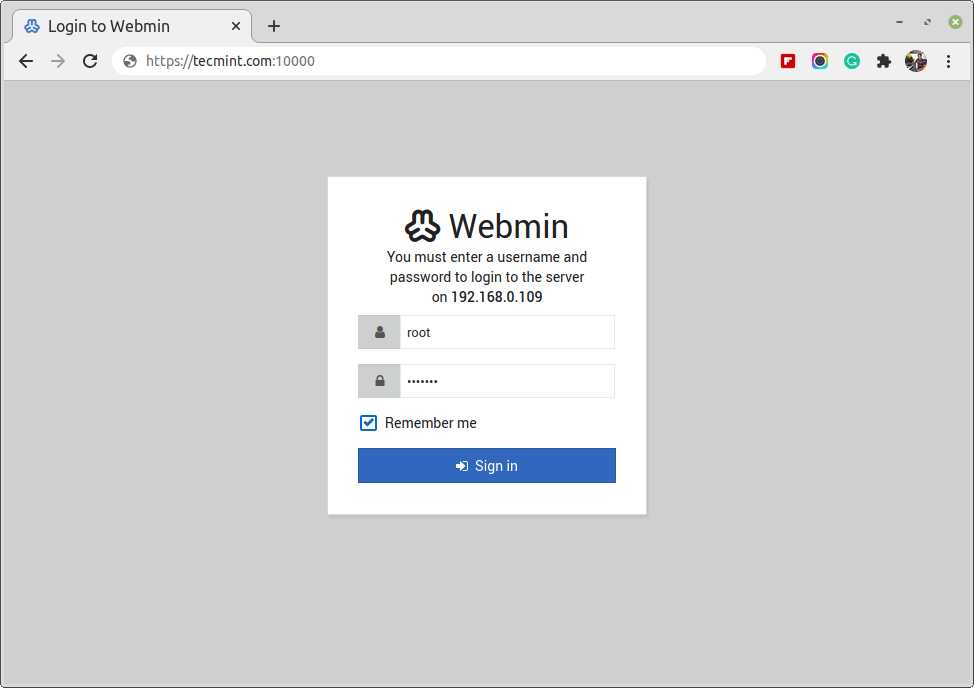
Then, click on ‘proceed to server’s IP address’. This takes you to the Webmin login page where you will log in using the root credentials.
Once logged in, the dashboard will be displayed as shown.
And that’s it. You have successfully installed Webmin on RHEL 8.


