Nginx (Engine X) is a most popular, powerful and high-performance open-source HTTP web server and reverse proxy server with a scalable event-driven (asynchronous) architecture. It can also be used as a load balancer, mail proxy, and HTTP cache due to its speed, stability, feature-rich set, easy configuration, and low resource utilization.
In this article, we will explain how to install the Nginx HTTP web server on a CentOS 8 Linux server.
Installing Nginx HTTP Web Server in CentOS 8
1. To install the latest version of Nginx web server, you need to update the system software packages using the following yum command.
# yum update
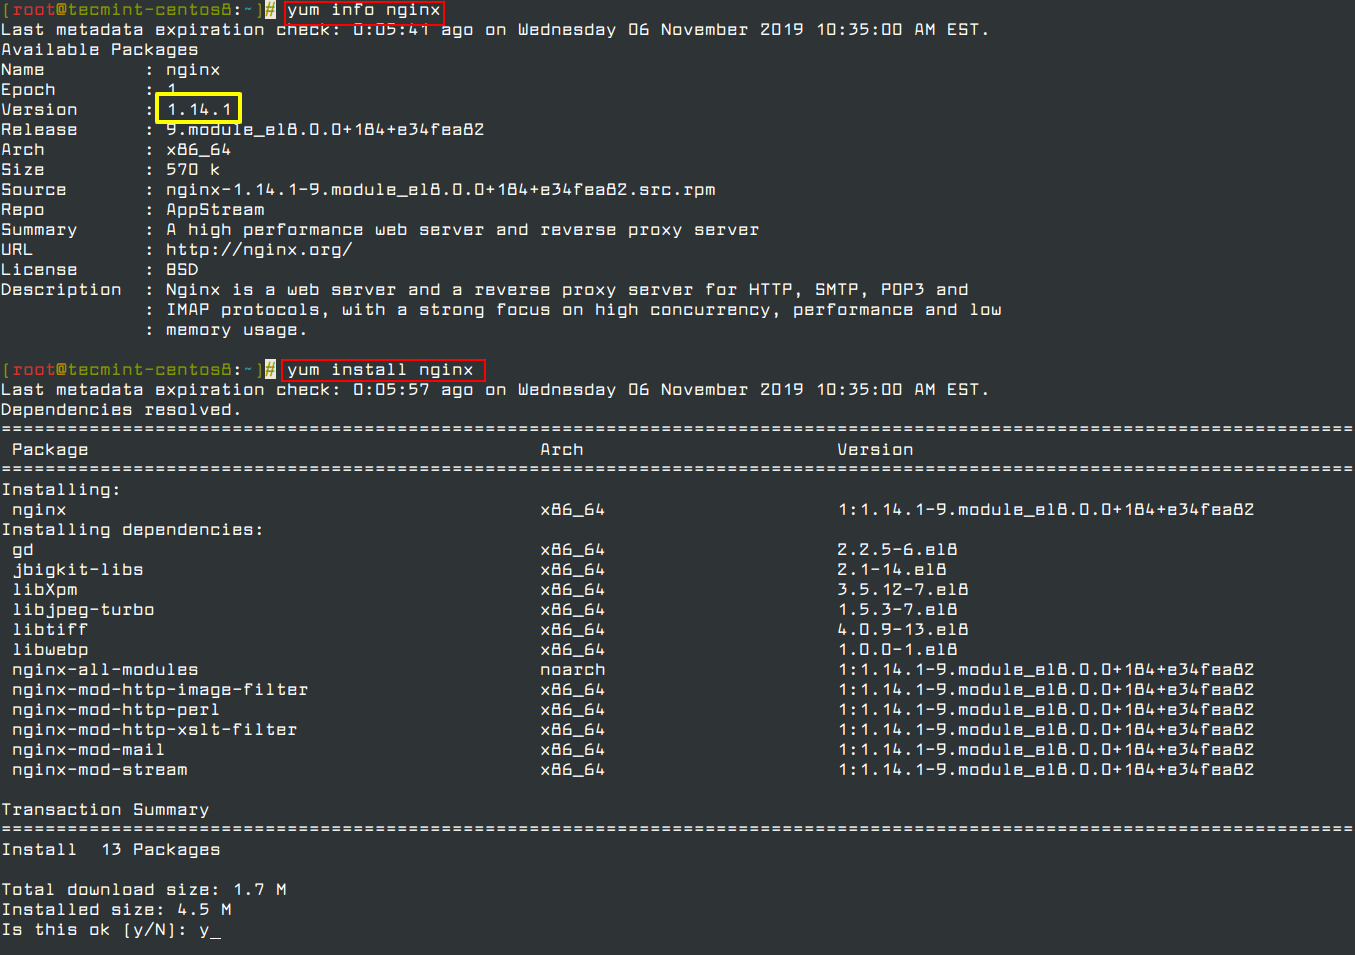
2. Once software updates installed, you can install the latest stable Nginx server from the default package repositories using the following commands.
# yum info nginx
# yum install nginx
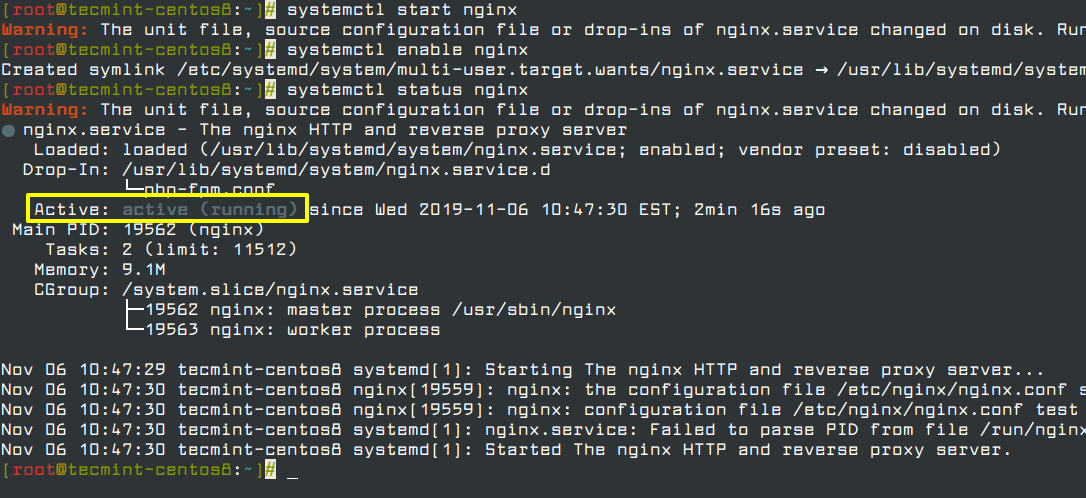
3. Once Nginx installed, you can start, enable and verify the status by running following systemctl commands.
# systemctl start nginx
# systemctl enable nginx
# systemctl status nginx
4. Open and enable port 80 and 443 to allow web traffic on Nginx on the system firewall using following firewall-cmd commands.
# firewall-cmd --zone=public --permanent --add-service=http
# firewall-cmd --zone=public --permanent --add-service=https
# firewall-cmd --reload

5. Verify that the port 80 and 443 enabled on the firewall using netstat or ss command.
# netstat -tulpn
OR
# ss -tulpn

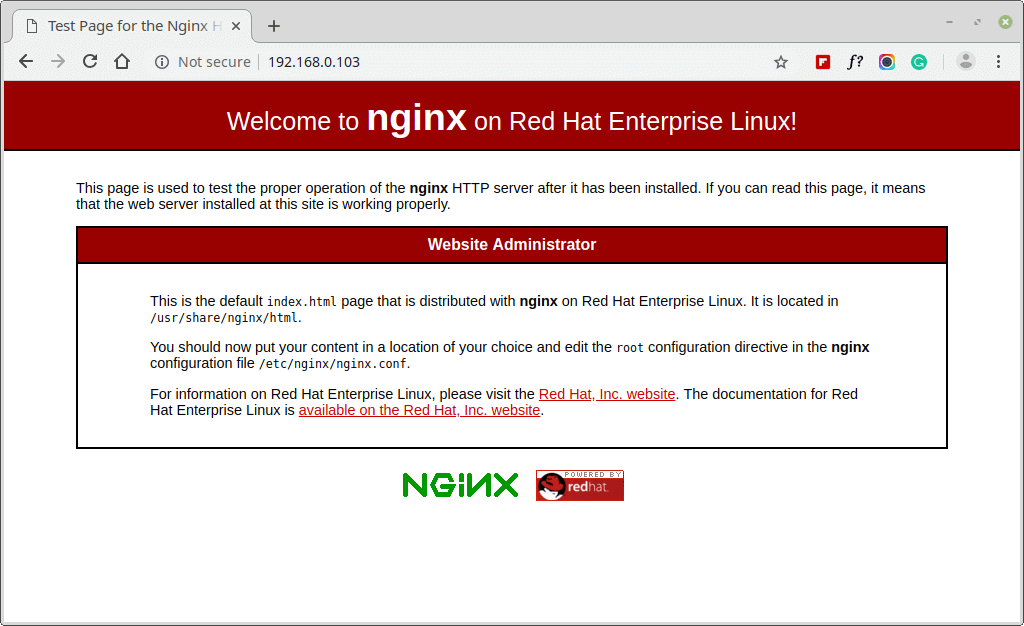
6. Now you can verify that the Nginx web server is up and running by visiting your server’s public IP address in your web browser. If you don’t know the IP address of your server, you can run the IP command.
# ip addr

In the output above, my server IP address is 192.168.0.103, so open your web browser and type the IP address.
http://192.168.0.103
That’s It! Once you have Nginx installed on your CentOS 8 server, you can go on to set up a LEMP Stack to deploy websites.

