Flameshot is an open-source screenshot tool available for Linux, Mac, and Windows. It is created with C++ and QT5 language. Every popular Linux distribution comes with a screenshot tool but they lack few functionalities that flameshot offers.
Some of the popular features include.
- Supports graphical and CLI mode.
- Edit images instantly.
- Image uploads to Imgur.
- Export and import configuration.
- Easy to use and customizable.
In this article, you will learn how to install and use Flameshot screenshot software in Linux desktop systems. For the purpose of demonstration, I am using Linux Mint 20.04.
How to Install Flameshot in Linux
Flameshot can be installed using package managers. Before installing through this method make sure you verify the version that ships with your OS.
$ sudo dnf install flameshot  # Rhel, Centos, Fedora
$ sudo apt install flameshot  # Debian, Ubuntu-based distro
The second method would be to download the flameshot package (.rpm or .deb) from GitHub based upon your distribution and install it locally. This is the method I prefer since I can install the new version irrespective of what ships with my distribution.
# Ubuntu based distribution
$ wget https://github.com/flameshot-org/flameshot/releases/download/v0.9.0/flameshot-0.9.0-1.ubuntu-20.04.amd64.deb
$ dpkg -i flameshot-0.9.0-1.ubuntu-20.04.amd64.deb

# Rhel based distribution
$ wget https://github.com/flameshot-org/flameshot/releases/download/v0.9.0/flameshot-0.9.0-1.fc32.x86_64.rpm
$ rpm -i flameshot-0.9.0-1.fc32.x86_64.rpm
You can also install the most latest version of Flameshot from the snap store or flathub.
How to Use Flameshot in Linux Desktop
Flameshot can be started manually or we can make it auto start when the system boots up. Go to “Menu → Type flameshot → Select “flameshot” will be launched and on the system tray. To access from the system tray make sure you have a systray installed in your OS. Since I am running Linux Mint, by default it has a system tray.

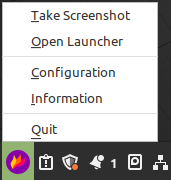
Right-click on the flameshot icon from the system tray. This will show various options you can work with. We will see what each option is and how to use it.
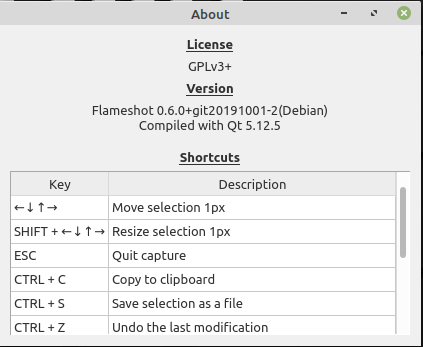
Press “Information“ and it will display shortcuts and license/version information.
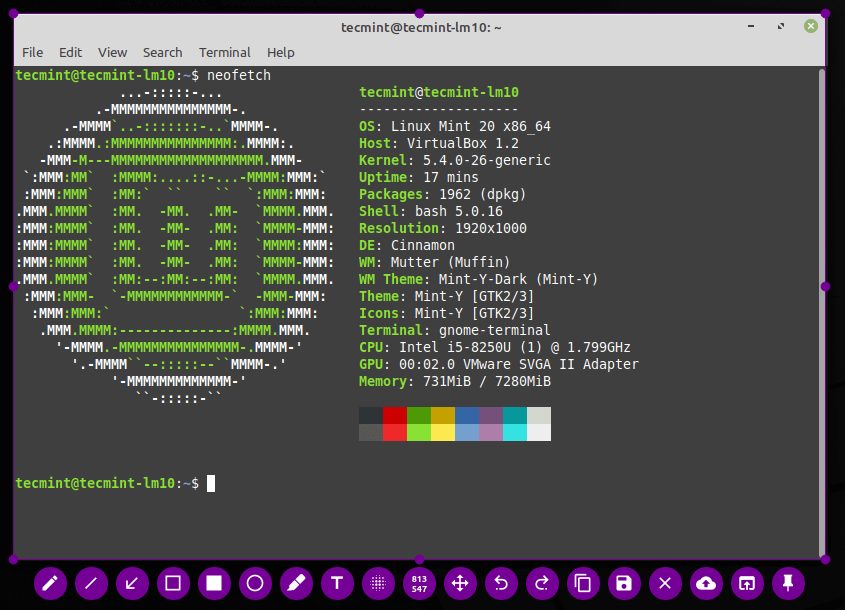
To take the screenshot all you have to do is press “Take screenshot”. Select the area you want to capture and you will get few options to work with like highlighting, drawing lines and pointers, adding text, uploading to Imgur, save locally, etc. You can press the “Esc” key to discard the selection or press the “Enter” key to save the image to the clipboard.
You can take a snapshot of your full screen by clicking “Open Launcher”. Here you can choose on which monitor you have to take the screenshot and you can also set delay time and press “Take new screenshot”.

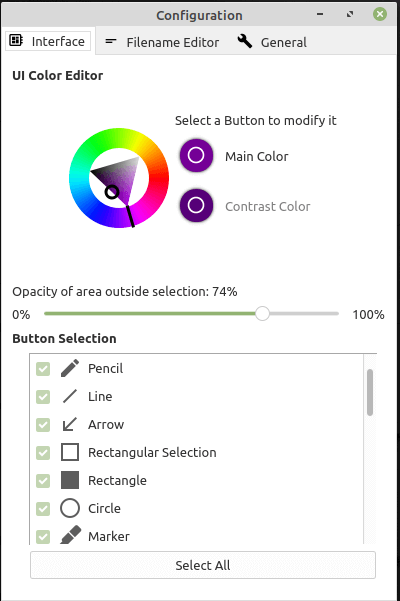
Open “Configuration” by pressing the configuration option. Under the “Interface” tab you can choose what buttons to be displayed when you take a screenshot. You can also control the opacity of the non selected areas.
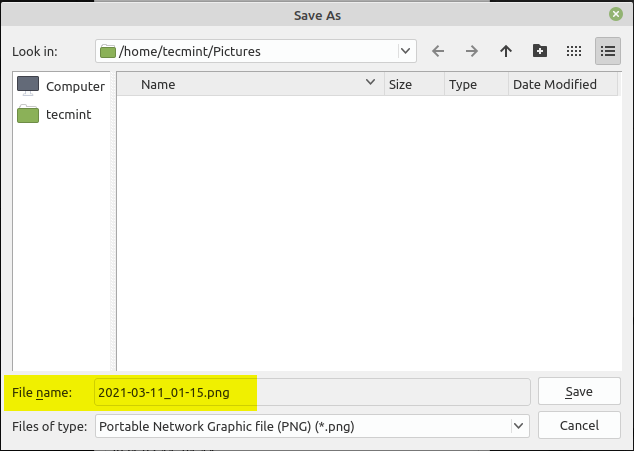
When you save a snapshot by default it will create a filename in date format. You can manually change the name and save it or there is a way to change the default name.
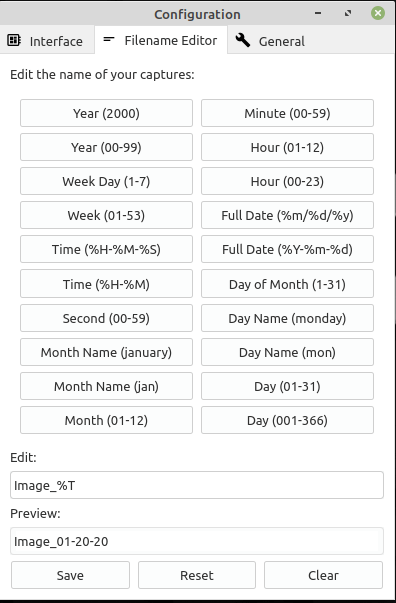
From the “Filename Editor” tab you can set the default file name under “Edit bar”.
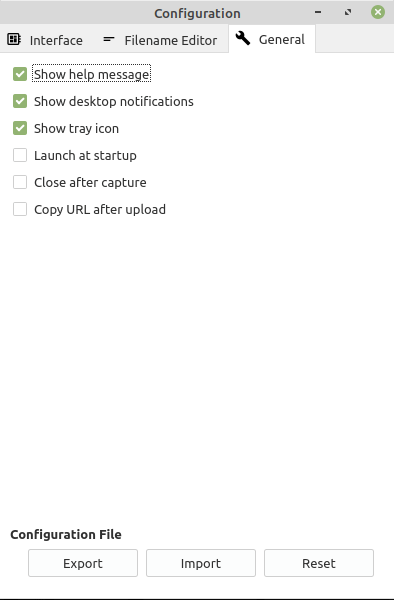
Under the “General” tab you can choose options like show tray icon, launch flameshot at system startup, copy URL after uploading to Imgur, Desktop notifications and help messages.
All the configurations are stored in “/home/<user>/.config/Dharkael/flameshot.ini”. You can import or export this file using the import and export option. It is recommended to set parameters via GUI instead of editing the .ini file directly.

How to Use Flameshot from Command Line
Till now we have seen how to use flameshot in GUI mode. You can do all the things that you do in GUI mode with CLI mode too. To launch flameshot simply run “flameshot” from the terminal.
$ flameshot &
To get help type “flameshot -h” in the terminal.
$ flameshot -h
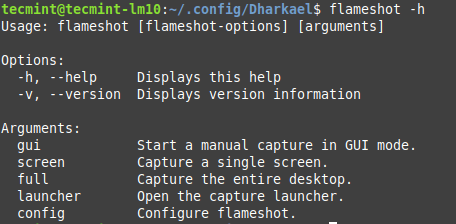
To take a screenshot type “flameshot gui” which will open Gui mode. This is the same as we have seen in the Gui section.
$ flameshot gui
To store the screenshot in the custom path use the -p flag and pass the location as an argument.
$ flameshot gui -p /home/tecmint/images
To add a delay in taking screenshot use -d flag and add time as an argument.
$ flameshot gui -d 2000
To take a full-screen snapshot use the “full” option.
$ flameshot full -p /home/tecmint/images -d 1500
To copy the screenshot to the clipboard using the -c flag without saving location.
$ flameshot full -c -p -p /home/tecmint/images
To capture the screen where the mouse is use -r flag.
$ flameshot -r
You can open the configuration bypassing the “config” option.
$ flameshot config
That’s it for this article. Play with flameshot and share your feedback with us.

