Recently on 12 July 2016, Joomla 3.6 released, which is a major release in the Joomla 3.x series and comes with more than 400 improvements, including new features, support for PHP 7, which drastically increases speed of websites.
Important: The Joomla team strongly recommend that you should update your current websites immediately to latest release version.
This post guides you step by step installation of Joomla CMS (Content Management System) tool on Linux Operating System. There are number of installation ways available on internet. However, we have kept in mind for those beginners who are new to Joomla and Linux platform. Installation steps works on RHEL/CentOS/Fedora Linux Operating System. We have chosen LAMP (Linux, Apache, MySQL, PHP) installation method for this article.
What is Joomla?
Joomla is a popular Open Source Content Management System (CMS) tool which allows us to easily build dynamic website and manage online applications. It also manage & publish your website contents like video, pictures, articles on the website. Joomla is freely available, which supports huge third party plug-ins and themes. With the help of Content Management System (CMS), you can set up websites in the World Wide Web (WWW) without having knowledge of programming.
Joomla Requirements
- Apache
- PHP
- MySQL/MariaDB
What is LAMP (Linux, Apache, MySQL/MariaDB, PHP)?
LAMP is an open source web development software stack wherein Linux as the Operating System, Apache is the Web Server, MySQL is a RDBMS, MariaDB is a community-developed fork of the MySQL and PHP as the object-oriented scripting language.
Please follow below link to install LAMP environment on your Linux systems.
- Install LAMP on RHEL/CentOS 7
- Install LAMP on Fedora 22
- Install LAMP on RHEL/CentOS 7/6 and Fedora 24-17
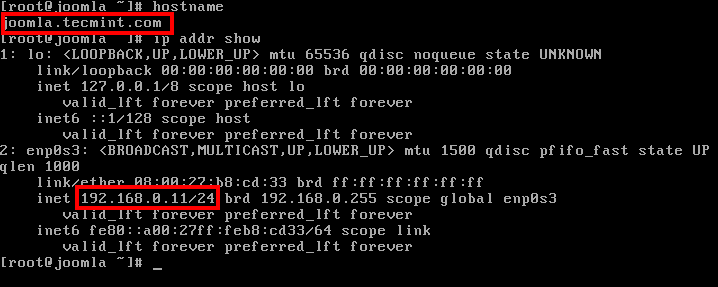
In this post, I used hostname as “joomla.tecmint.com” with the IP address 192.168.0.104. These settings may differ at your environment, so please change them where appropriate. Also all the steps have been executed with root privileges. So make sure you have root login credential.
# hostname
# ip addr show
Step 1: Downloading Joomla 3.6
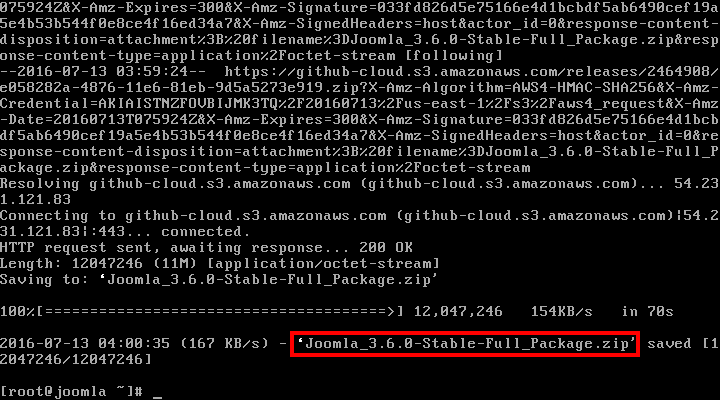
This installation method guides you how to install latest Joomla 3.6 using LAMP setup on RHEL, CentOS and Fedora. Use “wget” command to download latest source tarball.
# wget https://github.com/joomla/joomla-cms/releases/download/3.6.0/Joomla_3.6.0-Stable-Full_Package.zip
Copy downloaded source files package and extract it under Apache DocumentRoot directory (i.e /var/www/html/).
# cp Joomla_3.6.0-Stable-Full_Package.zip /var/www/html/
# cd /var/www/html
# unzip Joomla_3.6.0-Stable-Full_Package.zip

Warning: If you extracted the files into a folder called ‘Joomla‘, then your site will be accessed at yoursitename.com/Joomla.
Step 2: Change the Ownership of Directory
Remove source file and change ownership of directory with user and group “apache” recursively with below command.
# rm -rf Joomla_3.6.0-Stable-Full_Package.zip
# chown -R apache:apache /var/www/html/
# ls -l

total 80
drwxr-xr-x. 10 apache apache  4096 Jul 12 17:25 administrator
drwxr-xr-x.  2 apache apache    42 Jul 12 17:25 bin
drwxr-xr-x.  2 apache apache    23 Jul 12 17:25 cache
drwxr-xr-x.  2 apache apache  4096 Jul 12 17:25 cli
drwxr-xr-x. 17 apache apache  4096 Jul 12 17:25 components
-rw-r--r--.  1 apache apache  2915 Jul 12 17:25 htaccess.txt
drwxr-xr-x.  5 apache apache  4096 Jul 12 17:25 images
drwxr-xr-x.  2 apache apache    61 Jul 12 17:25 includes
-rw-r--r--.  1 apache apache  1393 Jul 12 17:25 index.php
drwxr-xr-x. 13 apache apache  4096 Jul 12 17:25 installation
drwxr-xr-x.  4 apache apache    51 Jul 12 17:25 language
drwxr-xr-x.  5 apache apache    66 Jul 12 17:25 layouts
drwxr-xr-x. 12 apache apache  4096 Jul 12 17:25 libraries
-rw-r--r--.  1 apache apache 18092 Jul 12 17:25 LICENSE.txt
drwxr-xr-x.  2 apache apache    23 Jul 12 17:25 logs
drwxr-xr-x. 20 apache apache  4096 Jul 12 17:25 media
drwxr-xr-x. 27 apache apache  4096 Jul 12 17:25 modules
drwxr-xr-x. 14 apache apache  4096 Jul 12 17:25 plugins
-rw-r--r--.  1 apache apache  4226 Jul 12 17:25 README.txt
-rw-r--r--.  1 apache apache   842 Jul 12 17:25 robots.txt.dist
drwxr-xr-x.  5 apache apache    64 Jul 12 17:25 templates
drwxr-xr-x.  2 apache apache    23 Jul 12 17:25 tmp
-rw-r--r--.  1 apache apache  1690 Jul 12 17:25 web.config.txt
Step 3: Apache Server Configuration
If you’re planning to host only your Joomla website under your Apache web server, then you should follow these steps or else go for Apache virtual hosting and create a separate vhost for your Joomla site and follow rest of the instructions in this article.
Open Apache configuration file with VI or your choice editor.
# vi /etc/httpd/conf/httpd.conf
Search directive as below and change it appropriate.
ServerAdmin [email protected]

ServerName joomla.tecmint.com:80
Note: User and Group should be apache
Step 4: Restart httpd (Apache) Service
Restart Apache web service.
# systemctl restart httpd.service
OR
# service httpd restart
To make httpd service started automatically in next boot, use below command.
# systemctl enable httpd.service
OR
# chkconfig --level 35 httpd on
Verify your httpd is running and listening request on port 80.
[root@tecmint ~]# netstat -antp | grep httpd

tcp     0      0 :::80            :::*          LISTEN 1705/httpd
Step 5: Iptables (Firewall) Configuration:
Please open port 80 on firewall or disable iptables.
---------------- On CentOS/RHEL 7 and Fedora 20 Onwards ----------------
# firewall-cmd --zone=public --add-port=80/tcp --permanent
# firewall-cmd --reload
---------------- On CentOS/RHEL 6 and Fedora 12-19 ----------------
# iptables -A INPUT -p tcp --dport 80 -j ACCEPT
# service iptables save
# service iptables restart
Step 6: Create Joomla Database
If you’ve net set MySQL root password, you can set using following command or else skip if you already set.
# mysqladmin -u root password 'redhat'
Login with root credential in MySQL.
# mysql -u root -p
Create database called “joomla” in MySQL.
mysql> create database joomla;
Grant privilege on joomla database for “joomla” user in MySQL.
mysql> grant all on joomla.* to joomla@'localhost' identified by 'redhat';
Query OK, 0 rows affected (0.01 sec)

mysql> flush privileges;
Query OK, 0 rows affected (0.00 sec)
Restart MySQL service and auto enable at system startup.
---------------- On CentOS/RHEL 6 and Fedora 12-19 ----------------
# systemctl restart mariadb.service
# systemctl enable mariadb.service
---------------- On CentOS/RHEL 6 and Fedora 12-19 ----------------
# service mysqld restart
# chkconfig --level 35 mysqld on
Step 7: Installation and Configuration of Joomla
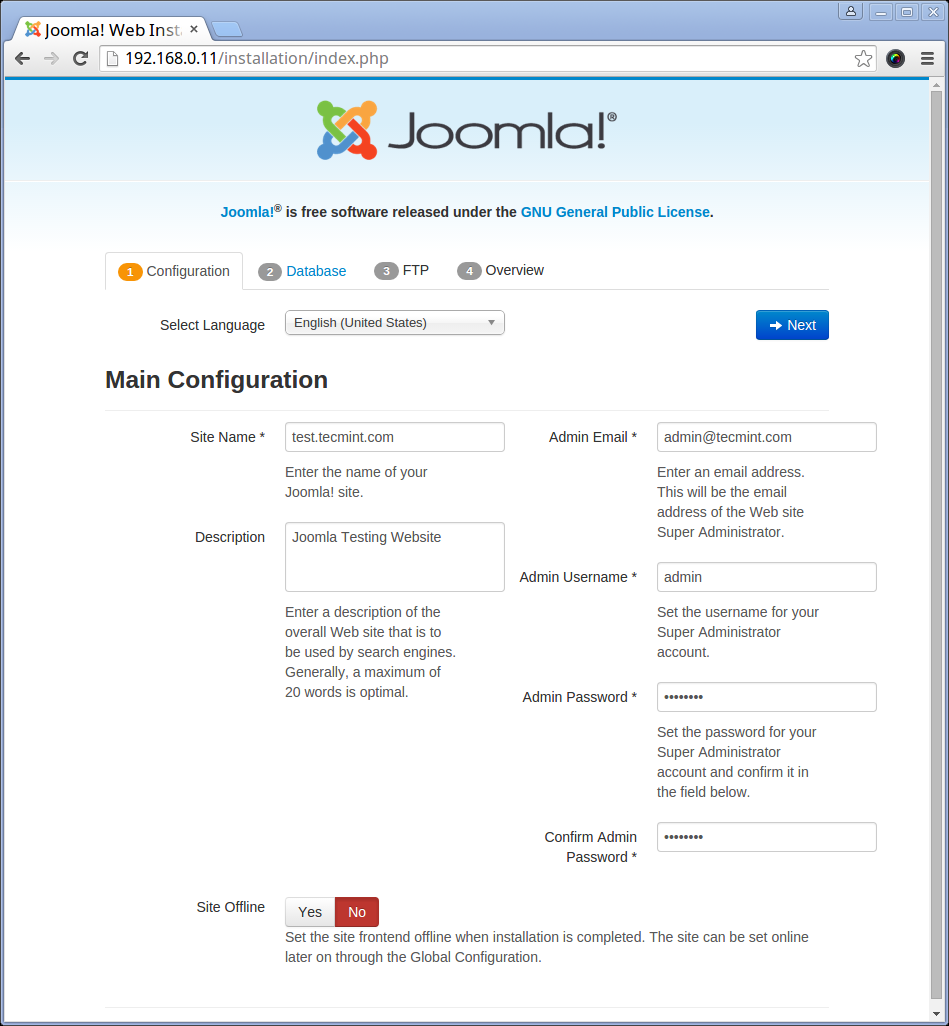
Open your browser and type http://192.168.0.11 which will open below screen to configure Joomla step by step.
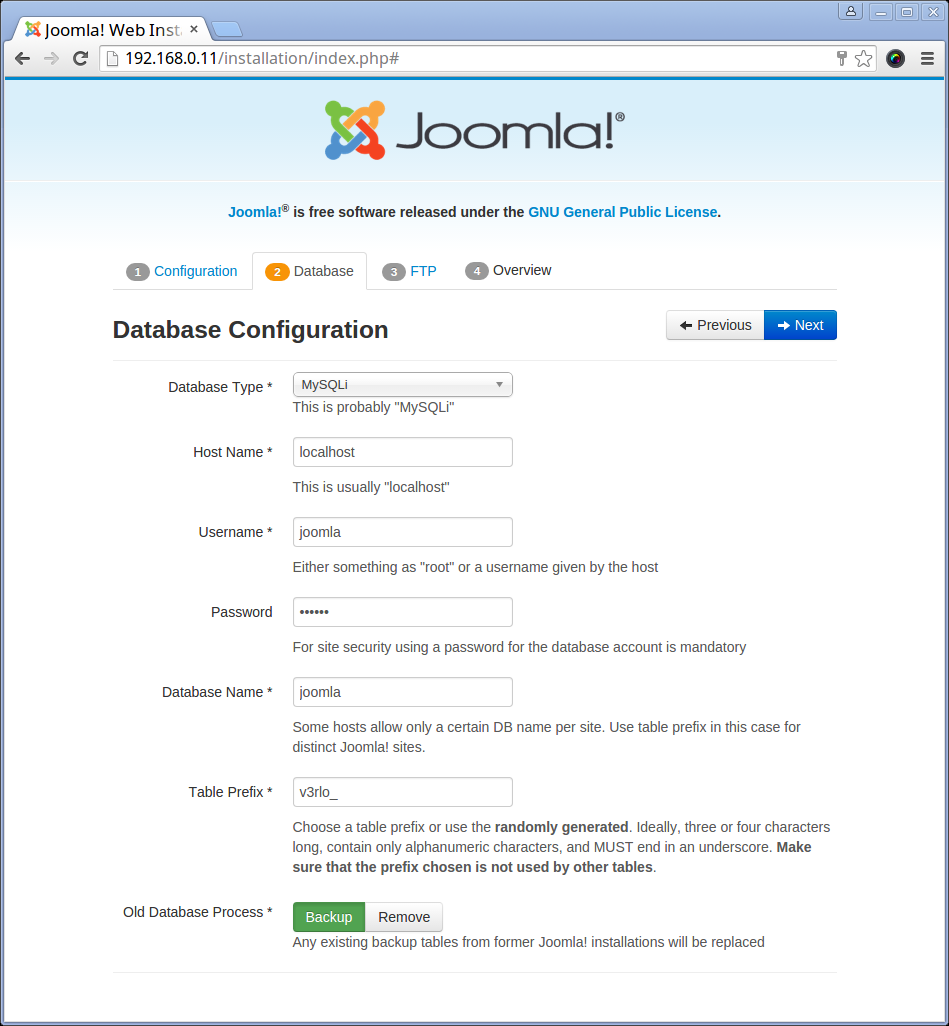
Step 8: Database Configuration
Fill up the details like database name, username and password which was set earlier in Step 6 for MySQL settings and click ‘Next‘.
Step 9: FTP Configuration
Leave blank as we are not using FTP and click ‘Next‘.

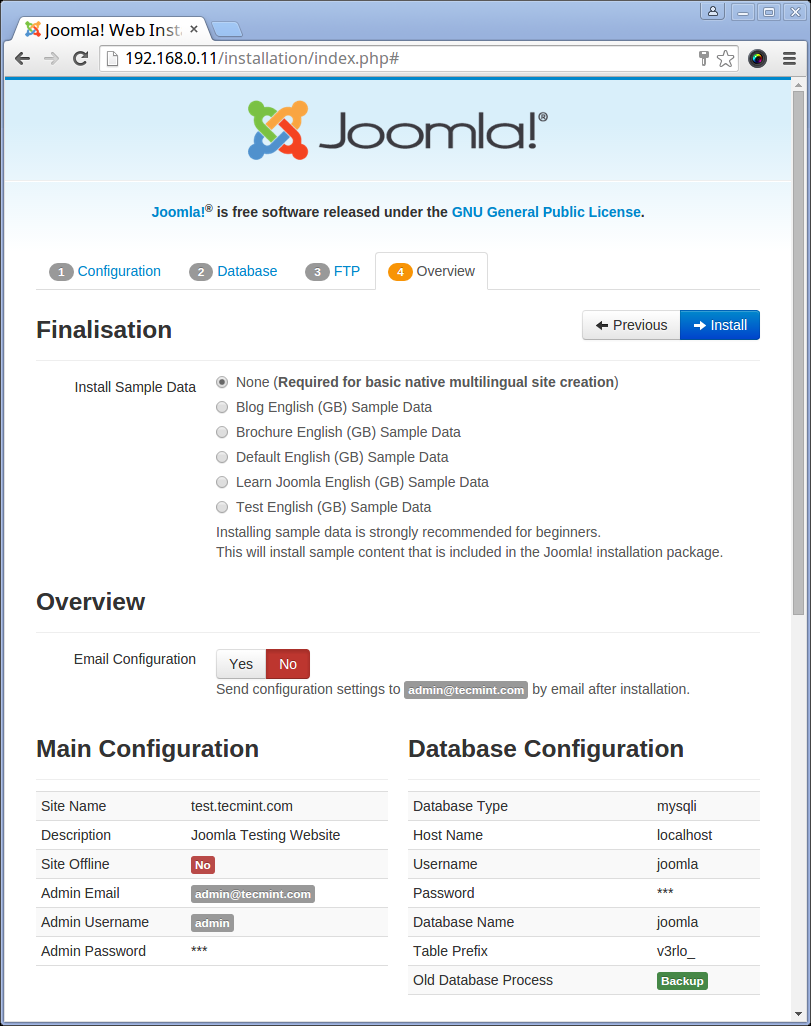
Step 10: Install Sample Data
Install Sample Data and click ‘Install‘.
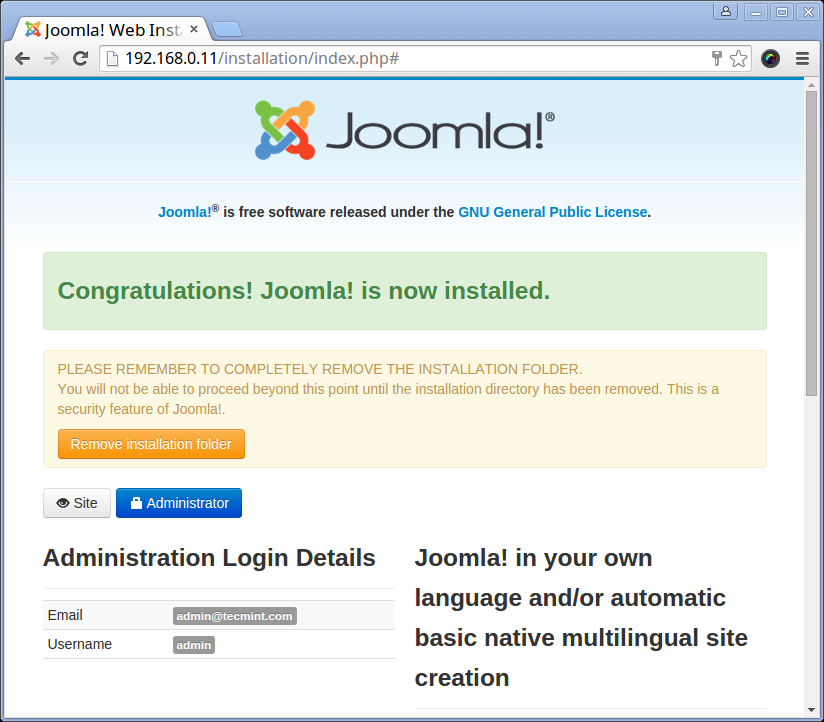
Step 12: Congratulation! Joomla ! Installation Completed.
Notice: If you get any error saying that the configuration file or directory is not writable, that means you have to copy and paste the following configuration code to ‘configuration.php’ file in your site root folder.
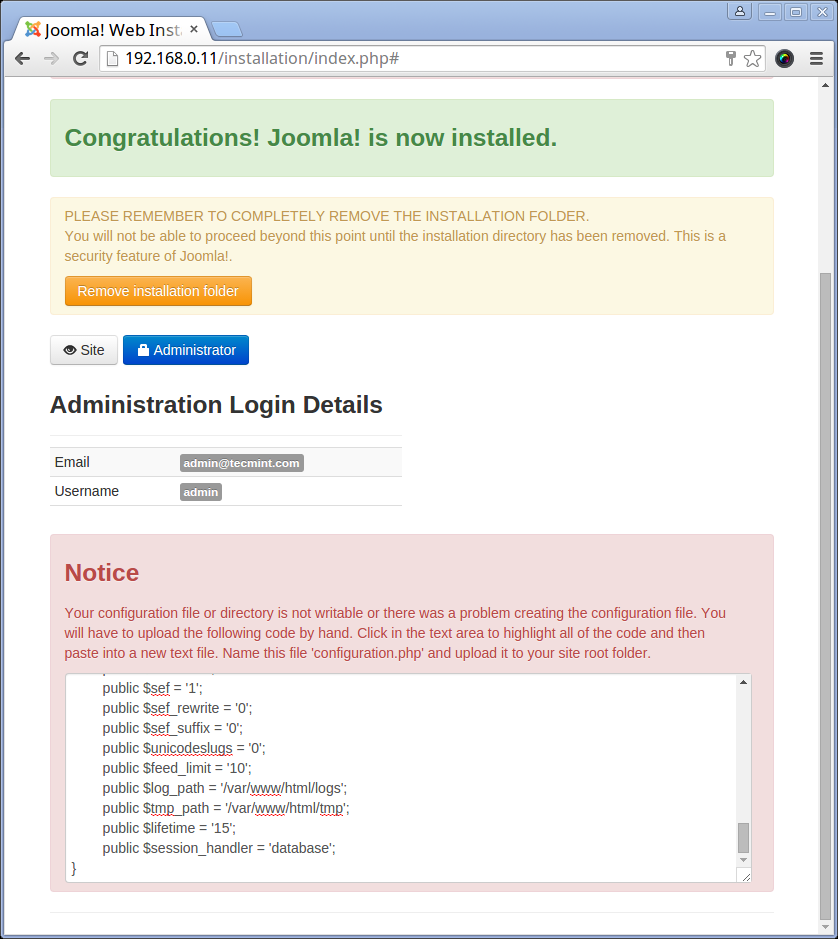
<?php
class JConfig {
        public $offline = '0';
        public $offline_message = 'This site is down for maintenance.<br /> Please check back again soon.';
        public $display_offline_message = '1';
        public $offline_image = '';
        public $sitename = 'test.tecmint.com';
        public $editor = 'tinymce';
        public $captcha = '0';
        public $list_limit = '20';
        public $access = '1';
        public $debug = '0';
        public $debug_lang = '0';
        public $dbtype = 'mysqli';
        public $host = 'localhost';
        public $user = 'joomla';
        public $password = 'redhat';
        public $db = 'joomla';
        public $dbprefix = 'v3rlo_';
        public $live_site = '';
        public $secret = 'lb1sYEgHg0qZmyb7';
        public $gzip = '0';
        public $error_reporting = 'default';
        public $helpurl = 'https://help.joomla.org/proxy/index.php?option=com_help&keyref=Help{major}{minor}:{keyref}';
        public $ftp_host = '127.0.0.1';
        public $ftp_port = '21';
        public $ftp_user = '';
        public $ftp_pass = '';
        public $ftp_root = '';
        public $ftp_enable = '0';
        public $offset = 'UTC';
        public $mailonline = '1';
        public $mailer = 'mail';
        public $mailfrom = '[email protected]';
        public $fromname = 'test.tecmint.com';
        public $sendmail = '/usr/sbin/sendmail';
        public $smtpauth = '0';
        public $smtpuser = '';
        public $smtppass = '';
        public $smtphost = 'localhost';
        public $smtpsecure = 'none';
        public $smtpport = '25';
        public $caching = '0';
        public $cache_handler = 'file';
        public $cachetime = '15';
        public $MetaDesc = 'Joomla Testing Website';
        public $MetaKeys = '';
        public $MetaTitle = '1';
        public $MetaAuthor = '1';
        public $MetaVersion = '0';
        public $robots = '';
        public $sef = '1';
        public $sef_rewrite = '0';
        public $sef_suffix = '0';
        public $unicodeslugs = '0';
        public $feed_limit = '10';
        public $log_path = '/var/www/html/logs';
        public $tmp_path = '/var/www/html/tmp';
        public $lifetime = '15';
        public $session_handler = 'database';
}
Caution: Remove installation directory clicking button ‘Remove Installation‘. If you get error that installation folder could not be deleted, you can use following command to delete manually.
# rm -rf installation/
Step 13: Login in Joomla
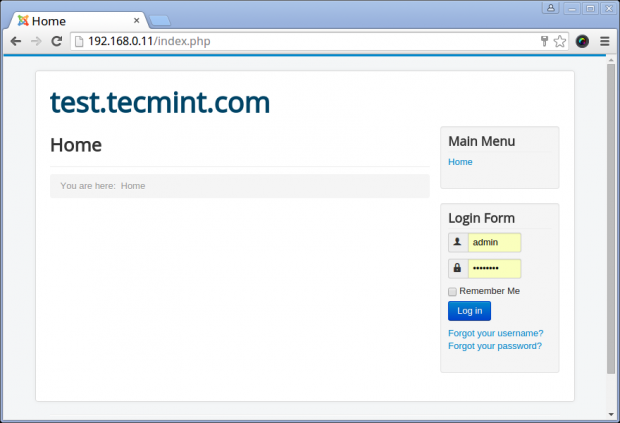
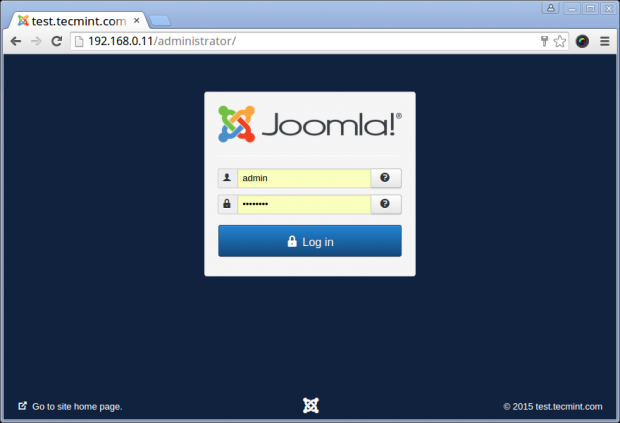
Step 15: Site administrator Login
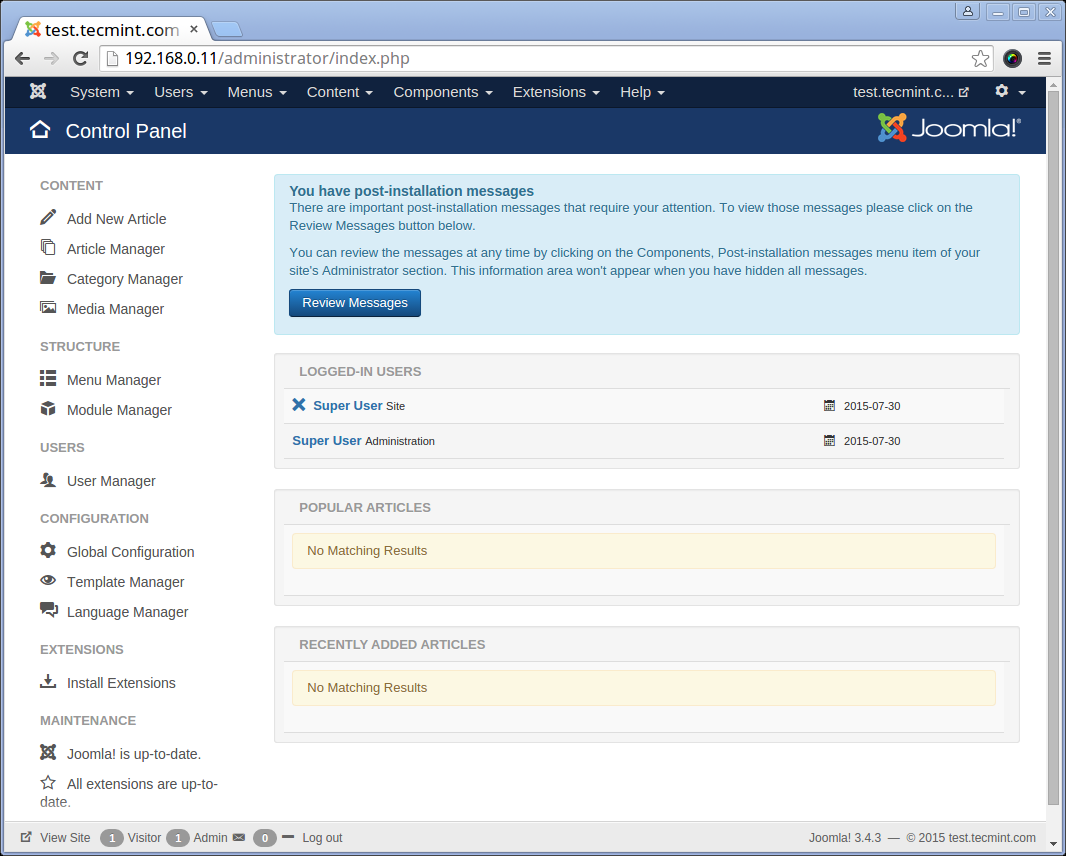
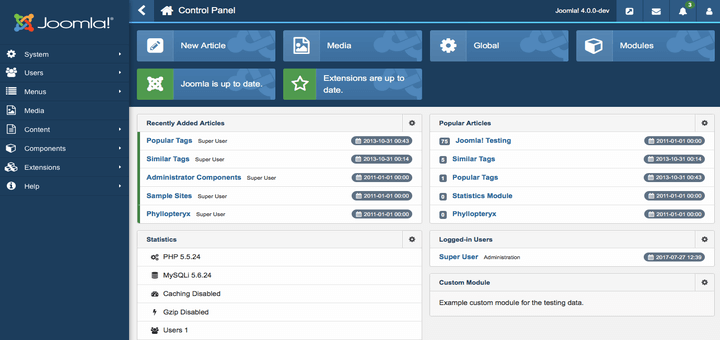
Step 16: Control Panel of website test.tecmint.com
Step 17: Updating Joomla (Update Method)
The easiest method of updating Joomla to newest version is using One click update. This method is only suitable for Joomla 3.x.x to 3.x.x – updates (maintenance update).
If there is an update, Joomla will alert you at your Administrator control panel. Joomla will not auto update, it’s site administrator responsibility to start and verify the update.
For example, in this Joomla update section, we will see how to update from Joomla 3.4.3 to 3.6 version.
Important: Don’t forget to take your CURRENT BACKUP of your site, before doing an update.
Login into administrative control panel and see for the update notification at the top that says Update Now.
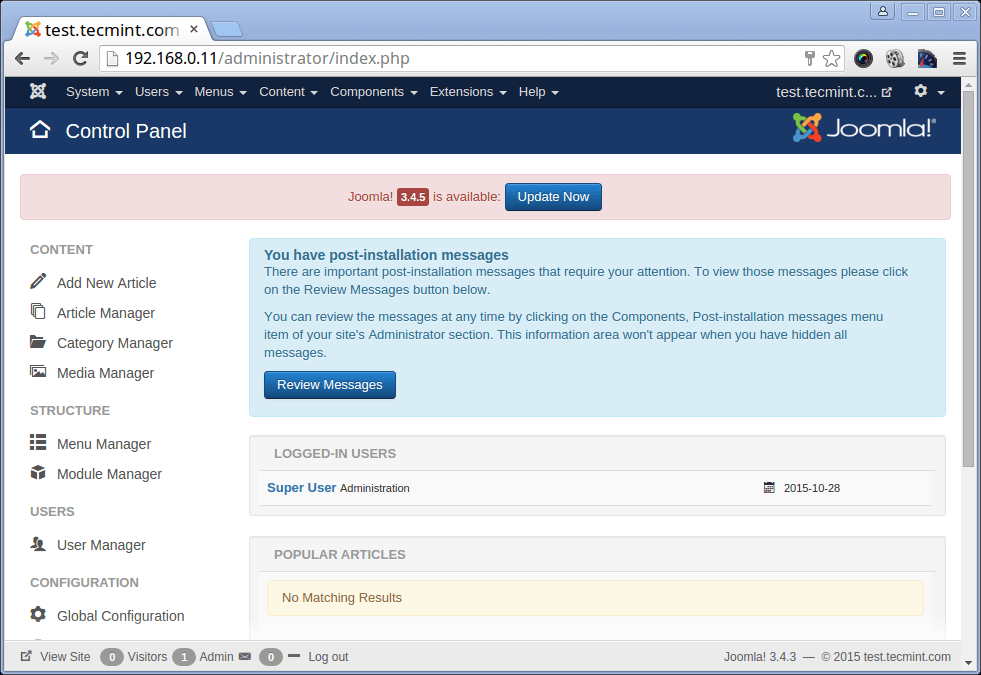
Once you click on Update Now button, it will show you the installed Joomla version and latest available version. Here you will have two options, one ‘Write files directly‘ is the default method and second is ‘Write files using FTP‘ to update new core files to your Joomla installation.
If you already have FTP setup in place, you can choose FTP update option, or simply click on Install the Update button to carry updates..
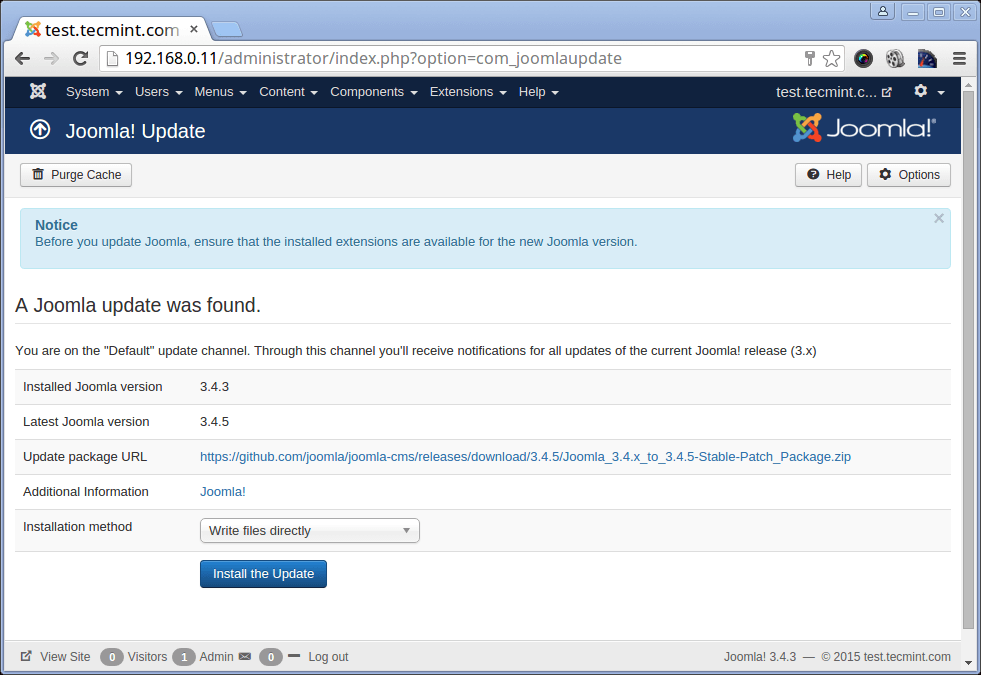
Note: Once update process overs, you may need to clear your browser cache to adjust for any changes in the JS/CSS files.
If you have any query in this regard, please write on comment box below.
We’ll work for you…!!!
We also provide hosting solution in WordPress & Joomla as well as migration from Joomla to WordPress or vice versa with minimum charges. If you want us to do it for you please contact us.


how to create joomla website when i download the latest version of joomla template on ubuntu
just my menu tabs are home aboutus comment photo
Great! Thank you!
For those who experience issues prior going to the database page, make sure that the files/folders owership and permissions are setup correctly in accordance to your server setup. Alternatively you can check the error log in /var/log/httpd/error_log to see what goes wrong.